
“`html
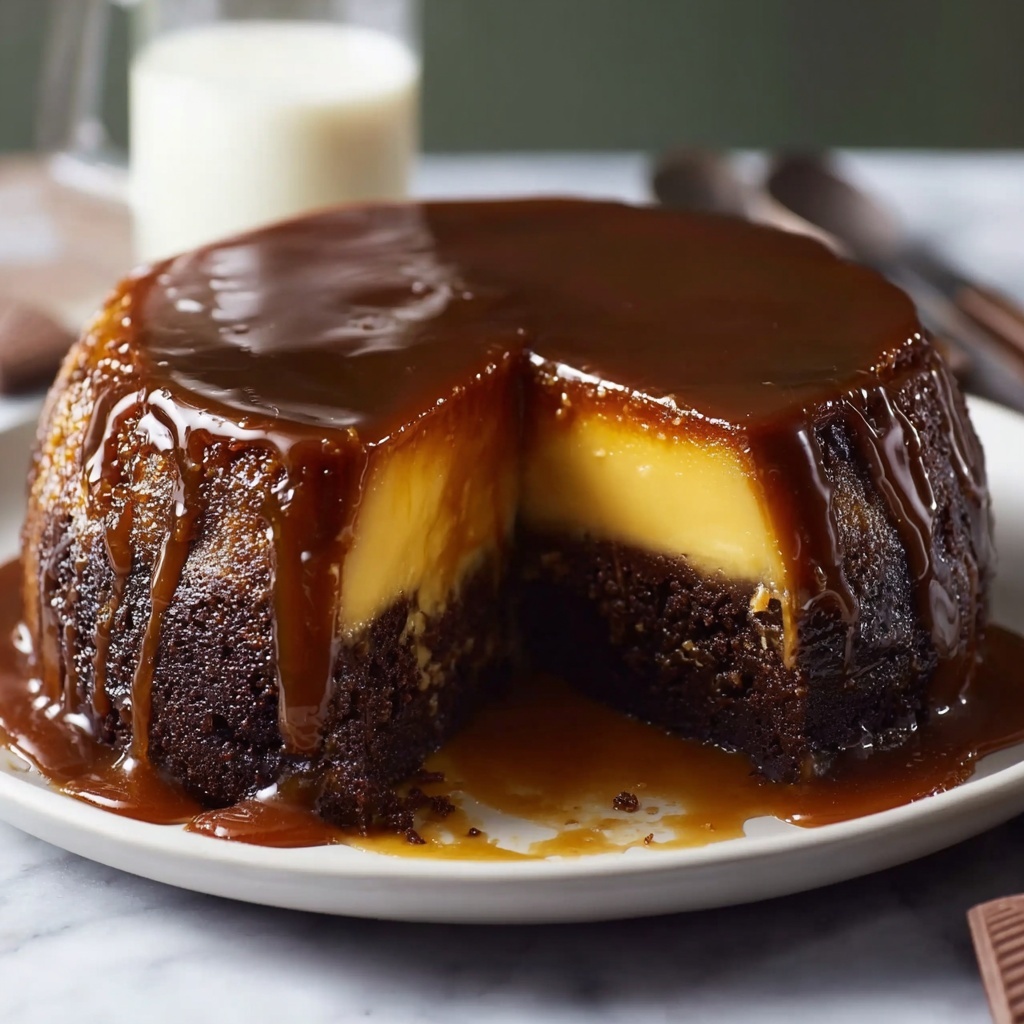
If you have a sweet tooth and a love for delightful surprises in every bite, you’re going to adore The Sweetest Twist: Magic Melt Chocoflan Recipe. This irresistible dessert beautifully combines rich, silky flan with a moist, chocolaty cake that magically swaps places during baking, creating layers of pure magic on your plate. The smooth caramel topping adds that perfect kiss of sweetness, making every forkful an unforgettable journey of flavors and textures. Trust me, once you try this, it will quickly become your new favorite showstopper dessert to impress friends and family alike!
Ingredients You’ll Need
Don’t let the list intimidate you—each ingredient here is straightforward and plays a key role in balancing the luscious texture and rich flavors of The Sweetest Twist: Magic Melt Chocoflan Recipe. Together, they create a delicious harmony that makes this dessert truly special.
- Sweetened condensed milk: Adds creamy sweetness and smooth body to the flan layer.
- Evaporated milk: Lightens the custard while keeping it silky and tender.
- Cream cheese, softened: Introduces a subtle tang and richness to the flan.
- Eggs (3 for flan, 1 for cake): Provide structure and delicate texture.
- Vanilla extract (preferably Mexican): Brings warm, aromatic depth to the custard.
- Unsalted butter: Offers richness and helps soften the cake crumb perfectly.
- Granulated sugar: Sweetens the cake while aiding its fluffiness.
- All-purpose flour: The cake’s foundation, ensuring a tender crumb.
- Unsweetened cocoa powder: Delivers deep chocolate flavor and richness.
- Ground cinnamon: Adds a subtle warm spice that enhances the chocolate.
- Baking powder and baking soda: Leaven the cake for a perfect rise.
- Buttermilk: Keeps the cake moist and adds a slight tang.
- Cajeta (caramel sauce): Creates that luscious caramel layer that tops the dessert after baking.
How to Make The Sweetest Twist: Magic Melt Chocoflan Recipe
Step 1: Preparing the Pan and Caramel Layer
Begin by preheating your oven to 350°F (175°C). Grease your baking pan thoroughly with softened butter to prevent sticking, then pour in the cajeta to form a luxurious caramel base. This layer will become the crowning jewel of your dessert.
Step 2: Crafting the Flan Mixture
In a blender or mixing bowl, combine sweetened condensed milk, evaporated milk, softened cream cheese, three eggs, and fragrant vanilla extract. Blend or whisk until everything is velvety smooth. This custard is the soul of the flan layer, so make sure it’s well incorporated.
Step 3: Starting the Chocolate Cake Batter
In a large bowl, cream together the softened butter and granulated sugar until light and fluffy, which will help create a soft, tender cake. Beat in the remaining single egg until the mixture is completely combined and smooth.
Step 4: Mixing the Dry Ingredients
In a separate bowl, sift together the all-purpose flour, unsweetened cocoa powder, cinnamon, baking powder, and baking soda. Sifting ensures these ingredients blend evenly, avoiding any lumps that could affect texture.
Step 5: Combining Wet and Dry Ingredients
Alternate adding the dry ingredient mixture and buttermilk to the creamed butter mixture, mixing gently but thoroughly after each addition. This careful balance results in a rich, moist cake batter that pairs perfectly with the creamy flan.
Step 6: Assembling the Layers
Pour the chocolate cake batter evenly over the cajeta layer in your prepared pan. Next, gently pour the flan mixture on top. Don’t worry if it looks like the custard will sink—that’s the magic of this recipe, as the layers will switch places during baking.
Step 7: Baking in a Water Bath
Place your pan inside a larger baking dish and add hot water until it reaches about one inch up the sides of the pan. This water bath ensures gentle, even heat, allowing the flan to set beautifully while keeping the cake moist. Bake for 1 hour to 1 hour and 15 minutes, or until the flan is firm and the cake is cooked through.
Step 8: Cooling and Inverting
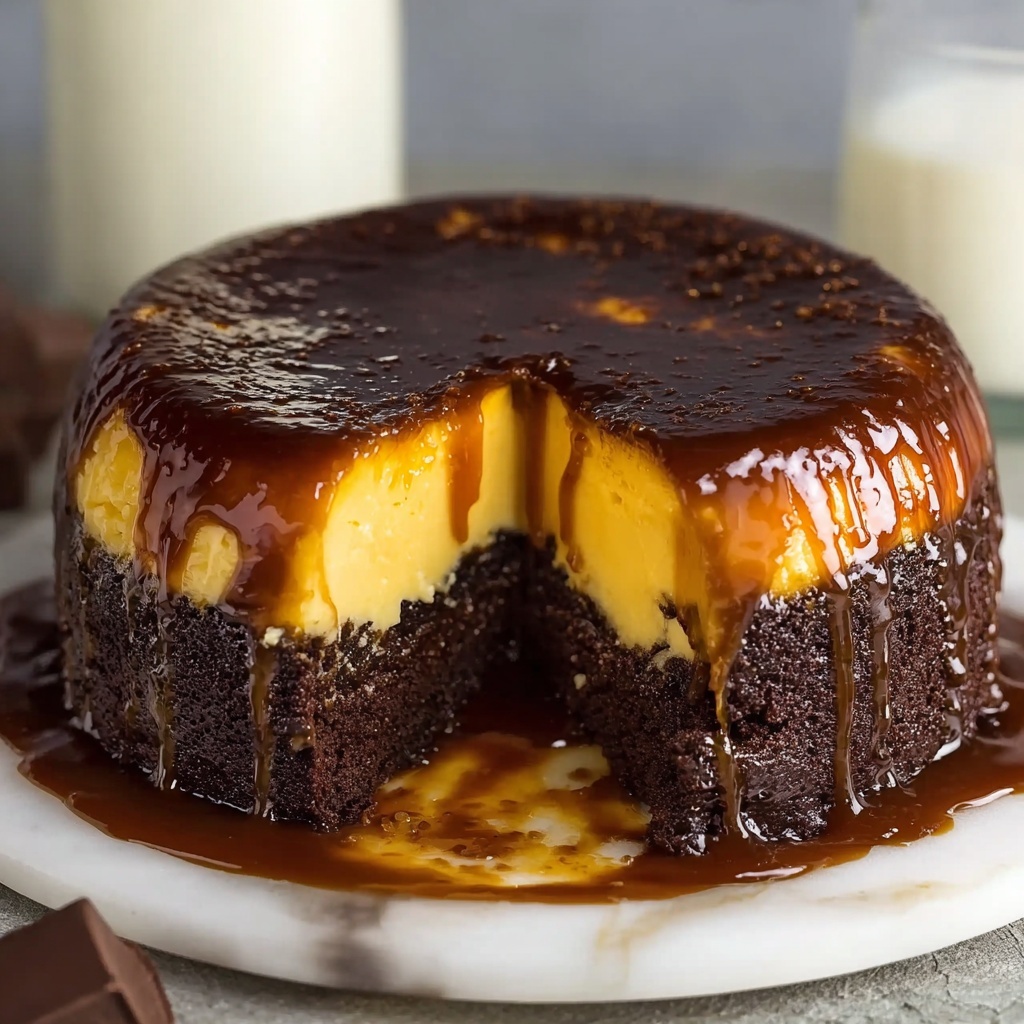
Let your dessert cool completely at room temperature, then refrigerate for at least 4 hours or overnight—patience here really pays off. When ready to serve, carefully invert the pan onto a plate to reveal the stunning caramel-topped chocoflan masterpiece.
How to Serve The Sweetest Twist: Magic Melt Chocoflan Recipe
Garnishes
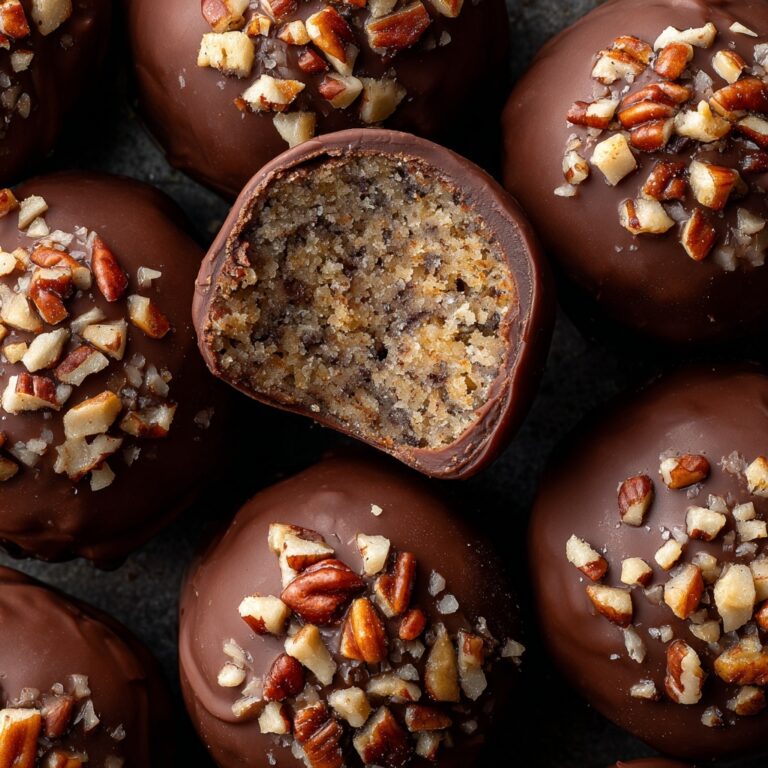
Elevate your presentation with a sprinkle of chopped toasted pecans or almonds for crunch, a dollop of freshly whipped cream for softness, or a drizzle of extra cajeta to enhance the caramel notes. These little touches add texture and visual appeal that wow every guest.
Side Dishes
This decadent dessert pairs wonderfully with simple accompaniments like fresh berries or a scoop of vanilla ice cream. These sides balance the richness and provide a refreshing contrast to the chocolaty flan layers.
Creative Ways to Present
For a festive touch, serve individual portions in clear glasses to showcase the luscious layers, or dust the top lightly with cocoa powder or cinnamon. Mini edible flowers or a sprinkle of sea salt flakes also bring elegance and an unexpected pop of flavor.
Make Ahead and Storage
Storing Leftovers
Keep any leftover Magic Melt Chocoflan tightly covered in the refrigerator. It stays delicious for up to 4 days, allowing the flavors to meld even more and making for quick, indulgent treats throughout the week.
Freezing
You can freeze slices wrapped well in plastic and foil for up to 2 months. Thaw overnight in the refrigerator before serving to preserve its creamy texture and moist cake layers.
Reheating
Since this is a custard-based dessert, it’s best enjoyed chilled or at room temperature. If you prefer it slightly warmed, allow slices to sit at room temperature for 15–20 minutes—avoid microwaving to prevent texture changes.
FAQs
Can I use regular caramel instead of cajeta?
Absolutely! While cajeta offers a distinctive rich flavor made from goat’s milk, traditional caramel sauce works just fine and will still add delightful sweetness and texture to your chocoflan.
What pan size should I use for this recipe?
A 9×13-inch baking pan works best to ensure the layers set properly and bake evenly. Using a pan that is too small or too large can affect cooking time and layer thickness.
Why does the flan layer sink to the bottom?
The flan mixture is denser than the cake batter, so during baking it naturally sinks below, resulting in that magical layer swap that makes this recipe so special and visually stunning when inverted.
Can I make this recipe dairy-free?
This recipe relies heavily on dairy for texture and flavor, so substituting with plant-based alternatives will affect the final texture. However, using coconut milk and vegan cream cheese might yield a tasty—but different—version worth experimenting with!
How do I know when the chocoflan is done baking?
The flan should be set but still slightly jiggly in the center, and a toothpick inserted into the cake layer should come out mostly clean. The water bath helps cook the custard evenly without cracking.
Final Thoughts
Getting your hands on The Sweetest Twist: Magic Melt Chocoflan Recipe is like inviting a party to your taste buds—each bite a dazzling blend of creamy, chocolaty, and caramel flavors. It’s a dessert that’s as fun to make as it is to eat, guaranteed to be the highlight of any occasion. So gather your ingredients, fire up your oven, and prepare to be amazed by this delightful magic in every slice!
“`
Print
The Sweetest Twist: Magic Melt Chocoflan Recipe
- Prep Time: 25 minutes
- Cook Time: 1 hour 15 minutes
- Total Time: 5 hours 40 minutes
- Yield: 12 servings
- Category: Dessert
- Method: Baking
- Cuisine: Mexican
Description
Experience the delightful fusion of rich chocolate cake and creamy flan in this Magic Melt Chocoflan recipe. Featuring layers of luscious caramel (cajeta), a moist cocoa-infused cake, and a velvety cream cheese flan, this decadent dessert is baked in a water bath to achieve perfect texture and elegance. Perfect for special occasions or whenever you crave a sophisticated treat.
Ingredients
Flan Mixture
- 14 ounces sweetened condensed milk
- 12 ounces evaporated milk
- 4 ounces cream cheese, softened
- 3 large eggs
- 4 teaspoons vanilla extract (Mexican if possible)
Cake Batter
- 10 tablespoons unsalted butter, softened
- 1 cup granulated sugar
- 1 large egg
- 1¾ cups all-purpose flour
- ½ cup unsweetened cocoa powder
- 1 tablespoon ground cinnamon
- 1 teaspoon baking powder
- ¾ teaspoon baking soda
- 1¼ cups buttermilk
Additional
- 2 tablespoons softened butter (for greasing)
- ¼ cup cajeta (caramel sauce)
Instructions
- Preheat and prepare pan: Preheat your oven to 350°F (175°C). Grease the baking pan thoroughly with softened butter, then evenly pour the cajeta (caramel sauce) into the bottom to form a sweet base layer.
- Blend flan ingredients: In a blender or using a mixer, combine the sweetened condensed milk, evaporated milk, softened cream cheese, eggs, and vanilla extract. Blend until completely smooth and set the mixture aside for later use.
- Cream butter and sugar: In a mixing bowl, cream together the softened butter and granulated sugar until the mixture is light and fluffy. This step is crucial for a tender cake crumb.
- Add egg to cake batter: Beat in the large egg into the creamed butter and sugar mixture, mixing until well incorporated.
- Mix dry ingredients: In a separate bowl, sift together the all-purpose flour, unsweetened cocoa powder, ground cinnamon, baking powder, and baking soda. This ensures even distribution of leaveners and spices.
- Combine dry and wet ingredients: Alternately add the dry ingredients and buttermilk to the butter-sugar-egg mixture. Mix gently after each addition until just combined, taking care not to overmix for a light cake.
- Layer cake batter: Pour the prepared chocolate cake batter evenly over the cajeta layer in the greased baking pan.
- Pour flan mixture: Carefully pour the flan mixture over the chocolate cake batter. It will sink to the bottom during baking, creating the signature flipped layers.
- Prepare water bath and bake: Place the pan into a larger baking dish. Pour about 1 inch of hot water into the outer dish to form a water bath, which helps cook the flan gently and evenly, preventing cracks.
- Bake: Bake in the preheated oven for 1 hour to 1 hour 15 minutes, or until the flan is set and the cake is fully cooked. Test doneness by inserting a toothpick into the cake layer; it should come out clean.
- Cool and chill: Allow the chocoflan to cool completely at room temperature, then refrigerate for at least 4 hours or overnight to let the layers set and flavors meld.
- Serve: Once chilled, carefully invert the chocoflan onto a serving plate so the caramel and flan layers are on top. Slice and enjoy your magical dessert!
Notes
- Using Mexican vanilla extract enhances the authentic flavor of the flan.
- Make sure to soften the butter and cream cheese to room temperature for easier mixing and smoother texture.
- Do not skip the water bath; it prevents the flan from cracking and ensures a creamy texture.
- Refrigerating overnight intensifies the flavor and makes slicing cleaner.
- Use a deep enough pan for the water bath to avoid water spilling into the flan pan.
- Leftover chocoflan can be stored covered in the refrigerator for up to 3 days.

