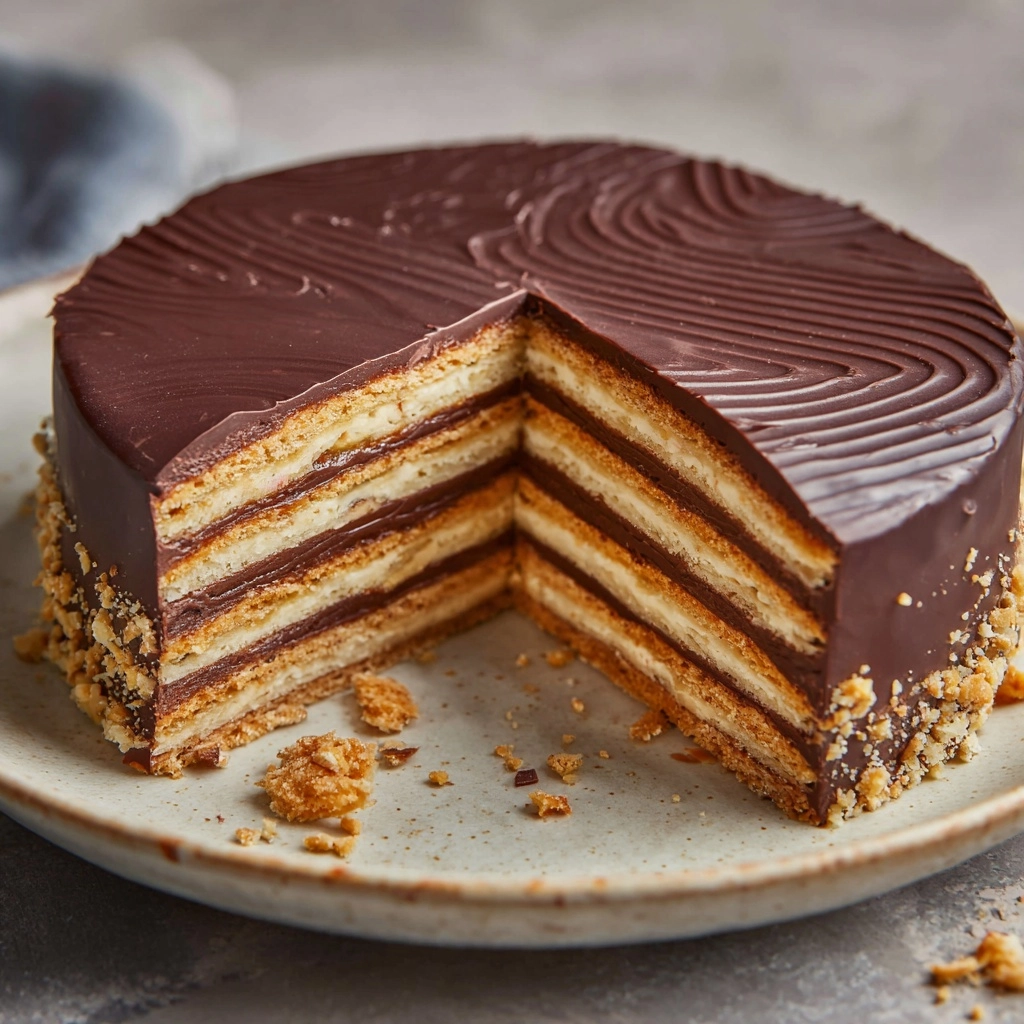
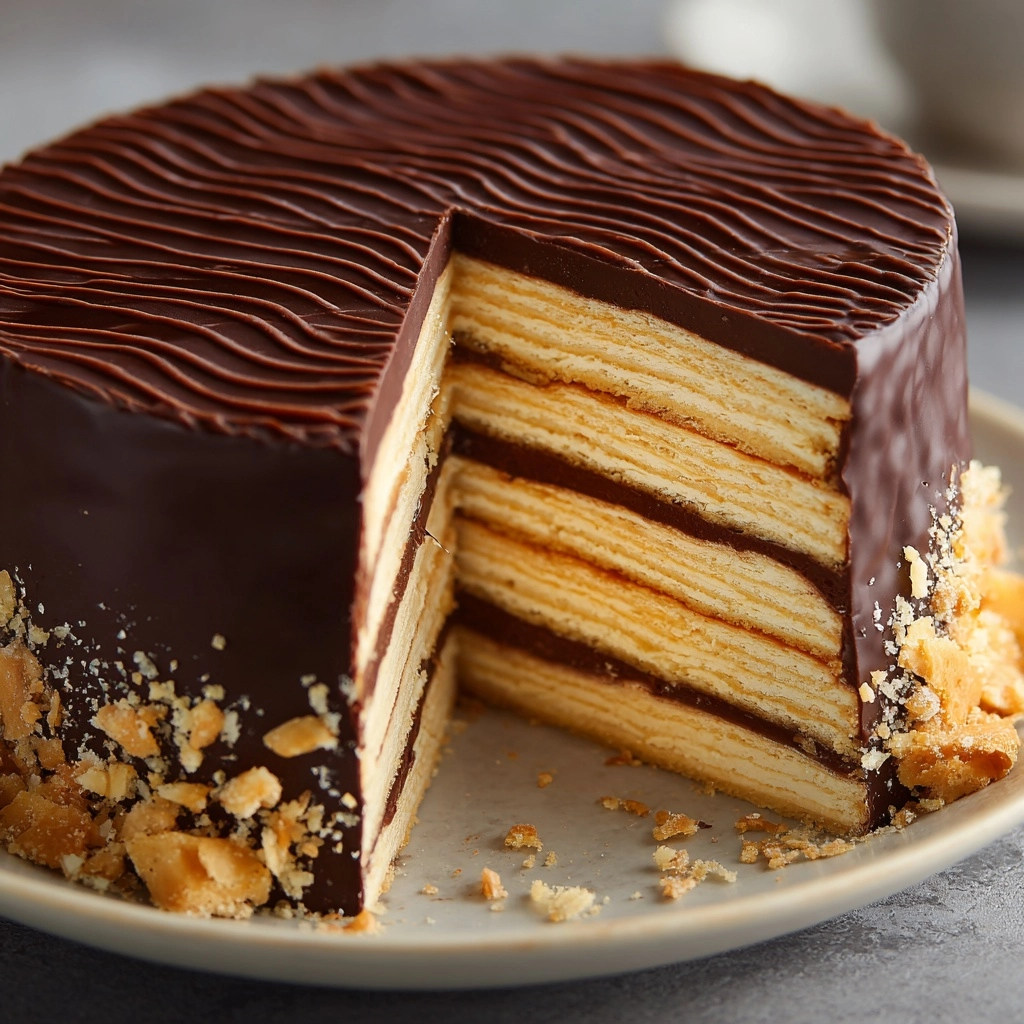
If you’re craving a rich, indulgent dessert that feels decadent yet is incredibly easy to make, this No-Bake Chocolate Biscuit Cake Recipe is going to become your new secret weapon. Imagine crunchy biscuit pieces enveloped in a silky, glossy chocolate mixture that sets into a firm, sliceable cake with zero oven time. It’s a nostalgic treat with a luxurious twist — perfect for impressing friends or simply satisfying your own sweet tooth without breaking a sweat in the kitchen.
Ingredients You’ll Need
The beauty of the No-Bake Chocolate Biscuit Cake Recipe lies in its simplicity. Each ingredient is thoughtfully chosen to bring a specific flavor or texture that harmonizes into a luscious, no-fuss dessert. From crunchy biscuits to smooth chocolate, these essentials work together effortlessly.
- 200g digestive biscuits (or graham crackers): Provide the perfect crunchy texture and base for the cake.
- 1/2 cup unsalted butter: Adds richness and helps the chocolate set smoothly.
- 1/2 cup heavy cream: Gives the chocolate mixture a creamy depth and softness.
- 1/4 cup granulated sugar: Sweetens the mixture just right without overpowering the chocolate.
- 200g dark chocolate (chopped): The star ingredient that delivers deep, intense flavor and glossy texture.
- 1 teaspoon vanilla extract: Enhances the chocolate’s natural aroma and flavor complexity.
- Pinch of salt: Balances the sweetness and accentuates the chocolate’s rich notes.
- Optional toppings (chopped nuts, sea salt flakes, or melted white chocolate drizzle): Add crunch, contrast, or an elegant finish to the cake.
How to Make No-Bake Chocolate Biscuit Cake Recipe
Step 1: Prepare the Biscuits
Start by breaking the digestive biscuits into small, bite-sized pieces and place them in a large mixing bowl. This gives the cake its classic texture with crunchy bits nestled in smooth chocolate, making every bite interesting.
Step 2: Melt the Chocolate Mixture
In a saucepan over medium heat, melt together the butter, heavy cream, and sugar. Stir gently as the sugar dissolves and the mixture starts to simmer. This creamy base ensures the chocolate blends flawlessly, creating a luscious coating for the biscuits.
Step 3: Incorporate Chocolate and Flavorings
Remove the saucepan from heat and add in the chopped dark chocolate, vanilla extract, and a pinch of salt. Stir this mixture until the chocolate has completely melted and the sauce is smooth and glossy. This step is where all the flavors come beautifully together.
Step 4: Combine Biscuits with Chocolate
Pour the warm chocolate sauce over the broken biscuits. Use a sturdy spatula to gently fold everything together, making sure every piece is evenly coated with the rich chocolate mixture.
Step 5: Set the Cake
Line a loaf pan or square pan with parchment paper, then press the chocolate-biscuit mix firmly into it. Smooth the top with a spatula for a neat finish. Pop it in the refrigerator and let it chill for at least four hours, or until completely set into a firm cake.
Step 6: Slice and Enjoy
Once chilled, lift your cake out of the pan using the parchment edges. Slice into thick, satisfying pieces and serve chilled or at room temperature to experience the full spectrum of flavors and textures.
How to Serve No-Bake Chocolate Biscuit Cake Recipe

Garnishes
Elevate your presentation by sprinkling chopped nuts, a few sea salt flakes, or drizzling melted white chocolate over the top. These finishing touches not only add visual appeal but introduce contrasting textures and flavors that make each bite more exciting.
Side Dishes
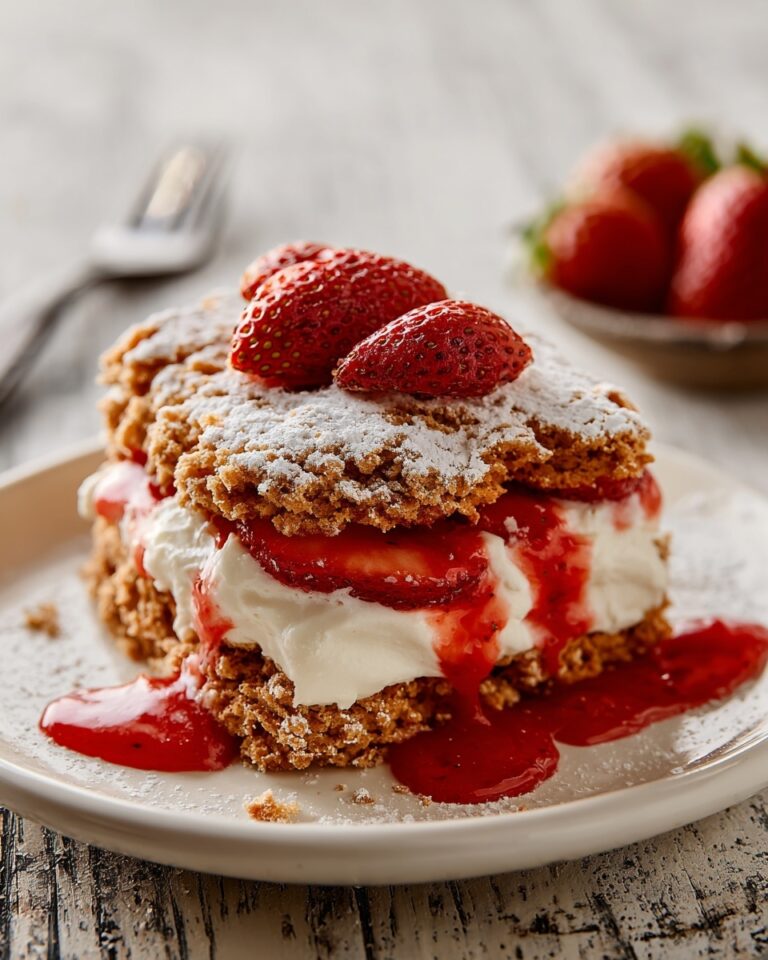
This cake pairs wonderfully with a dollop of fresh whipped cream or a scoop of vanilla ice cream, balancing the cake’s intense chocolate richness with cool and creamy elements. Fresh berries can also brighten the dish with a refreshing burst of sweetness.
Creative Ways to Present
For parties or gifts, consider cutting the cake into bite-sized cubes and arranging them on a platter with decorative toothpicks. You could also slice it thinly and serve alongside coffee or tea for a sophisticated afternoon treat. Wrapping individual slices in parchment paper makes for charming homemade gifts.
Make Ahead and Storage
Storing Leftovers
After enjoying your No-Bake Chocolate Biscuit Cake Recipe, wrap any leftovers tightly in plastic wrap or store them in an airtight container in the refrigerator. The cake stays fresh and indulgent for up to one week, maintaining that perfect texture without drying out.
Freezing
If you want to keep this deliciousness for longer, freeze the cake wrapped well in plastic and foil. It can be stored for up to two months. To serve, thaw in the refrigerator overnight to preserve its firm but tender texture.
Reheating
This cake is best enjoyed cold or at room temperature, so reheating is not recommended. If you prefer it slightly softer, let it sit out of the fridge for 15-20 minutes before serving to soften without losing its signature bite.
FAQs
Can I use other types of biscuits besides digestive?
Absolutely! Graham crackers are a popular alternative that work just as well, providing a similar sweetness and texture. Feel free to experiment with your favorite buttery cookies for different flavor notes.
Is it possible to make this cake dairy-free?
Yes! Substitute the butter with a plant-based margarine and use coconut cream instead of heavy cream. Choose dairy-free chocolate, and you’ll still have a rich, satisfying cake with all the same no-bake convenience.
Can I add toppings inside the cake mixture?
Definitely! Chopped dried fruits, marshmallows, or even nuts can be folded into the biscuit and chocolate base for extra texture and flavor bursts throughout the cake.
What chocolate is best for this recipe?
Dark chocolate with around 60-70% cocoa content is ideal for depth of flavor and a slightly bittersweet balance. You can mix in some milk chocolate if you like your cake sweeter and creamier.
How long does it take to set properly in the fridge?
For the perfect firm texture, chilling the cake for a minimum of 4 hours is recommended. Overnight chilling is even better, allowing the flavors to meld beautifully and the cake to slice cleanly.
Final Thoughts
If you’ve been searching for a dessert that feels both impressive and effortless, the No-Bake Chocolate Biscuit Cake Recipe is a game-changer. It’s rich, textured, and utterly satisfying, with no oven required — making it perfect for any occasion. Trust me, once you try it, this recipe will quickly become one of your favorites to whip up and share with all your loved ones.
Print
No-Bake Chocolate Biscuit Cake Recipe
- Prep Time: 15 minutes
- Cook Time: 5 minutes
- Total Time: 4 hours 20 minutes
- Yield: 10 servings
- Category: Dessert
- Method: No-Cook
- Cuisine: European
- Diet: Vegetarian
Description
This No-Bake Chocolate Biscuit Cake is a rich and delicious dessert that requires no oven and minimal preparation. Combining crunchy digestive biscuits with a luscious chocolate cream mixture, this cake is perfect for those seeking a quick indulgence that chills to perfection in the refrigerator. Easily customized with your favorite toppings, it’s a delightful treat for any occasion.
Ingredients
Base
- 200g digestive biscuits (or graham crackers)
Chocolate Mixture
- 1/2 cup unsalted butter
- 1/2 cup heavy cream
- 1/4 cup granulated sugar
- 200g dark chocolate, chopped
- 1 teaspoon vanilla extract
- Pinch of salt
Optional Toppings
- Chopped nuts
- Sea salt flakes
- Melted white chocolate drizzle
Instructions
- Prepare Biscuits: Break the digestive biscuits into small, bite-sized pieces and place them in a large mixing bowl to form the cake’s crunchy base.
- Make Chocolate Mixture: In a saucepan set over medium heat, melt the unsalted butter, heavy cream, and granulated sugar together. Stir continuously until the sugar dissolves and the mixture begins to gently simmer; then remove from heat.
- Combine Chocolate: Stir in the chopped dark chocolate, vanilla extract, and a pinch of salt to the warm butter-cream mixture, mixing until the chocolate is completely melted and the mixture is smooth.
- Coat Biscuits: Pour the chocolate mixture over the broken biscuits in the bowl. Stir thoroughly to ensure all biscuit pieces are evenly coated with the chocolate.
- Shape the Cake: Line a loaf or square pan with parchment paper. Press the coated biscuit mixture firmly into the pan, smoothing the surface evenly using a spatula.
- Chill: Refrigerate the cake for at least 4 hours to allow it to set and firm up properly.
- Serve: Once set, lift the cake from the pan using the parchment paper, slice into pieces, and serve chilled or at room temperature. Optionally, garnish with chopped nuts, sea salt flakes, or a drizzle of melted white chocolate.
Notes
- For a sweeter flavor, use a mix of milk and dark chocolate instead of only dark chocolate.
- Add chopped dried fruits or marshmallows to the biscuit mix for extra texture and flavor.
- Store the cake in the refrigerator for up to one week or freeze it for extended storage.


