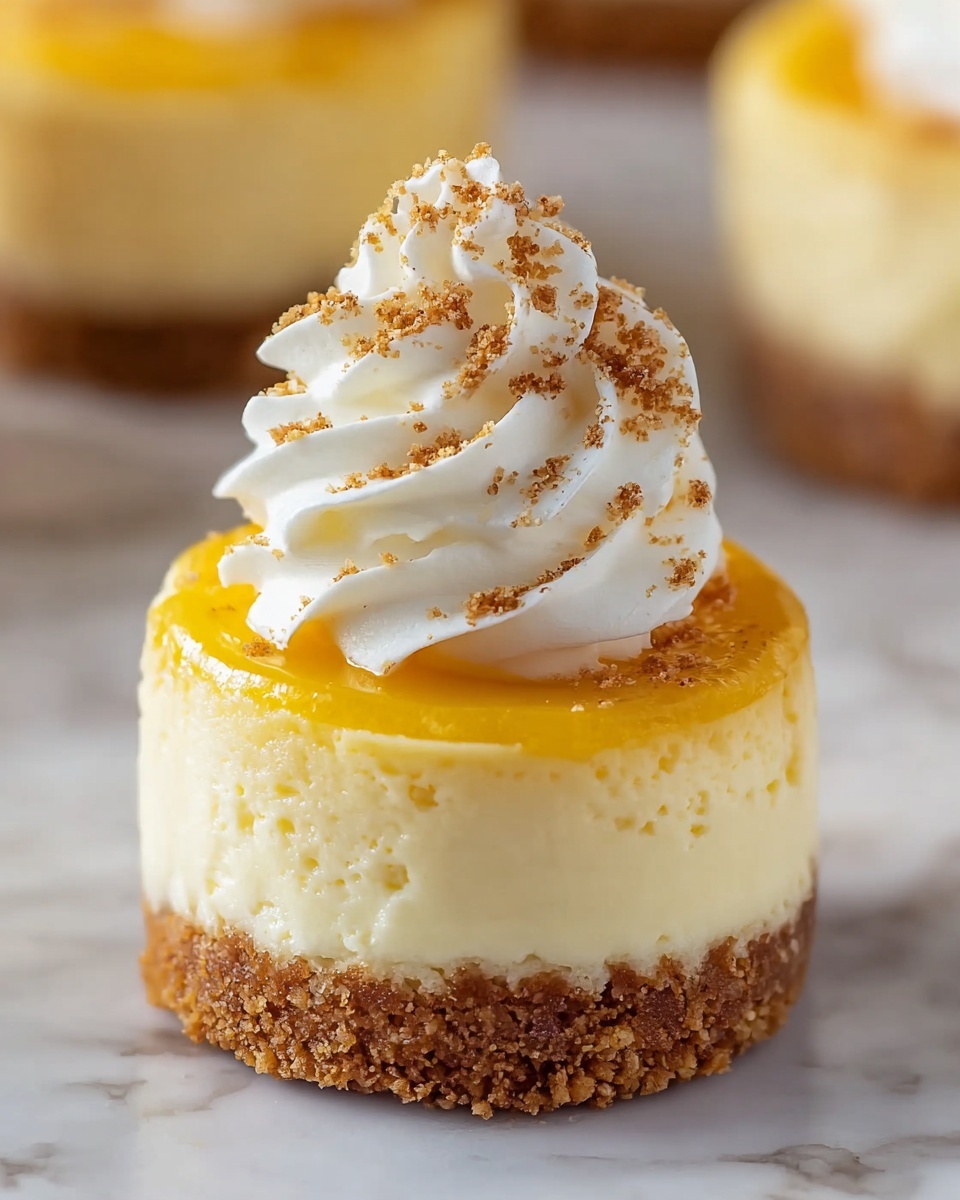
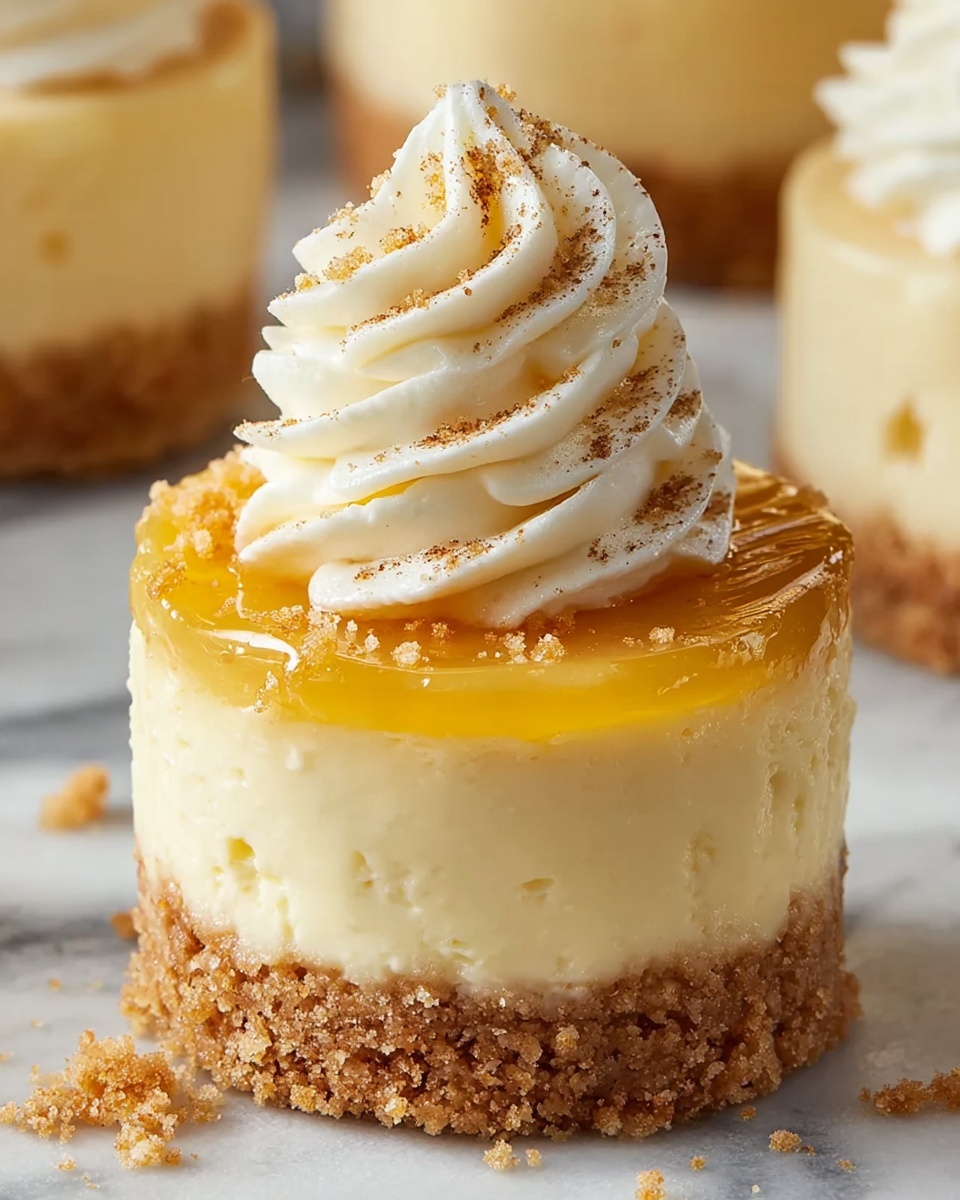
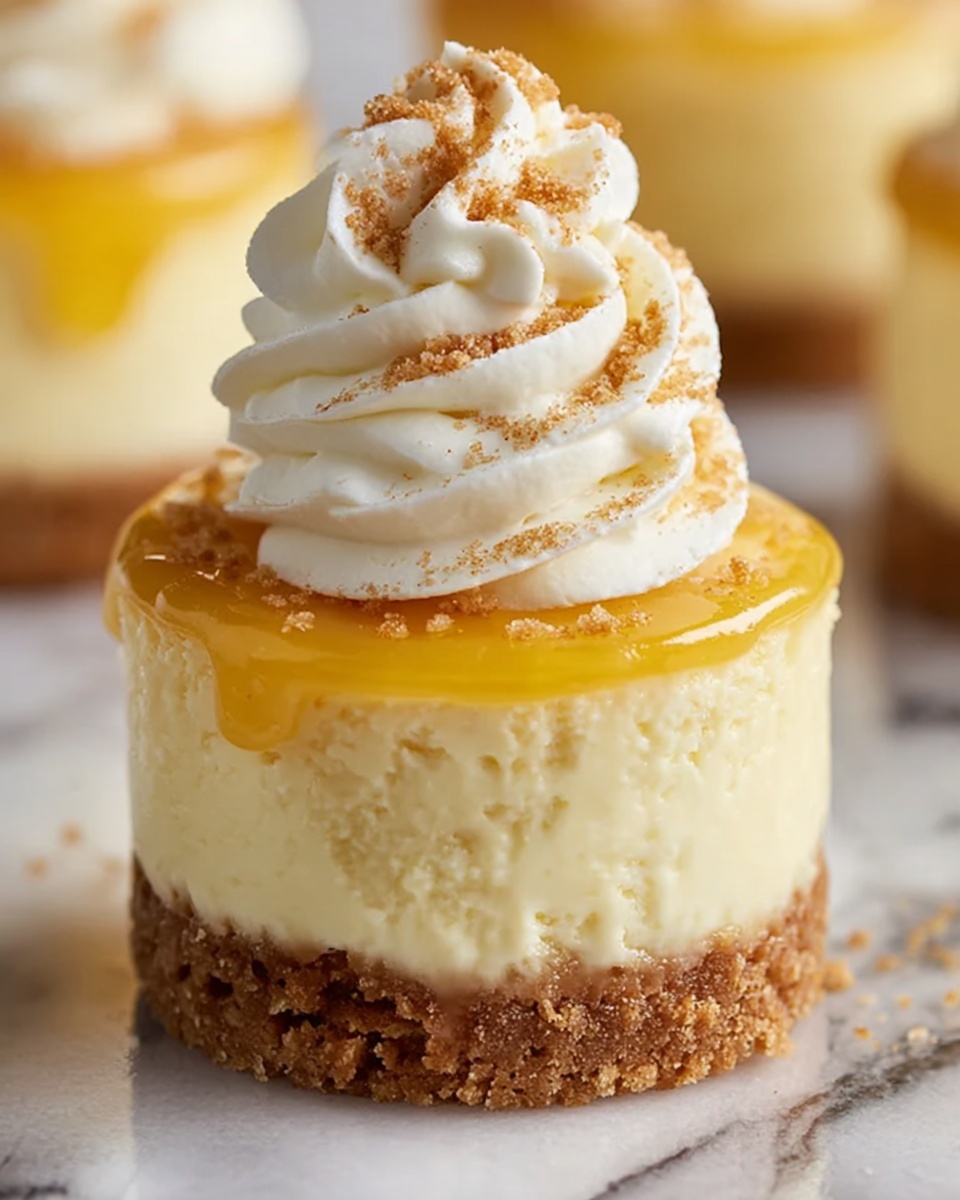
If ever there was a dessert that felt like a joyous celebration in each bite, these Mini Cheesecakes with Fresh Fruit, Whipped Cream, and Chocolate Ganache Recipe definitely take the crown. Imagine a delicate graham cracker crust hugging a luscious, creamy cheesecake filling, perfectly bite-sized and topped with the brightness of fresh fruit, the airy softness of whipped cream, and a decadent drizzle of chocolate ganache. This recipe is like a little party on your plate that’s as beautiful to look at as it is irresistible to devour.
Ingredients You’ll Need
Getting these mini cheesecakes just right starts with a handful of simple ingredients that each play a crucial role in creating the perfect texture, flavor, and eye-catching color contrast.
- 1 cup Graham Cracker Crumbs: Provides the buttery, crunchy base that holds everything together.
- 1/4 cup Granulated Sugar: Sweetens both the crust and the creamy filling for balanced flavor.
- 1/4 cup Unsalted Butter: Melted to bind the graham cracker crumbs into a firm crust.
- 16 ounces Cream Cheese: The star ingredient—softened to ensure a smooth, velvety filling.
- 1/2 cup Sour Cream: Adds a delightful tang and lightness to the cheesecake texture.
- 2 large Eggs: Essential for setting the filling with just the right firmness.
- 1 teaspoon Vanilla Bean Paste: Brings a rich, aromatic depth to every bite.
- Fresh Fruits: For topping—choose vibrant berries or slices of your favorite fruits.
- Whipped Cream: Adds a creamy, airy finish to the mini cheesecakes.
- Chocolate Ganache: A glossy, decadent drizzle that makes these cheesecakes truly special.
How to Make Mini Cheesecakes with Fresh Fruit, Whipped Cream, and Chocolate Ganache Recipe
Step 1: Prepare the Oven and Crust
Start by preheating your oven to 325°F (163°C) so it’s ready when you are. Mix the graham cracker crumbs with sugar in a bowl, then add the melted butter until the mixture feels like wet sand. This texture is key to forming a crust that’s both firm and crumbly. Line a muffin tin with paper liners and firmly press about one tablespoon of this mixture into each cup to create a solid base. This step lays down the foundation of your mini cheesecakes’ irresistible crunch.
Step 2: Make the Cheesecake Filling
Next, in a large bowl, beat the softened cream cheese until it’s ultra smooth—no lumps allowed! Slowly mix in the sugar until fully blended, then add sour cream to infuse tangy creaminess. Incorporate eggs one at a time, mixing at low speed to keep the batter light and airy. Finally, blend in the vanilla bean paste for a sweet, fragrant finish that elevates the entire filling.
Step 3: Bake to Perfection
Pour the luscious filling into each crust-lined muffin cup, filling about three-quarters full to allow a smooth rise. Bake these for 20 to 25 minutes; the edges should be set while the centers wobble slightly when you gently shake the pan. This balance ensures a creamy, melt-in-your-mouth texture without overbaking. Once done, turn off the oven, crack the door, and let the cheesecakes cool inside for 30 minutes—it’s a smart step that prevents cracking.
Step 4: Chill and Decorate
After cooling in the oven, move the mini cheesecakes to room temperature, then refrigerate for at least four hours or overnight. Chilling sets the cheesecake completely, allowing those layers of flavor to marry beautifully. When ready to serve, carefully peel away the liners and top each mini cheesecake with fresh fruit, a dollop of whipped cream, and an artistic drizzle of chocolate ganache. This final touch turns these little desserts into showstoppers.
How to Serve Mini Cheesecakes with Fresh Fruit, Whipped Cream, and Chocolate Ganache Recipe
Garnishes
Accessorizing these mini cheesecakes is half the fun! Fresh berries like raspberries, blueberries, or strawberry slices add bursts of sweetness and gorgeous color contrasts. A swirl of freshly whipped cream softens each bite, while dark or milk chocolate ganache lends a glossy, rich finish. Sprinkle a few chopped nuts or edible flowers if you want to really wow your guests.
Side Dishes
Though these mini cheesecakes shine alone, they also pair wonderfully with light accompaniments. A crisp glass of sparkling wine, fruity sangria, or a cup of rich coffee can balance the creamy sweetness perfectly. For a casual dessert spread, add a platter of mixed nuts or a fresh fruit salad to keep the flavors bright and refreshing.
Creative Ways to Present
Presentation makes these mini treats even more irresistible. Serve them on a tiered cake stand for a stunning centerpiece at your gathering. Alternatively, place each on a small decorative plate with a spoonful of extra whipped cream beside it. If you’re feeling playful, use clear mini jars to showcase the layers visually, topping each with fresh fruit and a drizzle of ganache right before serving.
Make Ahead and Storage
Storing Leftovers
Mini cheesecakes are best enjoyed within three to four days when stored properly. Keep them covered in an airtight container in the refrigerator to preserve their creamy texture and freshness. If you’ve already added whipped cream or ganache, keep them chilled until just before serving to avoid sogginess.
Freezing
If you want to make these mini cheesecakes well ahead of time, they freeze beautifully. After baking and cooling, remove the liners and wrap each cheesecake tightly in plastic wrap. Place them in an airtight container or freezer bag, and freeze for up to two months. Thaw overnight in the fridge before adding fresh toppings.
Reheating
Generally, mini cheesecakes are served chilled, but if you prefer a slightly softer texture, allow them to sit at room temperature for 15-20 minutes before enjoying. Avoid microwaving as it can cause the filling to become grainy and the crust soggy.
FAQs
Can I use a different type of crust?
Absolutely! While the classic graham cracker crust is delicious, you can experiment with crushed cookies like Oreos or digestive biscuits to create a unique flavor and texture profile.
What fresh fruits work best as toppings?
Bright and slightly tart fruits like strawberries, raspberries, blueberries, and kiwi complement the creamy richness of these cheesecakes perfectly, but feel free to use seasonal fruit of your choice.
Is it possible to make this recipe dairy-free?
Substitutions like dairy-free cream cheese and vegan butter can work, but the texture and taste may vary slightly. Be sure to use a reliable dairy-free cream cheese to maintain that classic cheesecake feel.
How long do I need to chill the cheesecakes?
For the best results, chill the cheesecakes for a minimum of four hours, though overnight chilling helps the flavors fully develop and sets the texture beautifully.
Can I prepare these mini cheesecakes for a party?
Yes! These mini cheesecakes are perfect for entertaining because they’re pre-portioned and customizable with toppings. They’re sure to impress your guests with their elegant look and rich flavor.
Final Thoughts
I honestly can’t recommend this Mini Cheesecakes with Fresh Fruit, Whipped Cream, and Chocolate Ganache Recipe enough. It combines so many delightful textures and flavors into an easy-to-make dessert that feels both indulgent and fresh. Whether you’re making it for a family dessert night or a special occasion, this recipe is sure to become a treasured favorite in your baking repertoire. Go ahead—bake a batch and watch everyone fall in love!
Print
Mini Cheesecakes with Fresh Fruit, Whipped Cream, and Chocolate Ganache Recipe
- Prep Time: 15 minutes
- Cook Time: 25 minutes
- Total Time: 4 hours 40 minutes
- Yield: 12 servings
- Category: Dessert
- Method: Baking
- Cuisine: American
- Diet: Vegetarian
Description
Delightful mini cheesecakes featuring a crunchy graham cracker crust and a smooth, creamy filling. These individual-sized treats are perfect for gatherings or as a decadent dessert, topped with fresh fruits, whipped cream, or rich chocolate ganache for an irresistible finish.
Ingredients
Crust
- 1 cup Graham Cracker Crumbs (can be made by crushing whole graham crackers or using store-bought crumbs)
- 1/4 cup Granulated Sugar (sweetens the crust and filling)
- 1/4 cup Unsalted Butter (melted, for binding the crust)
Filling
- 16 ounces Cream Cheese (softened, at room temperature)
- 1/2 cup Sour Cream (adds tanginess and creaminess)
- 2 large Eggs (help set the filling)
- 1 teaspoon Vanilla Bean Paste (enhances flavor)
- 1/4 cup Granulated Sugar (for sweetness in the filling)
Toppings
- Fresh Fruits (for topping)
- Whipped Cream (for topping)
- Chocolate Ganache (for topping)
Instructions
- Preheat Oven: Preheat your oven to 325°F (163°C) to ensure it is ready for baking the mini cheesecakes.
- Prepare Crust Mixture: In a medium bowl, combine graham cracker crumbs and sugar, mixing thoroughly.
- Add Butter to Crust: Pour in melted butter and stir until the crumbs have the texture of wet sand.
- Form Crusts: Line a muffin tin with paper liners then press approximately 1 tablespoon of the crumb mixture into the bottom of each liner to form the crust base.
- Beat Cream Cheese: In a large mixing bowl, beat the softened cream cheese until smooth and creamy.
- Incorporate Sugar: Gradually add sugar to the cream cheese and mix until fully combined and smooth.
- Add Sour Cream: Mix in sour cream until the mixture is uniform.
- Add Eggs: Add eggs one at a time, mixing on low speed after each addition until blended well.
- Add Vanilla Bean Paste: Stir in vanilla bean paste and mix thoroughly.
- Fill Crusts: Spoon the cheesecake filling into each crust, filling about three-quarters full.
- Bake: Bake the cheesecakes for 20-25 minutes until the edges are set but the centers remain slightly jiggly.
- Cool in Oven: Turn off the oven and crack the door open, allowing the cheesecakes to cool inside for 30 minutes to prevent cracking.
- Cool Completely: Remove the cheesecakes from the oven and cool completely at room temperature before refrigerating.
- Chill: Refrigerate the mini cheesecakes for at least 4 hours or overnight to set fully.
- Add Toppings and Serve: Peel away the paper liners and garnish with fresh fruits, whipped cream, or chocolate ganache before serving.
Notes
- Make sure the cream cheese is softened to room temperature to avoid lumps in the filling.
- Do not overbake; slightly jiggly centers ensure creamy texture after chilling.
- Cooling cheesecakes slowly in the oven reduces the chance of cracks on the top.
- Use paper liners for easy removal and neat presentation of mini cheesecakes.
- Store leftover mini cheesecakes covered in the refrigerator for up to 3 days.
- Customize toppings with seasonal fruits or other preferred garnishes for variety.


