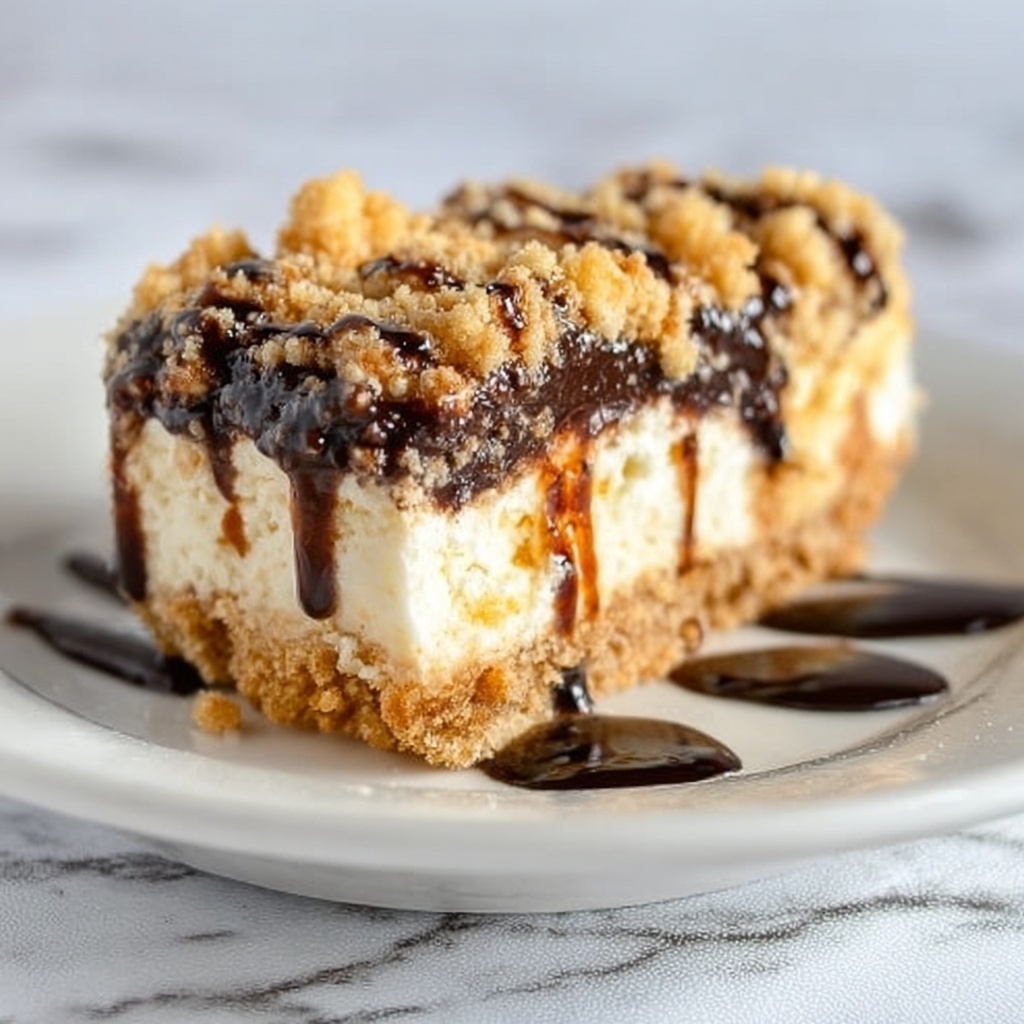
If you have a sweet tooth and a love for nostalgic treats, you absolutely have to try this delightful Krispie Ice Cream Squares Recipe. This dessert combines the irresistible crunch of Rice Krispies with the creamy, dreamy texture of vanilla ice cream to create a cool and crunchy slice of heaven. Whether you’re hosting a summer gathering or just craving a fun twist on classic Rice Krispies treats, this recipe is a guaranteed crowd-pleaser, blending simplicity and indulgence in every bite.
Ingredients You’ll Need
This Krispie Ice Cream Squares Recipe shines with a short list of ingredients that each play a crucial role. They are simple but essential, contributing to the rich flavor, crunchy texture, and creamy coolness that make this dessert so special.
- 3/4 cup butter (softened): Adds richness and helps bind the Rice Krispies together for that perfect chew.
- 1 & 1/2 cups brown sugar: Provides a deep, caramel-like sweetness that enhances the cereal’s flavor.
- 3 & 3/4 cups Rice Krispies cereal: The iconic crunchy base giving this dish its signature crispness and light texture.
- 1/2 gallon vanilla ice cream (softened): The creamy, smooth centerpiece that balances the crispy layers perfectly.
- Favorite ice cream toppings (optional): Customize your squares with anything from sprinkles to chocolate chips for that extra touch.
How to Make Krispie Ice Cream Squares Recipe
Step 1: Mix the Base Ingredients
Start by combining the softened butter, brown sugar, and Rice Krispies cereal in a large bowl or stand mixer. Using a mixer is a neat trick because it gently crushes some of the Rice Krispies, lending a more complex texture to the final squares. The butter and sugar coat the cereal, infusing it with sweet richness that makes every bite satisfying.
Step 2: Form the Bottom Layer
Next, take half of the mixed Rice Krispies and spread it evenly across the bottom of an ungreased 9×13 pan. Press it firmly with your fingers to create a compact base; dipping your fingers in water helps avoid sticking. This firm crust provides a sturdy foundation that holds everything together beautifully. If you’re making a smaller batch, an 8×8 pan will work perfectly.
Step 3: Add the Ice Cream Layer
Now for the star ingredient: spread the softened vanilla ice cream over the Rice Krispies base. The goal here is to create a smooth, even layer that sits nicely on top. Don’t worry about melting—taking the ice cream out 10 to 20 minutes early makes it easier to work with, and it will firm up again in the freezer.
Step 4: Top with Remaining Krispies
Sprinkle the rest of the Rice Krispies mixture over the ice cream layer. This final crunchy topping adds contrast and gives the dessert that irresistible multi-texture experience that everyone will love. Gently pat it down so the topping adheres slightly to the ice cream layer beneath.
Step 5: Freeze Until Firm
Cover your masterpiece and pop it in the freezer for at least two to three hours. This chilling time is essential to let all the layers meld together and to firm up the ice cream, making it easy to cut into neat squares.
Step 6: Serve and Enjoy!
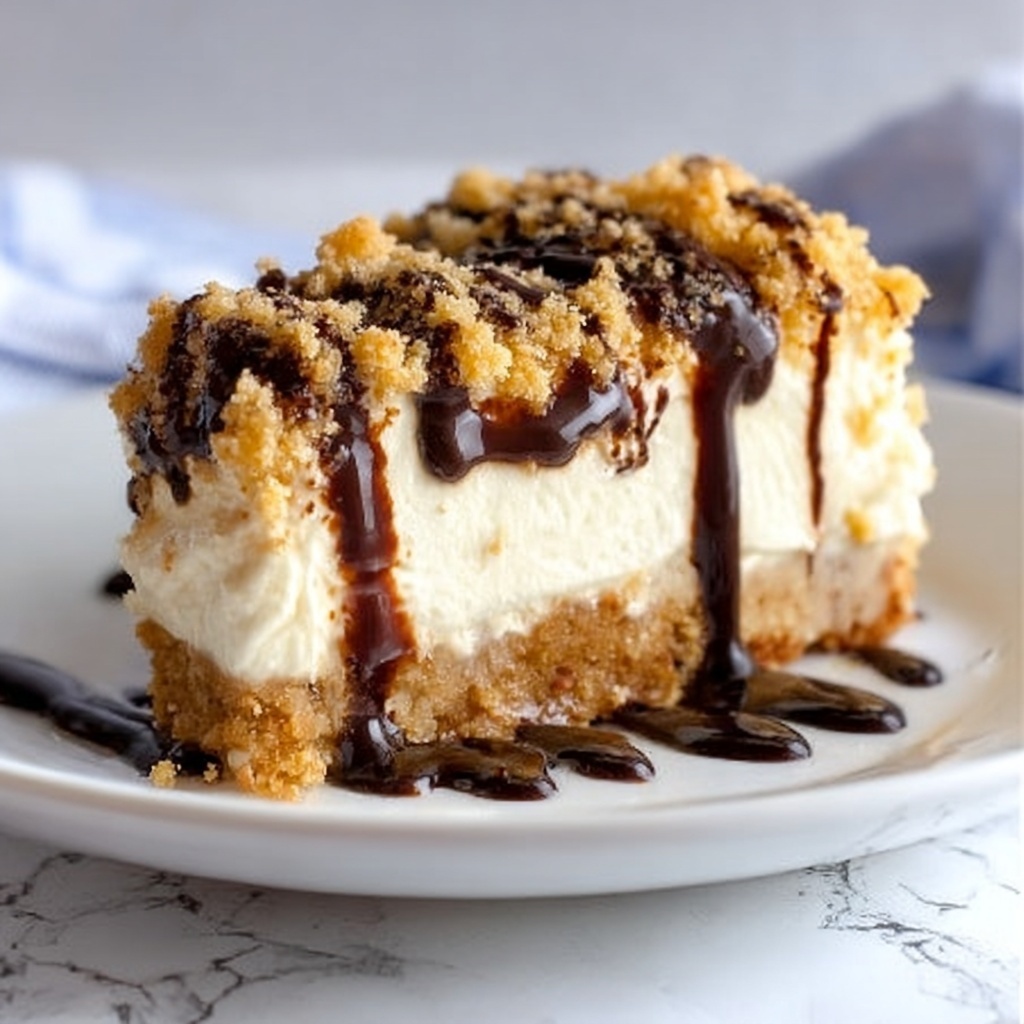
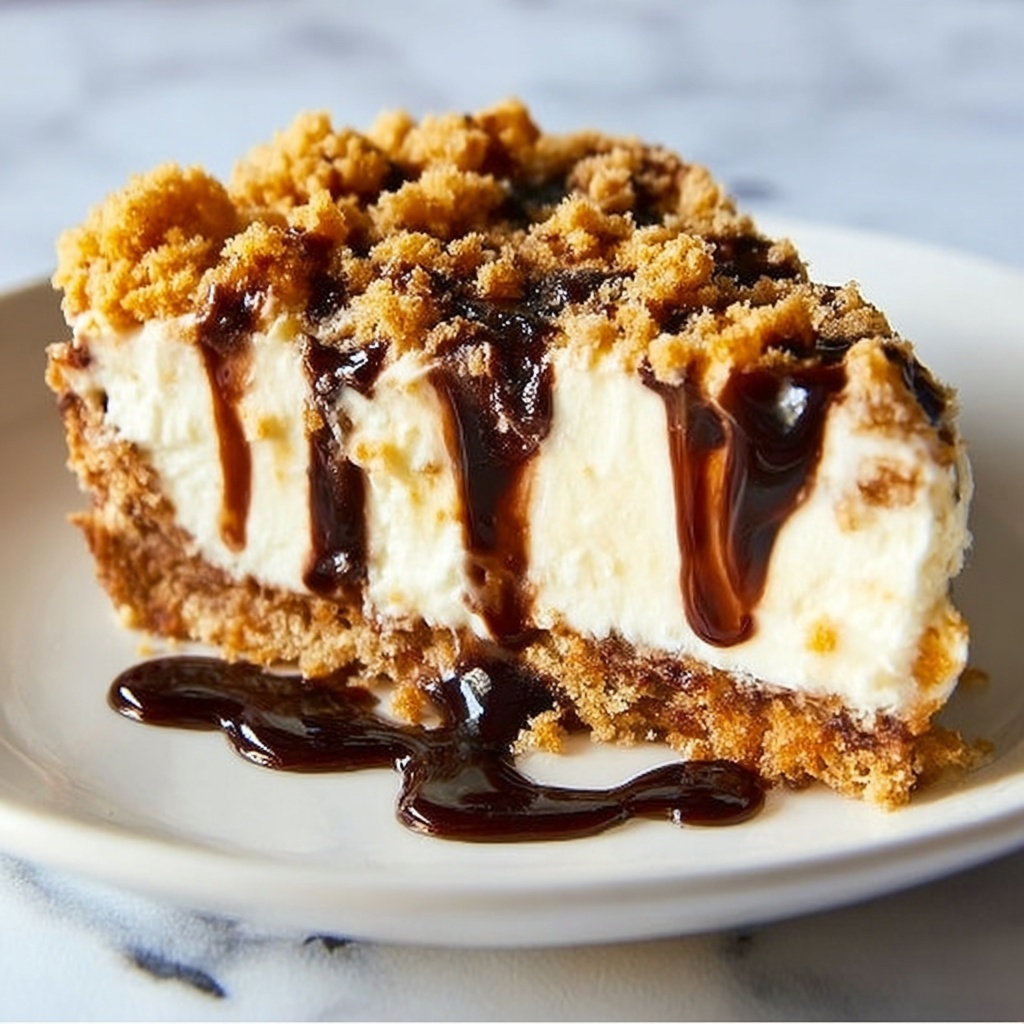
When your Krispie Ice Cream Squares Recipe is ready, slice into squares and serve. They’re delicious as-is, but feel free to add your favorite ice cream toppings or a drizzle of chocolate or caramel sauce for some extra flair!
How to Serve Krispie Ice Cream Squares Recipe
Garnishes
Enhancing your Krispie Ice Cream Squares with garnishes can make them even more delightful. Fresh berries, chopped nuts, colorful sprinkles, or even a sprinkle of sea salt can elevate the flavors and add a charming touch. Pick toppings that contrast or complement the sweet and crunchy layers.
Side Dishes
These squares are wonderfully versatile. Serve them alongside fresh fruit salad, a cup of rich coffee, or a light and bright sorbet to balance the creaminess. Because they’re so hearty and sweet, pairing with simple sides keeps the meal refreshing and well-rounded.
Creative Ways to Present
For parties, consider cutting these squares into bite-sized pieces and placing them on decorative trays or skewers for a fun, finger-food dessert. You can also layer them in glass jars for a pretty parfait-style presentation, adding whipped cream or sauce between layers for added indulgence.
Make Ahead and Storage
Storing Leftovers
If you have any Krispie Ice Cream Squares Recipe left after a celebration, store them tightly covered in the freezer or refrigerator. Keeping them sealed prevents freezer burn and helps maintain the crunchy texture and creamy consistency.
Freezing
This dessert freezes beautifully. Wrap individual squares or the whole pan tightly with plastic wrap and aluminum foil. When you’re ready to enjoy them, just thaw for a few minutes at room temperature to soften slightly for the best texture.
Reheating
No need to reheat these squares since they are enjoyed cold and creamy. Just let them sit out for a few minutes before serving to get your perfect scoopable consistency without losing any of the classic crunch.
FAQs
Can I use other types of ice cream for the Krispie Ice Cream Squares Recipe?
Absolutely! Vanilla is classic for a reason, but feel free to experiment with chocolate, strawberry, or even mint ice cream to add a new dimension of flavor to your squares.
What if I don’t have a stand mixer?
No worries! You can mix everything by hand using a large bowl and sturdy spoon. The texture might be a bit different, but the taste will still be fantastic.
Can I make this recipe vegan or dairy-free?
Yes! Use dairy-free butter, brown sugar, and your favorite plant-based vanilla ice cream. Make sure your Rice Krispies or similar cereal is vegan-friendly to keep the dessert entirely plant-based.
How long can I keep Krispie Ice Cream Squares in the freezer?
For best quality, enjoy them within two weeks. After that, the texture of the ice cream and the cereal might start to deteriorate.
Can I add mix-ins to the Krispie Ice Cream Squares Recipe?
Definitely! Chocolate chips, mini marshmallows, or crushed cookies can be folded into the Rice Krispies mixture or sprinkled on top for added fun and flavor.
Final Thoughts
This Krispie Ice Cream Squares Recipe is a wonderful combination of textures and flavors that brings a fresh twist to two classic favorites. It’s effortless to make but impressive to serve, and every bite delivers creamy sweetness and crispy joy. Give it a try the next time you’re in the mood for something nostalgic and refreshing—a true crowd-pleaser that never gets old!
Print
Krispie Ice Cream Squares Recipe
- Prep Time: 15 minutes
- Cook Time: 0 minutes
- Total Time: 15 minutes plus 2-3 hours freezing
- Yield: 16 servings
- Category: Dessert
- Method: No-Cook
- Cuisine: American
Description
Krispie Ice Cream Squares combine crunchy Rice Krispies cereal layered with creamy vanilla ice cream for a refreshing and delightful no-bake dessert. This treat is easy to prepare and perfect for warm days or any time you want a cool, crispy, and sweet snack.
Ingredients
Base Ingredients
- 3/4 cup butter (softened)
- 1 1/2 cups brown sugar
- 3 3/4 cups Rice Krispies cereal
Ice Cream Layer
- 1/2 gallon vanilla ice cream (softened for 10 to 20 minutes)
Optional Toppings
- Favorite ice cream toppings (optional)
Instructions
- Prepare Krispie Mixture: In a large bowl or using a stand mixer, combine softened butter, brown sugar, and Rice Krispies cereal. Mixing with a stand mixer helps crush the cereal slightly, improving the texture of the base layer.
- Form Base Layer: Spread half of the Krispie mixture evenly in the bottom of an ungreased 9×13 inch pan. Press the mixture firmly with wet fingers to create a compact layer. Use an 8×8 inch pan if halving the recipe.
- Layer Ice Cream: Spread a layer of softened vanilla ice cream evenly over the Krispie base. Smooth it out to create an even and flat layer covering the entire surface.
- Add Top Krispie Layer: Sprinkle the remaining Krispie mixture evenly over the ice cream layer, covering it completely.
- Freeze: Cover the pan and place it in the freezer for at least 2 to 3 hours to allow the layers to set and firm up.
- Serve: Once firm, remove from freezer and cut into squares. Add your favorite ice cream toppings if desired or enjoy as is.
Notes
- Make sure the vanilla ice cream is sufficiently softened (10 to 20 minutes at room temperature) for easy spreading.
- Wet your fingers before pressing the Krispie mixture to prevent sticking.
- You can customize with toppings such as chocolate syrup, sprinkles, nuts, or fresh fruit for extra flavor.
- Store leftovers covered in the freezer to maintain freshness.


