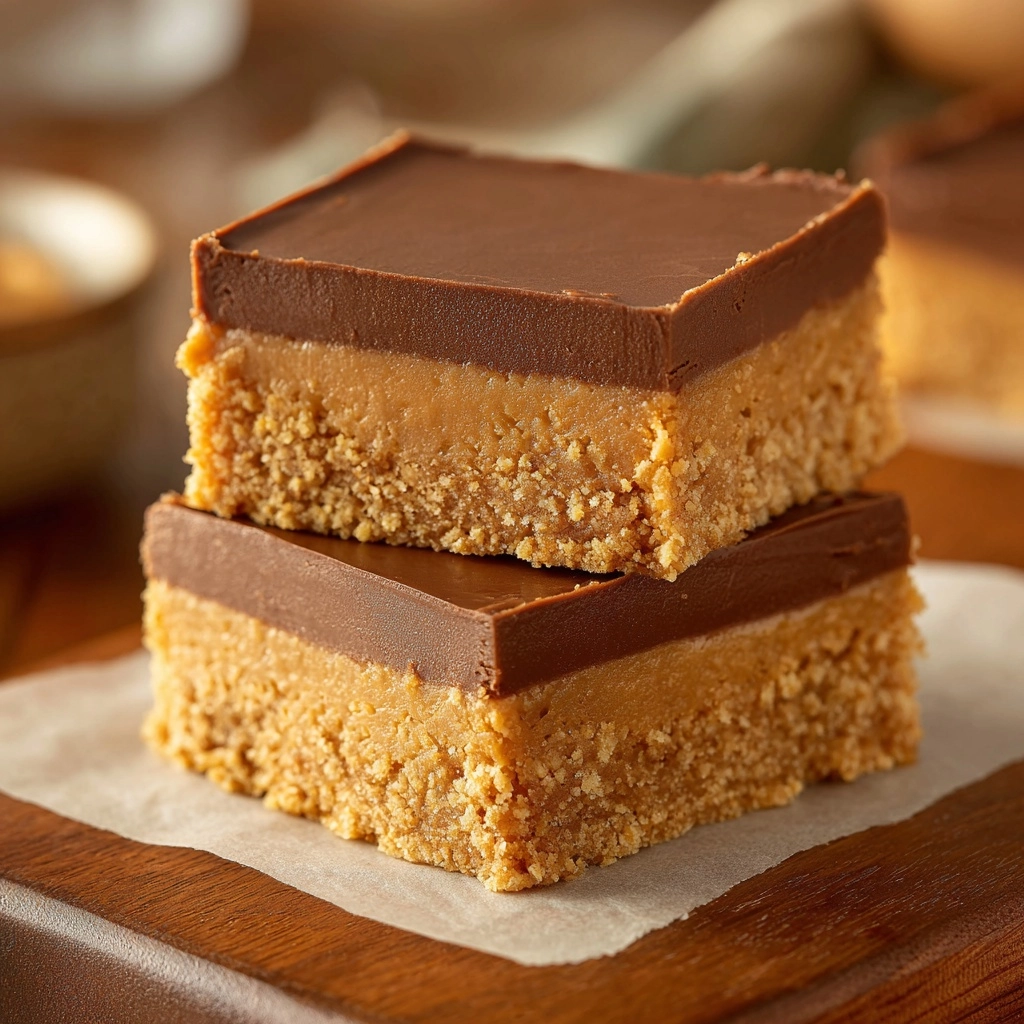
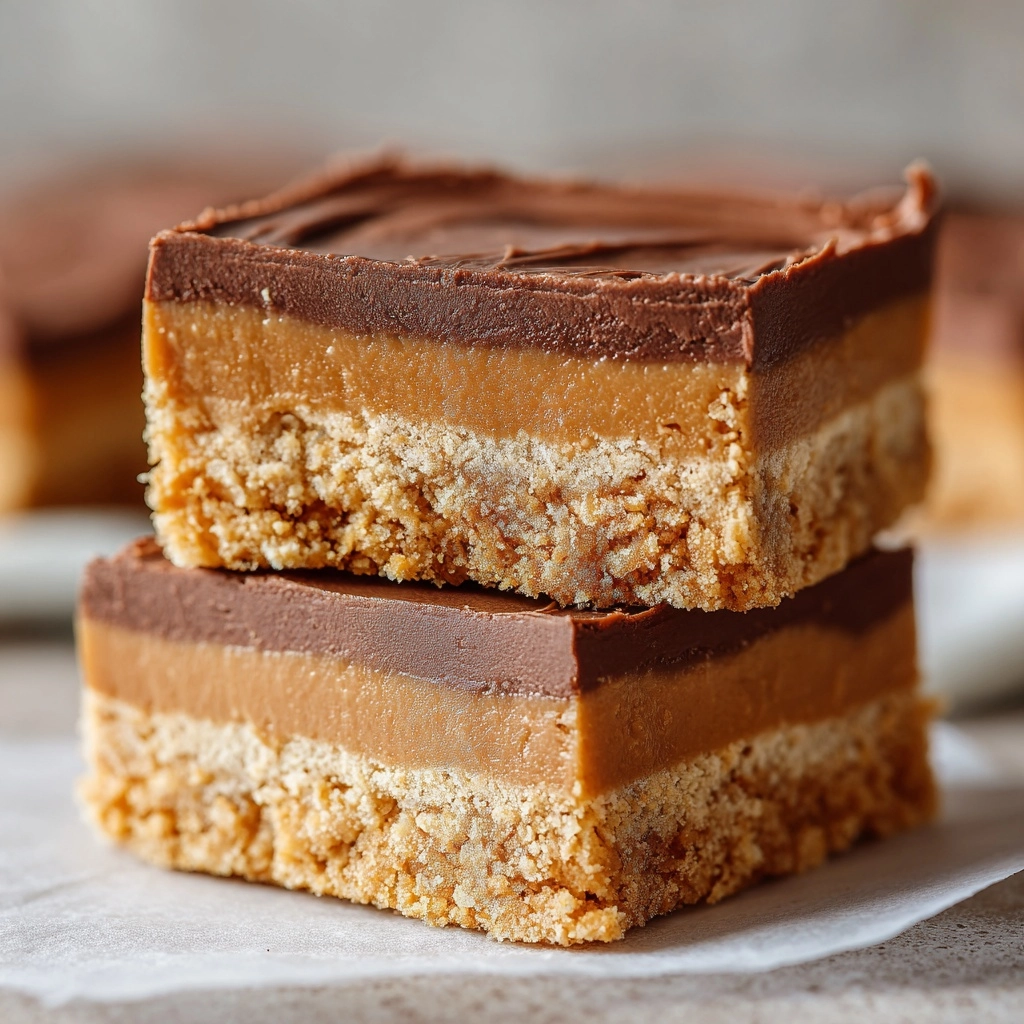
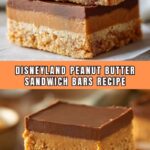
If you’ve ever wandered through Disneyland craving a sweet treat that feels like a hug in dessert form, you’re going to adore this Irresistible Disneyland’s Peanut Butter Sandwich Bars Recipe. Packed with creamy peanut butter, crunchy graham cracker crumbs, and topped with a luscious chocolate layer, these bars are a perfect balance of rich and comforting flavors. They’re surprisingly simple to make at home, and each bite offers that nostalgic taste that transports you straight to the happiest place on earth.
Ingredients You’ll Need
Getting these bars just right requires a handful of common ingredients, but each one plays a crucial role in the flavor and texture that make this recipe so special. From the smooth peanut butter to the silky melted chocolate, every component comes together effortlessly for a truly delicious result.
- 1 cup creamy peanut butter: Use smooth, sweetened peanut butter for the classic luscious texture and flavor.
- 1 cup graham cracker crumbs: These provide that signature crunch and a subtle honeyed touch to the base.
- 1/2 cup unsalted butter (melted): Adds richness and helps bind the ingredients perfectly.
- 1 cup powdered sugar: Brings the ideal level of sweetness without graininess.
- 1/2 teaspoon vanilla extract: Enhances the overall flavor with a warm, aromatic note.
- 1 1/2 cups semi-sweet chocolate chips: For melting into a glossy, decadent topping.
- 1 tablespoon vegetable oil: Helps melt the chocolate smoothly and gives it a beautiful shine.
How to Make Irresistible Disneyland’s Peanut Butter Sandwich Bars Recipe
Step 1: Prepare the Peanut Butter Base
Start by combining the graham cracker crumbs, powdered sugar, melted butter, vanilla extract, and creamy peanut butter in a medium bowl. Mix these well until the mixture is smooth and everything is fully blended. This forms the heart of your sandwich bars and sets the foundation for that wonderful texture you’ll love.
Step 2: Press the Base into the Pan
Line an 8×8-inch baking dish with parchment paper, then firmly press your peanut butter mixture into the bottom. It’s important to press evenly so that the bars hold together and slice beautifully after chilling.
Step 3: Melt the Chocolate Topping
In a microwave-safe bowl, combine the semi-sweet chocolate chips and vegetable oil. Heat this mixture in 30-second increments, stirring well between each burst until the chocolate is completely melted and silky smooth. This technique prevents overheating and gives you that perfect glossy finish.
Step 4: Spread the Chocolate Layer
Pour the melted chocolate evenly over the peanut butter base, spreading gently with a spatula to cover the entire surface. This chocolate layer is what makes the dessert feel extra indulgent and brings the whole flavor profile together.
Step 5: Chill Until Set
Place the baking dish in the refrigerator for at least 2 hours, allowing the bars to firm up completely. This chilling step is essential for achieving the perfect cutting consistency and a refreshing texture that’s easy to enjoy.
Step 6: Slice and Serve
Once the bars have fully set, lift them out of the pan using the parchment paper edges and slice into 16 squares. You can serve them chilled straight from the fridge or let them come to room temperature for a softer bite.
How to Serve Irresistible Disneyland’s Peanut Butter Sandwich Bars Recipe

Garnishes
Although these bars are amazing on their own, you can dress them up with a sprinkle of crushed peanuts for an added crunch, or a light dusting of powdered sugar for a pretty, delicate finish. A few chocolate shavings on top can make them look extra special if serving guests.
Side Dishes
Pair these rich peanut butter bars with a scoop of vanilla ice cream or a dollop of whipped cream for a simple yet decadent dessert experience. They also go wonderfully with fresh berries that add a burst of brightness to balance the sweetness.
Creative Ways to Present
For parties or gift-giving, cut the bars into bite-size squares and arrange them on a decorative platter with colorful cupcake liners. You can wrap individual bars in parchment paper and tie them with a ribbon for a charming homemade treat that’s perfect for sharing.
Make Ahead and Storage
Storing Leftovers
Store any leftover bars in an airtight container in the refrigerator to keep them fresh. They will stay delicious and firm for up to one week, which makes them a fantastic make-ahead dessert option.
Freezing
This Irresistible Disneyland’s Peanut Butter Sandwich Bars Recipe freezes beautifully. Just place the bars in a single layer on a baking sheet to freeze individually, then transfer to a freezer-safe container. They can be stored for up to a month without losing taste or texture.
Reheating
These bars are best enjoyed chilled or at room temperature, so reheating is unnecessary. However, if you prefer a softer texture, just let them sit out for 15-20 minutes before eating to take the chill off.
FAQs
Can I substitute crunchy peanut butter for creamy?
Absolutely! Crunchy peanut butter will add extra texture and a nutty bite, making the bars a bit more interesting, but creamy peanut butter is traditional for a smoother, classic texture.
What if I don’t have graham crackers?
You can substitute with digestive biscuits or graham cracker-style cookies from the store. Just crush them finely to mimic the crumbly base that’s essential for these bars.
Is this recipe gluten-free?
Not as written, since graham crackers typically contain gluten. But if you use gluten-free graham crackers or cookies, you can easily make this recipe gluten-free and just as delicious.
Can I use natural peanut butter?
Natural peanut butter can work, but since it separates more than processed versions, you might want to stir it well before measuring and possibly add a touch of powdered sugar to keep sweetness in balance.
How critical is the vegetable oil in melting the chocolate?
The vegetable oil helps achieve a smooth, glossy chocolate topping that hardens with a silky finish. You can skip it, but the chocolate might be less shiny and a little more brittle after setting.
Final Thoughts
It’s rare to find a no-bake treat that feels this indulgent and yet comes together so easily, which is why I’m so thrilled to share this Irresistible Disneyland’s Peanut Butter Sandwich Bars Recipe with you. Whether you make these bars for a family snack, a party dessert, or just because, they have a way of bringing smiles and a glimpse of magic right to your kitchen. Give them a try and enjoy every rich, peanut buttery bite!
Print
Irresistible Disneyland’s Peanut Butter Sandwich Bars Recipe
- Prep Time: 15 minutes
- Cook Time: 0 minutes
- Total Time: 2 hours 15 minutes
- Yield: 16 bars
- Category: Dessert, Snack
- Method: No-Cook
- Cuisine: American
- Diet: Vegetarian
Description
Delight in these irresistible Disneyland-style Peanut Butter Sandwich Bars, featuring a creamy peanut butter base layered with smooth melted chocolate. This no-bake dessert is perfect for a quick sweet treat, easy to make and perfect for snacking or serving at gatherings.
Ingredients
For the Peanut Butter Layer
- 1 cup creamy peanut butter
- 1 cup graham cracker crumbs
- 1/2 cup unsalted butter, melted
- 1 cup powdered sugar
- 1/2 teaspoon vanilla extract
For the Chocolate Topping
- 1 1/2 cups semi-sweet chocolate chips
- 1 tablespoon vegetable oil
Instructions
- Combine Ingredients: In a medium bowl, mix graham cracker crumbs, powdered sugar, melted butter, vanilla extract, and creamy peanut butter until smooth and thoroughly blended to create the base layer.
- Press Base Layer: Press the peanut butter mixture evenly into the bottom of a parchment-lined 8×8-inch baking dish, ensuring an even and compact layer.
- Melt Chocolate: Melt chocolate chips with vegetable oil in a microwave-safe bowl using 30-second intervals, stirring between each until the mixture is smooth and fully melted.
- Add Chocolate Layer: Pour the melted chocolate over the peanut butter base and spread it evenly with a spatula to cover the entire surface.
- Chill and Set: Refrigerate the bars for at least 2 hours or until the chocolate layer is firm and fully set.
- Slice and Serve: Once chilled, remove from the refrigerator, slice into 16 bars, and serve chilled or at room temperature for the best texture and flavor.
Notes
- For added crunch, mix in 1/4 cup chopped peanuts into the peanut butter mixture before pressing into the pan.
- These bars freeze well; store in an airtight container and freeze for up to one month for convenient future treats.
- To closely replicate Disneyland’s flavor, use high-quality chocolate and smooth, sweetened peanut butter for the best taste.
