If you’ve been searching for the perfect homemade bread that’s wholesome, flavorful, and just sweet enough, this Honey Wheat Bread Recipe is the answer to your cravings. Combining the nuttiness of whole wheat with the natural touch of honey, this bread is soft, slightly sweet, and perfect for everything from sandwiches to simple buttered toast. Baking this recipe at home fills your kitchen with an irresistible aroma and results in a beautifully golden loaf that’s both nutritious and comforting. You’ll love how approachable the ingredients and steps are, making this a staple recipe you’ll want to bake again and again.

Ingredients You’ll Need
Every ingredient in this Honey Wheat Bread Recipe plays a vital role, balancing health benefits, texture, and flavor. From the natural sweetness of honey to the heartiness of whole wheat flour, this recipe keeps things simple yet exceptional.
- Warm water (1 cup at 110°F/45°C): Activates the yeast and helps create the perfect dough texture.
- Honey (1/4 cup): Adds subtle natural sweetness and moisture, enhancing the bread’s flavor.
- Active dry yeast (2 teaspoons): The magic ingredient that makes your bread rise beautifully.
- Vegetable or olive oil (2 tablespoons): Keeps the bread soft and gives it a tender crumb.
- Salt (1 teaspoon): Balances the sweetness and enhances the overall flavor.
- Whole wheat flour (1 1/2 cups): Provides fiber and a deep, nutty taste.
- All-purpose flour (1 1/2 cups, plus extra for dusting): Ensures a light, airy structure in the loaf.
- Milk (1/4 cup, optional): Adds extra softness and richness, perfect for an even more tender loaf.
How to Make Honey Wheat Bread Recipe
Step 1: Activate the Yeast
Start by warming your water to just the right temperature so it’s cozy but not too hot. Stir in the honey—this not only feeds the yeast but starts building that wonderful sweetness. Sprinkle in your yeast and give it a little swirl. Let it rest until it’s frothy, about 5 to 10 minutes. This step sets the stage for a light and airy loaf.
Step 2: Mix Dry Ingredients
While your yeast is blooming, grab a large bowl and combine the whole wheat flour, all-purpose flour, and salt. The whole wheat flour brings hearty flavor and nutrition, while the all-purpose flour keeps the bread soft. Mixing these dry ingredients ensures even distribution of the salt for balanced flavor.
Step 3: Combine Wet and Dry Mixtures
Pour your frothy yeast mixture and the oil into the flour blend. Stir everything together until a dough begins to form. This is when your kitchen starts to smell incredible and you know the magic is happening. The oil incorporates moisture and softness to the bread.
Step 4: Knead the Dough
Now comes the hands-on fun. Sprinkle some flour on your counter and knead the dough for 8 to 10 minutes until it’s smooth and elastic. Kneading develops the gluten structure that gives your loaf its perfect shape and chewiness. Don’t rush this part; your hands will thank you once the bread is done.
Step 5: First Rise
Place your dough in a greased bowl, cover it with a clean towel, and tuck it into a warm spot. Over the next hour, it will double in size, becoming airy and light. This rise is crucial to creating that soft crumb we all love in homemade bread.
Step 6: Preheat the Oven
As your dough rises, set your oven to 375°F (190°C) so it’s ready once your dough has had its moment to puff up beautifully.
Step 7: Shape the Loaf
Gently punch down the risen dough to release excess air and then shape it into a loaf. Pop it into a greased 9×5-inch loaf pan to give it that classic bread shape. You’ll see how forgiving this dough is—perfect for beginners and pros alike!
Step 8: Second Rise
Cover the shaped dough again and let it rise in the pan for another 30 to 45 minutes. The dough should just peek over the edge of the pan when it’s ready, promising a soft, well-risen loaf.
Step 9: Bake to Golden Perfection
Slide the loaf into your preheated oven and bake for 25 to 30 minutes. Keep an eye out for that gorgeous golden hue and test by tapping the bottom—it should sound hollow. That’s your cue that the loaf is baked through and ready to cool.
Step 10: Cool and Enjoy
Take your loaf out of the pan and let it cool on a wire rack. This cooling step prevents sogginess and makes slicing easier. Once it’s cool enough, slice generously and prepare to enjoy the fruits of your labor.
How to Serve Honey Wheat Bread Recipe

Garnishes
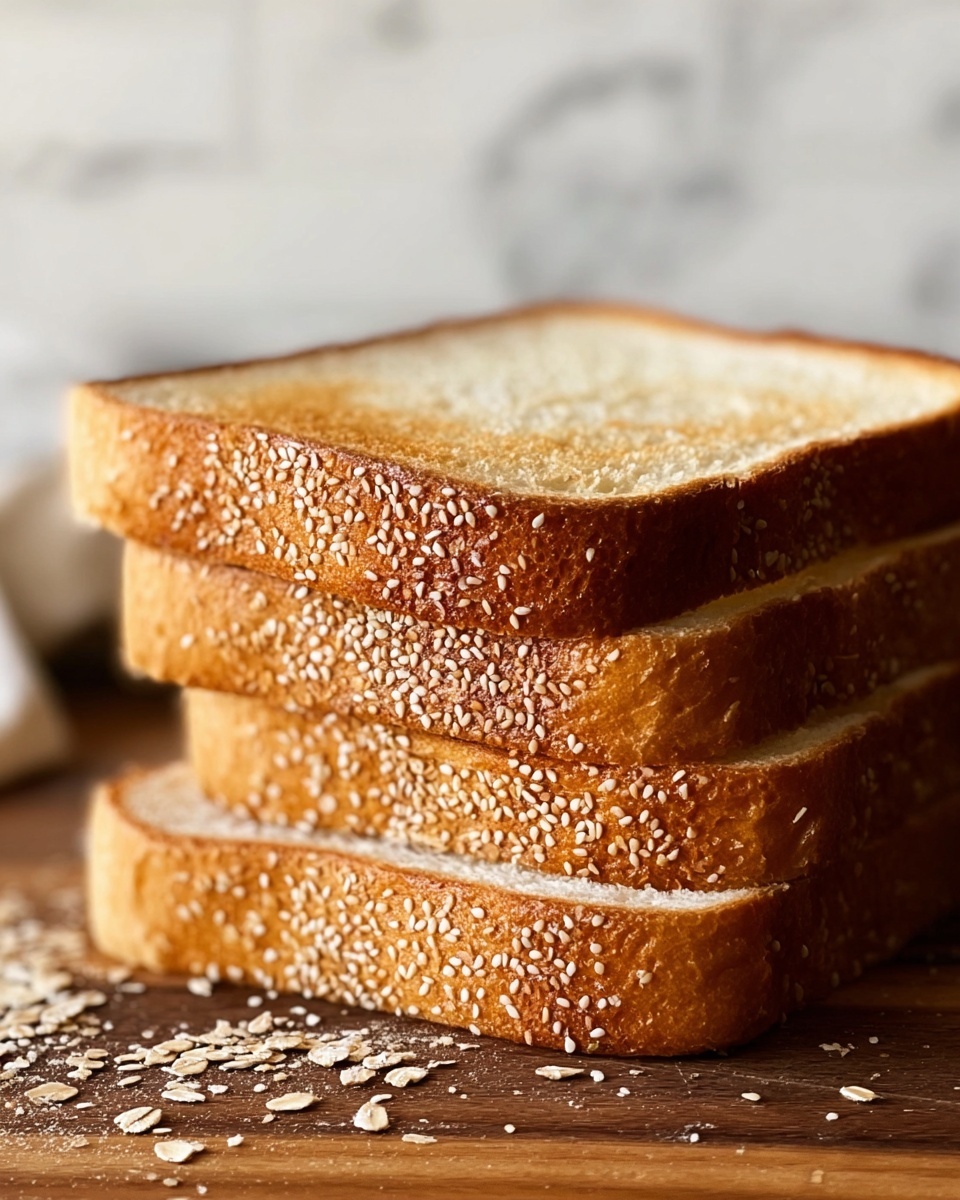
While this Honey Wheat Bread Recipe is spectacular on its own, adding a slather of creamy butter or a drizzle of honey elevates the experience even more. For a crunch, sprinkle some toasted seeds or oats on top just before baking to add texture and charm.
Side Dishes
This bread pairs beautifully with soups, stews, and hearty salads. Its mildly sweet and nutty flavor complements savory dishes like roasted vegetables or smoky chili, offering a satisfying balance to every meal.
Creative Ways to Present
Turn your Honey Wheat Bread into a star centerpiece by transforming it into a breakfast toast topped with avocado, poached eggs, and a pinch of red pepper flakes. Or, create delightful sandwiches with fresh veggies and spreads that highlight the bread’s wholesome nature. Toast it lightly and use it as a base for bruschetta for a special twist.
Make Ahead and Storage
Storing Leftovers
Wrap your leftover Honey Wheat Bread tightly in plastic wrap or store it in an airtight container to keep it fresh for up to 3 days at room temperature. This helps maintain its softness and freshness without drying out.
Freezing
If you want to save your bread longer, slice it first and place the slices in a resealable freezer bag. Frozen slices last up to 3 months and make it easy to grab just what you need without thawing the whole loaf.
Reheating
To bring back that just-baked warmth, toast frozen or stale slices lightly or warm them in a preheated oven at 350°F (175°C) for about 5 to 7 minutes. This refreshes texture and flavor wonderfully.
FAQs
Can I use all whole wheat flour instead of mixing flours?
Absolutely! You can substitute all-purpose flour with whole wheat flour for a denser, heartier loaf, though the bread might be a bit heavier and less fluffy. If you prefer a lighter texture, sticking to the suggested mix is best.
What can I substitute for vegetable or olive oil?
If you don’t have oil on hand, melted butter can work well in this recipe, adding a rich flavor. You could also try coconut oil for a subtle twist, but keep in mind it may change the aroma slightly.
Why is the milk optional in the recipe?
The milk is there to create a softer, richer crumb but isn’t essential. If left out, your bread will still be delicious but a bit less tender. Using milk is a personal preference mostly suited for those who want an extra plush loaf.
Can I add nuts or seeds to this bread?
Yes! Adding chopped nuts, sunflower seeds, or flaxseeds can provide wonderful texture and nutrition. Just fold them into the dough after the initial mix, before kneading, for even distribution.
How do I know when the bread is fully baked?
The best way is to tap the bottom of the loaf—if it sounds hollow, it’s done. You can also check for a deep golden crust and an internal temperature of about 190°F (88°C) when measured with a kitchen thermometer.
Final Thoughts
Baking this Honey Wheat Bread Recipe is truly a rewarding experience that brings warmth and comfort straight from your oven to your table. Once you try your hand at this recipe, it’s bound to become a favorite for breakfast, lunches, or any time you need a dependable homemade loaf. So gather your ingredients and enjoy the satisfying process and delightful results—you won’t regret it!
Print
Honey Wheat Bread Recipe
- Prep Time: 20 minutes
- Cook Time: 30 minutes
- Total Time: 1 hour 50 minutes
- Yield: 1 loaf (9×5 inch)
- Category: Bread
- Method: Baking
- Cuisine: American
Description
This Honey Wheat Bread recipe yields a soft, slightly sweet loaf made with a mix of whole wheat and all-purpose flours, enriched with honey and optional milk for extra tenderness. Perfect for sandwiches or toast, this bread features a golden crust and a moist interior, achieved through simple kneading, rising, and oven baking.
Ingredients
Wet Ingredients
- 1 cup warm water (110°F/45°C)
- 1/4 cup honey
- 2 tablespoons vegetable oil or olive oil
- 1/4 cup milk (optional, for softer texture)
Dry Ingredients
- 2 teaspoons active dry yeast
- 1 teaspoon salt
- 1 1/2 cups whole wheat flour
- 1 1/2 cups all-purpose flour (plus extra for dusting)
Instructions
- Activate Yeast: In a small bowl, combine warm water and honey. Stir in the yeast and let it sit for 5-10 minutes until it becomes frothy, indicating the yeast is active.
- Mix Dry Ingredients: In a large bowl, mix the whole wheat flour, all-purpose flour, and salt thoroughly to distribute evenly.
- Combine Mixtures: Add the frothy yeast mixture and oil to the flour mixture. Stir until the ingredients come together to form a rough dough.
- Knead Dough: Transfer the dough to a floured surface and knead for 8-10 minutes until it is smooth, elastic, and no longer sticky.
- First Rise: Place the kneaded dough in a greased bowl, cover with a clean towel, and let it rise in a warm spot for about 1 hour, or until it doubles in size.
- Preheat Oven: While the dough is rising, preheat your oven to 375°F (190°C) to prepare for baking.
- Shape Dough: Punch down the risen dough to release air, shape it into a loaf, and place it into a greased 9×5-inch loaf pan.
- Second Rise: Allow the shaped dough to rise again in the pan for 30-45 minutes until it slightly exceeds the pan’s edge.
- Bake: Bake the loaf for 25-30 minutes until the crust is golden brown and the bread sounds hollow when tapped on the bottom.
- Cool: Remove the bread from the pan and transfer it to a wire rack to cool completely before slicing to maintain texture and flavor.
Notes
- Using warm water is critical for activating the yeast properly.
- Milk is optional; adding milk makes the bread softer and lends a richer flavor.
- Kneading times can vary; ensure dough is elastic and smooth for best results.
- Letting the bread cool completely before slicing prevents it from becoming gummy.
- You can substitute olive oil for vegetable oil for a different flavor profile.


