
There is something truly magical about making mochi at home, especially when it is as quick and straightforward as this Easy Microwave Mochi with Fillings Recipe. This delightful Japanese treat combines a chewy, soft outer layer made from sweet rice flour with your choice of luscious fillings, creating little bites of happiness that feel both comforting and exotic. Whether you are new to mochi or an enthusiastic fan, preparing this dessert in your microwave means you can enjoy the authentic texture and taste without the fuss typically associated with traditional methods. Let’s dive into the fun world of mochi making together!
Ingredients You’ll Need
These ingredients are simple pantry staples, but each plays a crucial role in delivering the perfect mochi texture, sweetness, and appearance. Every element is essential, creating a harmonious balance in this delightful dessert.
- 1 cup mochiko (sweet rice flour): This is the star of the show, providing the chewy, stretchy base that mochi is famous for.
- 3/4 cup water: Hydrates the flour to form that smooth, sticky dough.
- 1/4 cup granulated sugar: Adds just the right touch of sweetness to complement your fillings.
- Cornstarch or potato starch (for dusting): Prevents sticking and makes handling the mochi much easier.
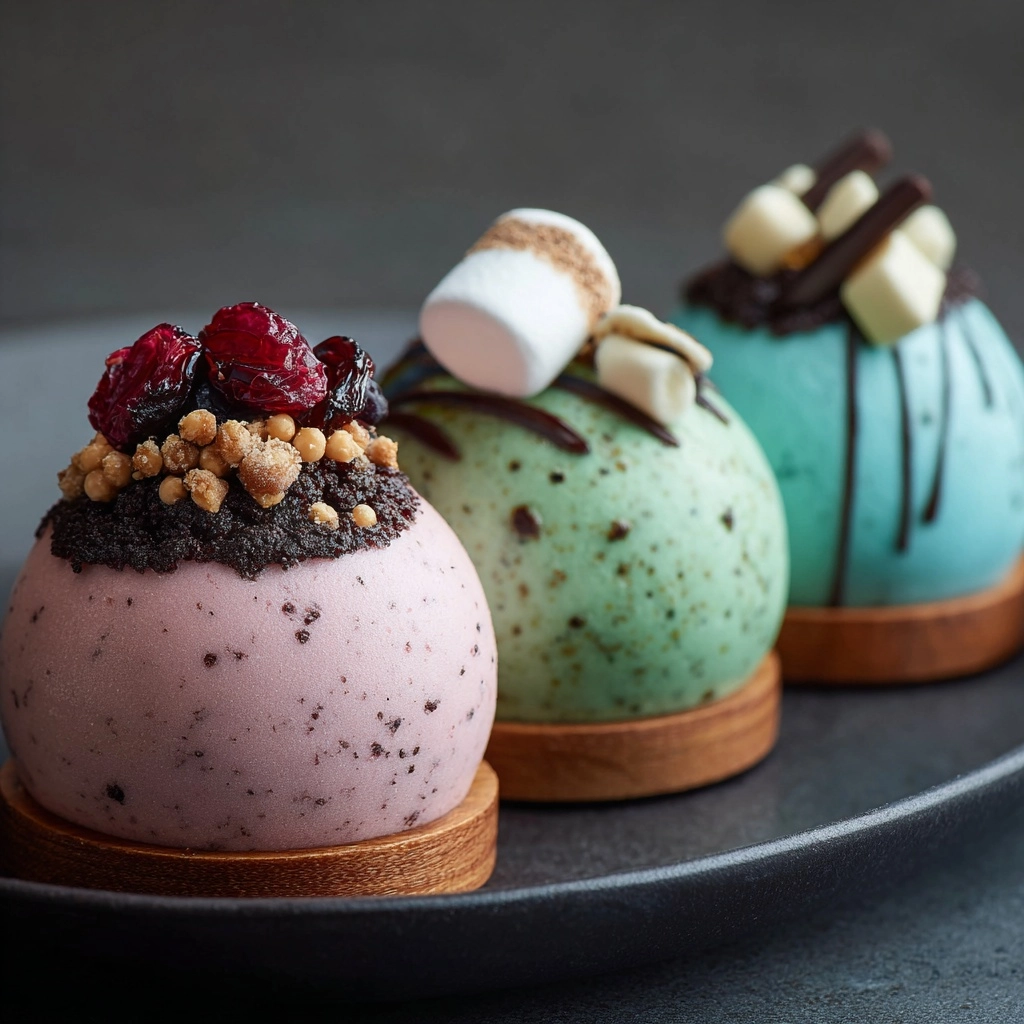
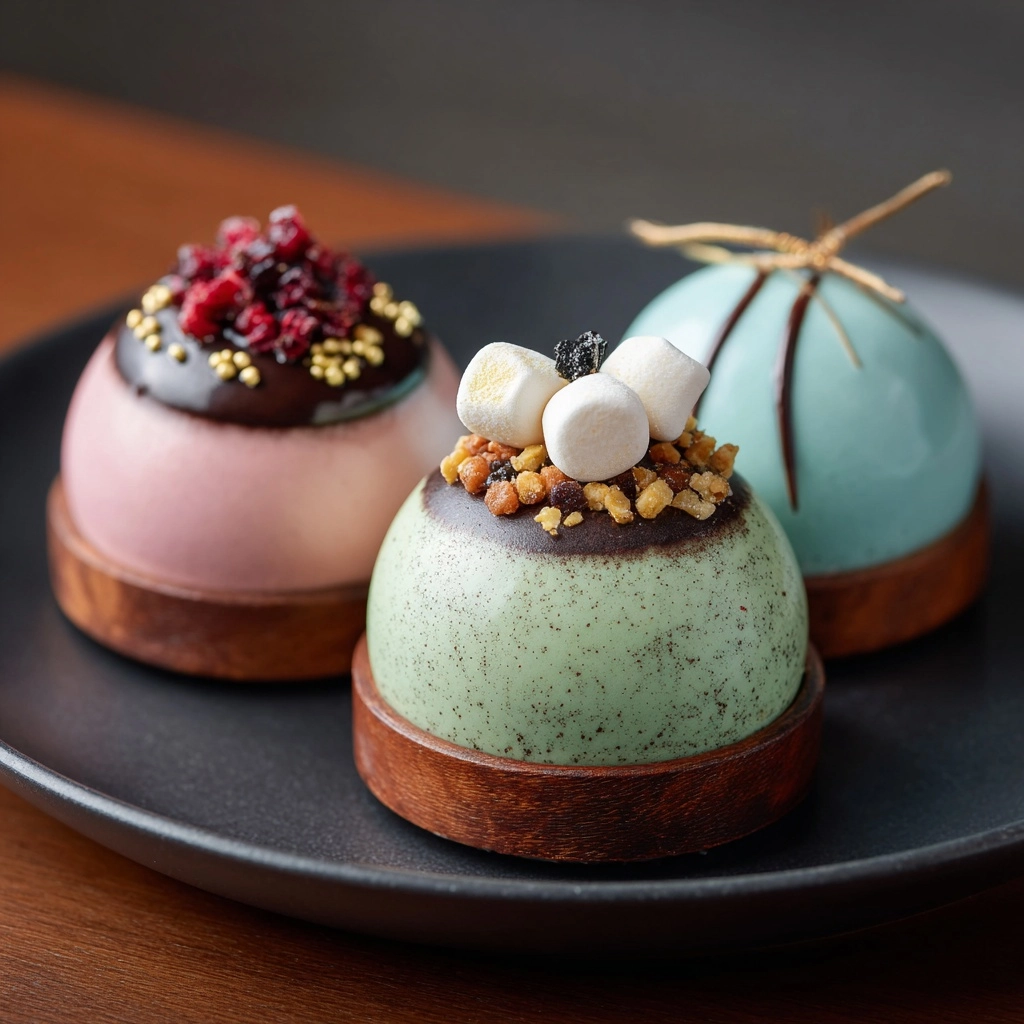
- Optional fillings (red bean paste, fruit, or ice cream): These bring variety and surprise to each mochi bite, making it uniquely yours.
How to Make Easy Microwave Mochi with Fillings Recipe
Step 1: Mix the Mochi Batter
Start by whisking together mochiko, granulated sugar, and water in a microwave-safe bowl until completely smooth. A lump-free mixture ensures your mochi will have the signature glossy, chewy texture.
Step 2: Microwave in Intervals
Cover the bowl loosely with plastic wrap or a microwave-safe plate to trap steam, then microwave on high for 1 minute. Stir the thickening batter well to distribute the heat evenly, then microwave for another full minute. Stir again, and finally microwave for 30 to 60 seconds until the dough is thick, sticky, and slightly translucent. This process is surprisingly quick but critical to creating that perfect sticky texture.
Step 3: Prepare Work Surface and Cool Mochi
Generously dust a clean work surface with cornstarch or potato starch. This simple step makes handling the hot, sticky mochi dough much easier. Transfer the hot dough onto the dusted surface and allow it to cool just enough to handle comfortably—warm mochi molds better without being tough.
Step 4: Shape and Fill Your Mochi
Dust your hands with starch to avoid sticking, then divide the mochi dough into 6 to 8 equal parts. Flatten each piece gently into a small circle. Add a small spoonful of your favorite filling in the center—be sure not to overfill! Carefully pinch and fold the mochi around the filling, sealing it completely. Roll each ball gently until smooth and uniform, ready to impress anyone lucky enough to taste it.
How to Serve Easy Microwave Mochi with Fillings Recipe
Garnishes
While mochi itself is wonderful on its own, adding a light dusting of matcha powder, crushed toasted sesame seeds, or shredded coconut on top can elevate the look and offer an extra layer of flavor and texture. These garnishes invite curiosity and complement the soft chewiness beautifully.
Side Dishes
Pair your mochi with green tea or a refreshing iced jasmine tea to cut through the sweetness and cleanse your palate between each bite. If you’re serving mochi as part of a larger dessert spread, consider fresh fruit slices or a small dollop of whipped cream on the side – simple accompaniments that highlight the mochi’s delicate taste.
Creative Ways to Present
For a playful twist, present mochi on a platter lined with colorful edible flowers or banana leaves for a natural aesthetic. Alternatively, place mochi in individual cupcake liners or small bamboo baskets for charming single servings perfect for parties or gift-giving. Let your creativity shine as much as your mochi-making skills!
Make Ahead and Storage
Storing Leftovers
Homemade mochi is best enjoyed fresh to enjoy the chewy texture, but if you need to store leftovers, keep them in an airtight container at room temperature for up to one day. Avoid refrigeration as it can dry the mochi out and change its lovely texture.
Freezing
If your mochi contains ice cream or is intended to last longer, freeze immediately after shaping. Place them in a single layer on a baking sheet to freeze first, then transfer to a sealed container or zip-top bag. Proper freezing preserves both texture and taste for up to two weeks.
Reheating
To enjoy leftover or frozen mochi, allow it to thaw at room temperature for about five minutes if frozen. You can gently warm mochi in the microwave for 10 to 15 seconds if desired; just be cautious not to overheat and dry it out.
FAQs
Can I use regular rice flour instead of mochiko?
Regular rice flour is not a direct substitute for mochiko because mochiko is specifically sweet rice flour, which gives mochi its signature chewiness. Using other rice flours may yield a less sticky and dense texture.
What are some good filling ideas besides red bean paste?
Besides classic red bean paste, you can try fresh strawberries, mango slices, sweetened chestnuts, or even small scoops of ice cream for a refreshing surprise inside your mochi.
Is this recipe gluten-free?
Yes, this Easy Microwave Mochi with Fillings Recipe uses mochiko, which is made from glutinous rice and naturally gluten-free. However, always check your other ingredients like fillings to ensure they don’t contain gluten.
How sticky is mochi, and is it safe for kids?
Mochi is very sticky and chewy, which can be a choking hazard for young children, the elderly, or anyone with swallowing difficulties. Always supervise when serving and consider cutting mochi into small pieces for safer eating.
Can I make mochi without a microwave?
Yes, traditional mochi is steamed or cooked on the stove, but this recipe is designed specifically for quick microwave preparation. If you prefer, steaming mochiko mixture can also achieve soft mochi but will take longer.
Final Thoughts
Making mochi at home can feel like uncovering a delicious little secret, especially when using the Easy Microwave Mochi with Fillings Recipe that transforms a handful of simple ingredients into an irresistible treat in just minutes. Whether you fill it with traditional red bean paste or get adventurous with fresh fruit or ice cream, this recipe is sure to delight you and anyone you share it with. Go ahead, gather your ingredients and get ready to impress yourself with how tasty and accessible homemade mochi can be!
Print
Easy Microwave Mochi with Fillings Recipe
- Prep Time: 10 minutes
- Cook Time: 3 minutes
- Total Time: 15 minutes
- Yield: 6–8 mochi
- Category: Dessert
- Method: Microwave
- Cuisine: Japanese
- Diet: Gluten Free,Vegetarian
Description
This delightful homemade mochi recipe features soft, chewy sweet rice dough made from mochiko flour, sugar, and water, with optional fillings like red bean paste, fruit, or ice cream. Easy to prepare in the microwave, these traditional Japanese treats are perfect as a dessert or snack, offering a unique texture and a customizable flavor experience.
Ingredients
Basic Mochi Dough
- 1 cup mochiko (sweet rice flour)
- 3/4 cup water
- 1/4 cup granulated sugar
For Dusting and Handling
- Cornstarch or potato starch (for dusting)
Optional Fillings
- Red bean paste
- Fruit
- Ice cream
Instructions
- Mix Ingredients: In a microwave-safe bowl, whisk together 1 cup mochiko, 1/4 cup granulated sugar, and 3/4 cup water until the mixture is smooth and free of lumps.
- Initial Microwave Cooking: Cover the bowl loosely with plastic wrap or a microwave-safe plate to allow steam to escape. Microwave the mixture on high for 1 minute, then remove and stir thoroughly to ensure even cooking.
- Continued Cooking: Microwave again on high for an additional 1 minute. Stir the mochi dough again to keep the texture uniform and prevent clumping.
- Final Cooking Step: Microwave once more for 30 to 60 seconds until the dough becomes thick, slightly translucent, and sticky, indicating it is fully cooked.
- Prepare Surface and Cool Dough: Generously dust a clean working surface with cornstarch or potato starch to prevent sticking. Transfer the hot mochi dough onto the surface and allow it to cool slightly until it is safe to handle.
- Shape and Fill Mochi: Dust your hands with starch to avoid sticking. Divide the dough into 6 to 8 equal portions, flatten each into a circle, and place a small spoonful of your chosen filling in the center. Carefully pinch and fold the edges around the filling to seal, then gently roll into a smooth ball.
- Serve or Store: Mochi can be served immediately at room temperature or chilled. If filled with ice cream, freeze the mochi immediately and thaw for 5 minutes before eating for best texture and flavor.
Notes
- Mochi is best enjoyed fresh as the texture softens over time.
- Store mochi in an airtight container at room temperature and consume within 1 day.
- When filled with ice cream, mochi should be kept frozen until serving.
- Be cautious when serving mochi to children or the elderly, as its sticky texture can pose a choking hazard.


