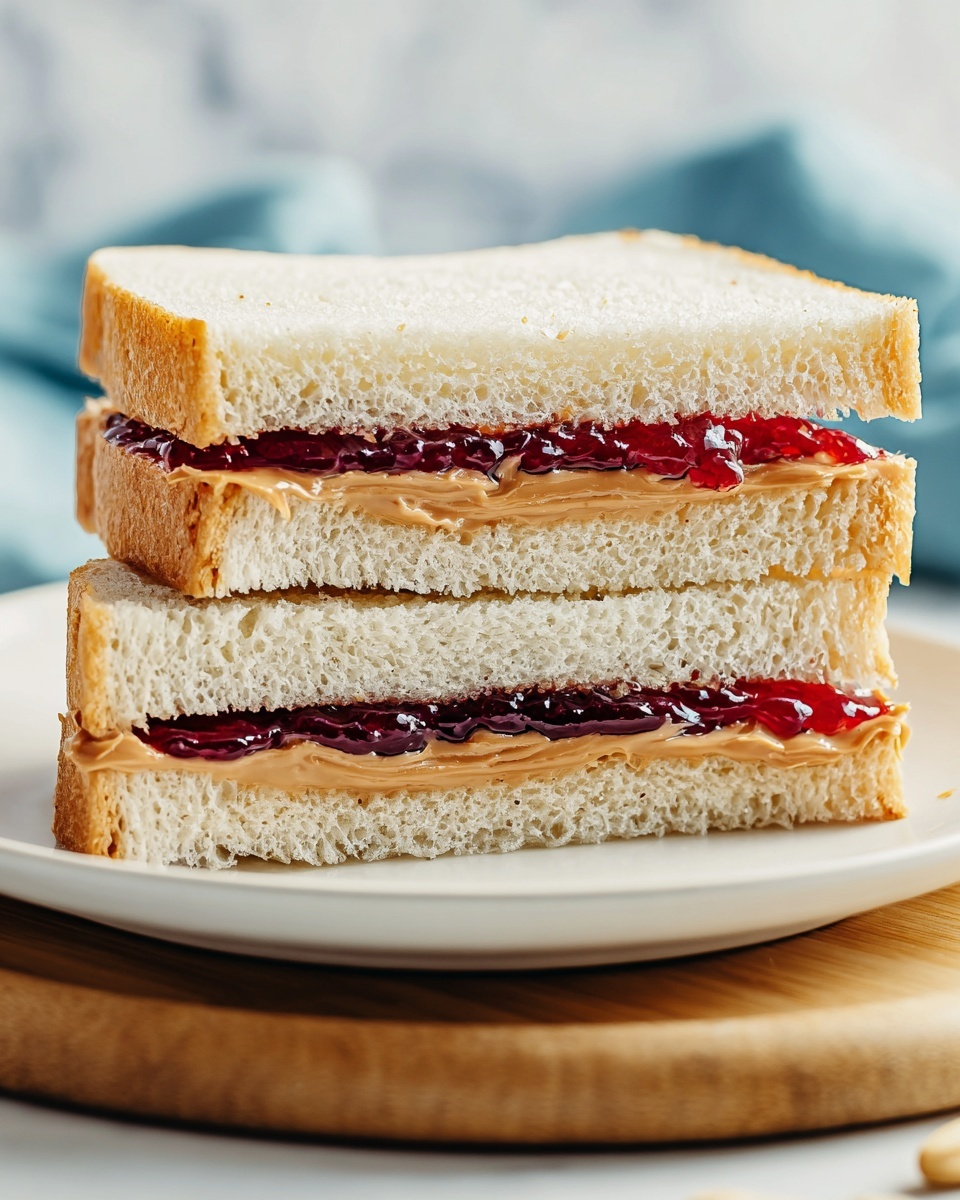
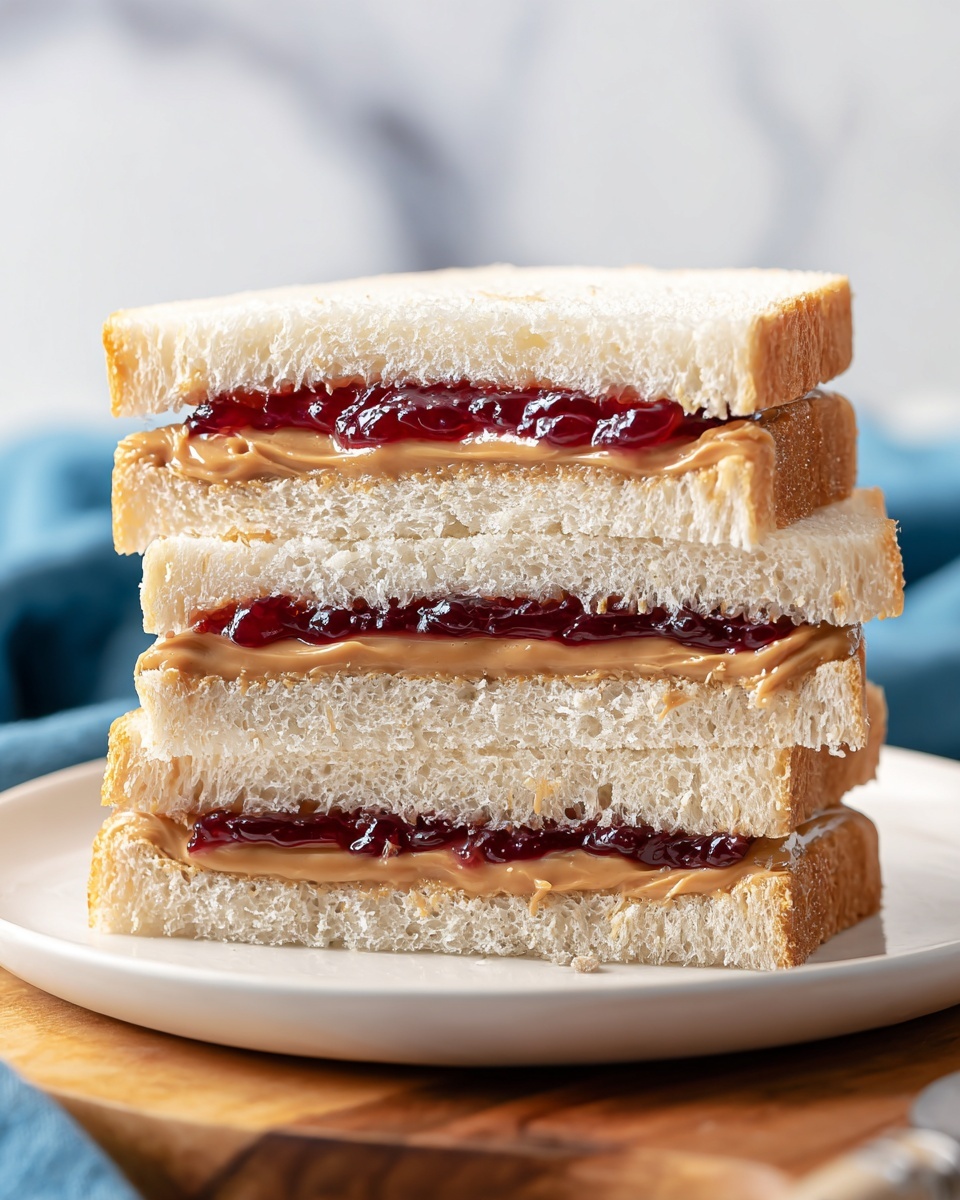
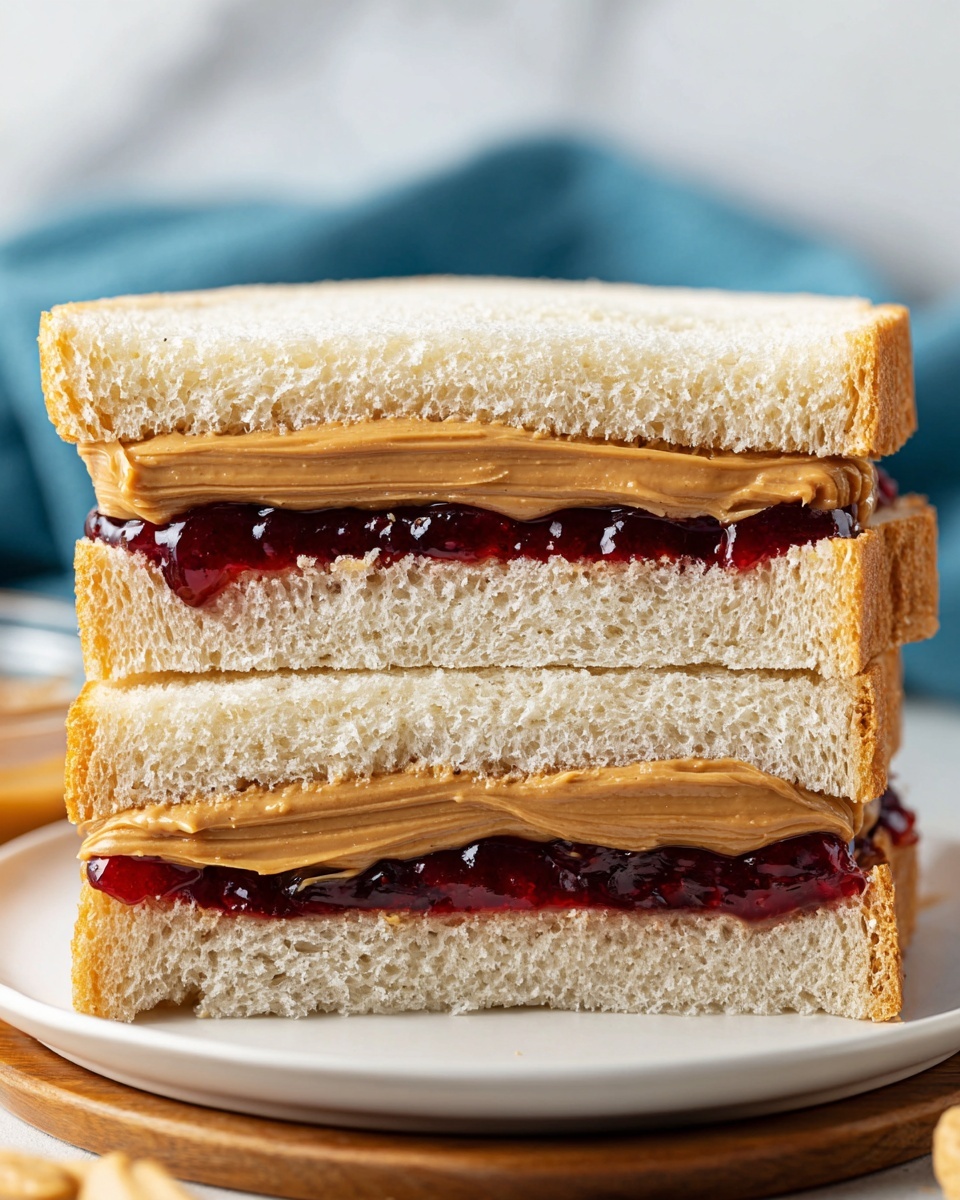
There is something undeniably comforting and nostalgic about a Classic Peanut Butter and Jelly Sandwich Recipe. This timeless sandwich combines the creamy richness of peanut butter with the sweet, fruity burst of jelly, all nestled between two slices of your favorite bread. It’s a quick, satisfying treat that never fails to bring a smile, perfect for an afternoon snack, a simple lunch, or even a cozy midnight bite. Whether you grew up on it or just discovered its charms, this sandwich holds a special place in the hearts of many.
Ingredients You’ll Need
Gathering the right ingredients for this Classic Peanut Butter and Jelly Sandwich Recipe is incredibly straightforward but absolutely crucial. Each component plays a unique role in creating that perfect harmony of flavors and textures we all love.
- 2 slices of bread: Choose white, whole wheat, or your favorite type to add your personal touch of flavor and texture.
- 2 tablespoons creamy or crunchy peanut butter: Creamy offers a smooth, luscious feel, while crunchy adds delightful crunch and extra nutty character.
- 2 tablespoons jelly or jam: Strawberry and grape are classics, but feel free to experiment with your favorite fruit preserves for a fresh twist.
How to Make Classic Peanut Butter and Jelly Sandwich Recipe
Step 1: Lay the Bread Flat
Start by placing your two slices of bread flat on a clean cutting board or plate. This small step sets the foundation for an even and mess-free sandwich. Whether your bread is thick or thin, make sure the slices lie nicely flat for the best assembly.
Step 2: Spread the Peanut Butter
Using a butter knife or spatula, spread the peanut butter evenly over one slice of bread. Aim for smooth coverage from edge to edge, so each bite delivers that creamy or crunchy peanut butter goodness. Don’t be shy—this is the flavor star of the show!
Step 3: Spread the Jelly or Jam
On the other slice, spread your chosen jelly or jam evenly. The sweetness of the jelly balances beautifully against the nuttiness of the peanut butter. A consistent layer ensures the sandwich will be flavorful throughout.
Step 4: Press the Slices Together
Gently press the two slices of bread together, with the peanut butter and jelly sides facing each other. This contact melds the flavors and keeps everything neatly tucked inside. A light press ensures your sandwich stays together but doesn’t squish the bread.
Step 5: Slice and Serve
If you like, slice your sandwich in half diagonally or down the middle. This classic presentation not only looks inviting but makes it easier to eat. Now you’re ready to enjoy one of the simplest yet most beloved sandwiches out there.
How to Serve Classic Peanut Butter and Jelly Sandwich Recipe
Garnishes
A sprinkle of sea salt on top of the peanut butter before adding jelly can bring an exciting flavor contrast. Fresh fruit slices inside the sandwich or a dusting of powdered sugar on the crust can elevate its appearance and taste for a little extra fun.
Side Dishes
This sandwich pairs wonderfully with crunchy baby carrots or celery sticks for balance, a glass of cold milk, or even a handful of chips for a casual vibe. These sides complement the sandwich’s creamy and sweet flavors with texture and freshness.
Creative Ways to Present
For a playful twist on the Classic Peanut Butter and Jelly Sandwich Recipe, try using cookie cutters to turn the sandwich into fun shapes like hearts or stars. Toasting the bread lightly before assembly adds a warm crunch, while serving with a small ramekin of peanut butter and jelly for dipping makes it interactive and delightful.
Make Ahead and Storage
Storing Leftovers
If you have any leftovers, wrap your sandwich tightly in plastic wrap or store it in an airtight container. Keep it in the refrigerator for up to one day to maintain freshness, although this sandwich is best enjoyed fresh for the creamiest, most vibrant flavors.
Freezing
Freezing a Classic Peanut Butter and Jelly Sandwich Recipe is possible, but it’s not typically recommended since the texture might change once thawed. If you must freeze, wrap it well and thaw it in the fridge before eating, but be prepared for softer bread and a slight change in the jelly’s consistency.
Reheating
Since this sandwich is usually enjoyed cold or at room temperature, reheating is generally unnecessary. If you prefer it warm, a quick toast in a pan or toaster oven before spreading the peanut butter and jelly can be delightful, but avoid microwaving after assembly or the bread may become soggy.
FAQs
Can I use different types of bread for this sandwich?
Absolutely! The Classic Peanut Butter and Jelly Sandwich Recipe shines with any bread, from classic white to hearty whole wheat, or even gluten-free options. Each bread brings a new twist to texture and flavor.
Is crunchy or creamy peanut butter better?
It really depends on your texture preference. Creamy offers a smooth and rich experience, while crunchy adds a nutty crunch that some find irresistible. Both are delicious choices for the classic recipe.
What types of jelly or jam work best?
Strawberry and grape are timeless favorites, but feel free to experiment with raspberry, blueberry, or even exotic fruit jams. The key is to choose a jelly that complements the peanut butter’s savory richness.
Can I add extras to the Classic Peanut Butter and Jelly Sandwich Recipe?
Definitely! Some love adding banana slices, honey, or even a sprinkle of granola for extra texture. These additions personalize the sandwich while keeping the spirit of the classic intact.
How do I prevent the bread from getting soggy?
To avoid sogginess, you can spread a thin layer of peanut butter on both slices of bread before adding the jelly, creating a moisture barrier. Also, assemble the sandwich just before eating for the best texture.
Final Thoughts
There is something truly timeless and comforting about making and enjoying a Classic Peanut Butter and Jelly Sandwich Recipe. Its simplicity is its strength, inviting endless creativity while delivering a reliably delicious experience every time. So next time hunger strikes, don’t hesitate to whip up this beloved favorite—you might just find it’s the perfect little bite of happiness you needed.
Print
Classic Peanut Butter and Jelly Sandwich Recipe
- Prep Time: 5 minutes
- Cook Time: 0 minutes
- Total Time: 5 minutes
- Yield: 1 sandwich
- Category: Sandwiches
- Method: No-Cook
- Cuisine: American
Description
A classic peanut butter and jelly sandwich featuring creamy or crunchy peanut butter paired with your choice of jelly or jam between two slices of bread. This easy, no-cook recipe is perfect for a quick snack or lunch.
Ingredients
Ingredients
- 2 slices of bread (white, whole wheat, or your choice)
- 2 tablespoons creamy or crunchy peanut butter
- 2 tablespoons jelly or jam (such as strawberry or grape)
Instructions
- Prepare the bread: Lay the two slices of bread flat on a cutting board to create an easy-to-assemble surface.
- Spread peanut butter: Evenly spread 2 tablespoons of creamy or crunchy peanut butter over one slice of bread, covering the surface completely to get the perfect balance of flavor.
- Spread jelly or jam: Spread 2 tablespoons of your preferred jelly or jam on the other slice of bread carefully to avoid dripping.
- Assemble the sandwich: Press the two slices of bread together with the peanut butter and jelly sides facing each other, ensuring the fillings are contained inside.
- Slice and serve: Optionally, slice the sandwich in half diagonally or vertically for easier eating and serve immediately.
Notes
- Choose your favorite type of bread to customize your sandwich.
- Use natural peanut butter for a healthier option without added sugars or oils.
- Try different jelly flavors to vary the taste, like raspberry, blueberry, or apricot.
- For a fun twist, add sliced bananas or honey inside the sandwich.
- If packing for later, keep the sandwich wrapped tightly to prevent drying out.


