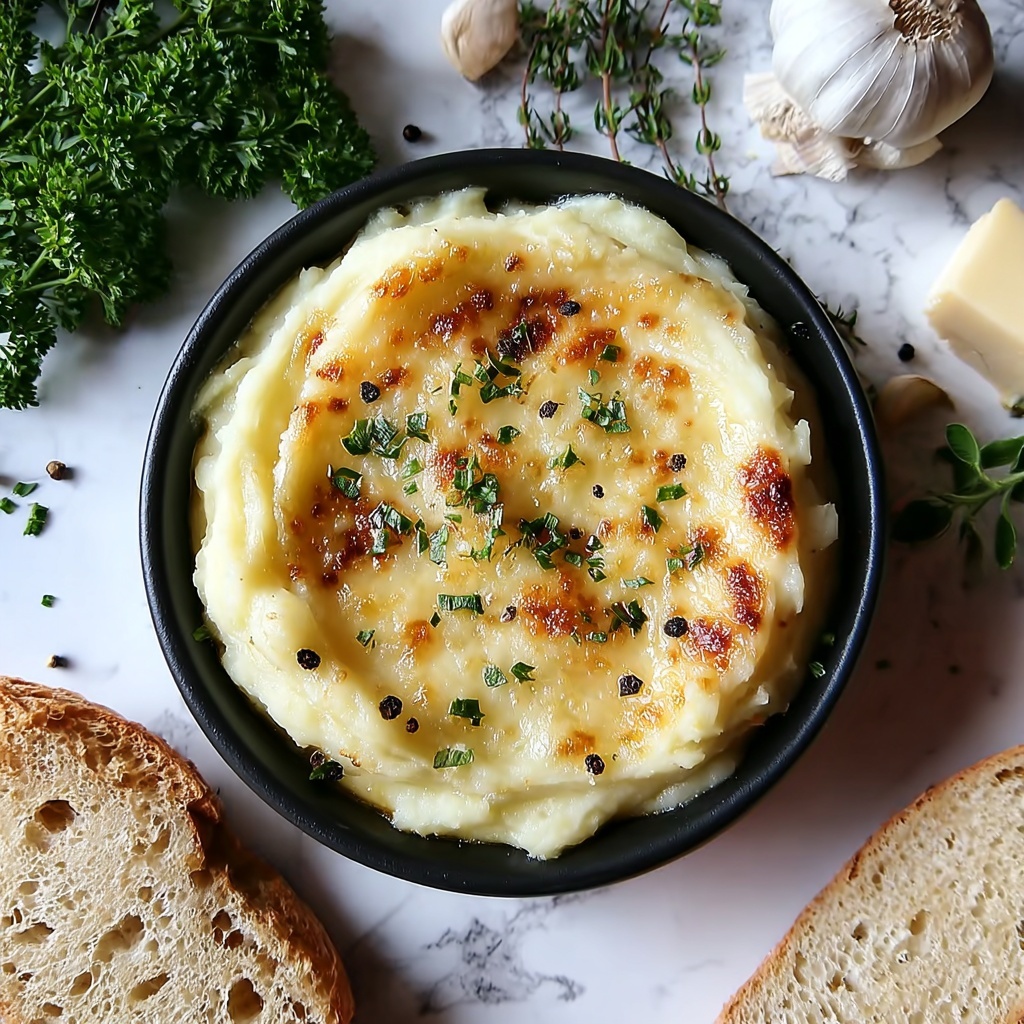
If you’re looking for an irresistible snack that’s bursting with flavor and ooey-gooey cheese, you’ve just found your new favorite. The Cheesy Garlic Bombs Recipe is exactly that—a warm, comforting bite filled with a heavenly blend of mozzarella, Parmesan, and fragrant garlic, all wrapped up in golden, buttery biscuit dough. It’s the kind of treat that turns everyday moments into mini celebrations, perfect for sharing with friends or sneaking a few for yourself. Once you try these, you’ll wonder how you ever lived without them!
Ingredients You’ll Need
This recipe keeps it straightforward, with simple pantry staples and fresh flavors that come together effortlessly. Each ingredient plays a crucial role, from the stretchy mozzarella cheese giving that satisfying melt to the buttery biscuit dough that crisps just right on the outside.
- 1 cup shredded mozzarella cheese: Provides the luscious, stretchy texture that melts perfectly inside each bomb.
- 1/2 cup grated Parmesan cheese: Adds a tangy, salty depth that balances the mild mozzarella.
- 1/3 cup melted butter: Brushed on top for a golden, rich finish.
- 1 tablespoon garlic powder: Infuses every bite with aromatic, savory garlic flavor.
- 1 tablespoon dried parsley: Adds a sprinkle of color and a subtle herbal note.
- 1 can (16.3 oz) refrigerated biscuit dough: The perfect easy base that bakes into fluffy, buttery pockets.
How to Make Cheesy Garlic Bombs Recipe
Step 1: Prepare Your Oven and Baking Sheet
Start by preheating your oven to 375 degrees Fahrenheit (190 degrees Celsius) and lining a baking sheet with parchment paper for easy cleanup and to prevent sticking. This ensures your cheesy garlic bombs will bake evenly and come off without a hitch.
Step 2: Mix the Cheesy Filling
In a small bowl, combine the shredded mozzarella, grated Parmesan, garlic powder, and dried parsley. This blend combines creamy, sharp, and herbal notes that make each bite a delightfully cheesy experience.
Step 3: Prep the Biscuit Dough
Open the can of refrigerated biscuit dough and gently separate each biscuit. No rush here—you want to keep them intact while forming your dough pockets.
Step 4: Flatten Each Biscuit
Using your hands or a rolling pin, gently press each biscuit into a roughly 4-inch circle. This flattening gives you the perfect canvas for stuffing the cheese mixture inside.
Step 5: Stuff With Cheese Mix
Spoon a generous amount of the cheesy garlic mixture into the center of each flattened biscuit. Don’t be shy—it’s the star of the show after all!
Step 6: Seal the Dough Into Balls
Carefully fold the dough up and pinch the edges tightly to seal the cheese inside. Aim for a smooth ball shape so none of that delicious filling escapes during baking.
Step 7: Arrange on the Baking Sheet
Place each sealed dough ball seam side down onto your prepared baking sheet. This helps keep them sealed while baking so you get that perfect gooey center.
Step 8: Butter Them Up
Brush each dough ball generously with melted butter. This step adds that lovely golden color and rich flavor on top that’s just irresistible.
Step 9: Bake Until Golden
Pop your tray into the oven and bake for 15 to 20 minutes. You’re looking for a beautiful golden brown crust and a bubbly, cooked-through interior.
Step 10: Cool Slightly and Serve
Once baked, resist the urge to dig in immediately—let them cool just enough so they don’t burn your mouth but remain warm and melty inside.
Step 11: Enjoy Your Cheesy Garlic Bombs!
Now it’s time for the best part: biting into these delightfully cheesy, garlicky, buttery bombs. You’ll love the melty surprise inside every crunchy, golden bite!
How to Serve Cheesy Garlic Bombs Recipe
Garnishes
While these bombs are incredible on their own, a sprinkle of fresh chopped parsley or a light dusting of grated Parmesan on top can make them look extra special. For a little heat, try adding a pinch of red pepper flakes.
Side Dishes
Cheesy Garlic Bombs pair wonderfully with a fresh green salad to balance the richness and some tangy marinara dipping sauce to amp up the garlic-cheese combo. They also make a fantastic appetizer alongside soups or pasta dishes.
Creative Ways to Present
For parties, arrange the bombs in a circular pattern on a large platter with small bowls of dipping sauces like ranch, marinara, or garlic aioli for a fun, interactive experience. You can also serve them alongside charcuterie boards, adding a unique, warm finger food option.
Make Ahead and Storage
Storing Leftovers
Store any leftover Cheesy Garlic Bombs in an airtight container in the refrigerator. They stay fresh for up to 3 days and can easily be reheated to enjoy another cheesy moment.
Freezing
If you want to save some for later, freeze the unbaked stuffed dough balls on a lined tray until solid, then transfer to a freezer bag. Bake directly from frozen, adding a few extra minutes to the baking time for a fresh-from-the-oven experience anytime.
Reheating
Warm leftovers in a preheated oven at 350 degrees Fahrenheit for about 10 minutes, or until heated through and crispy. Avoid microwaving if possible, as it can make the dough chewy instead of delightfully crisp.
FAQs
Can I use fresh garlic instead of garlic powder?
Absolutely! Minced fresh garlic will give a more pungent, vibrant garlic flavor. Just sauté it lightly in butter before mixing with the cheeses to soften its bite and release the aroma.
What type of cheese works best besides mozzarella and Parmesan?
Feel free to experiment with cheeses like cheddar for sharpness, Monterey Jack for creaminess, or even feta for a tangy twist. Just keep a good melting cheese as your base for that gooey center.
Can I make these vegan or dairy-free?
Yes! Substitute the cheeses with your favorite vegan cheese alternatives and use plant-based butter for brushing. The biscuit dough will need to be checked for dairy or egg content, or you can make a vegan dough from scratch.
Is it okay to prepare these in advance before baking?
Definitely! Assemble the Cheesy Garlic Bombs and store them covered in the refrigerator for up to 24 hours before baking. This is great for making ahead for parties or busy days.
How do I know when the bombs are fully cooked?
The golden brown exterior is a good indicator, along with a firm, cooked-through dough. If unsure, cut one open to check that the dough is fluffy and cooked and the cheese inside is melted and bubbly.
Final Thoughts
Once you try this Cheesy Garlic Bombs Recipe, it’s easy to see why it’ll become a staple in your recipe box. It’s comfort food made simple, with ingredients you likely have on hand and a result that feels like a special treat. Whether it’s for a game night, snack time, or just because you deserve something extraordinary, these bombs promise pure cheesy happiness every time. So grab your ingredients, roll up your sleeves, and dive into this delicious adventure—you won’t regret it!
Print
Cheesy Garlic Bombs Recipe
- Prep Time: 15 minutes
- Cook Time: 15-20 minutes
- Total Time: 30-35 minutes
- Yield: 8-10 cheesy garlic bombs
- Category: Appetizer
- Method: Baking
- Cuisine: American
Description
Cheesy Garlic Bombs are delightful, gooey little dough balls packed with a flavorful mixture of mozzarella, Parmesan, garlic powder, and parsley. Perfect as a snack, appetizer, or party treat, these cheesy pockets are brushed with buttery goodness and baked until golden brown and irresistible.
Ingredients
Cheese Mixture
- 1 cup shredded mozzarella cheese
- 1/2 cup grated Parmesan cheese
- 1 tablespoon garlic powder
- 1 tablespoon dried parsley
Dough & Topping
- 1 can (16.3 oz) refrigerated biscuit dough
- 1/3 cup melted butter
Instructions
- Preheat the Oven: Preheat your oven to 375°F (190°C) and line a baking sheet with parchment paper to prevent sticking and promote even baking.
- Prepare Cheese Mixture: In a small bowl, thoroughly mix the shredded mozzarella cheese, grated Parmesan cheese, garlic powder, and dried parsley until well combined.
- Separate Biscuit Dough: Open the can of refrigerated biscuit dough and separate each biscuit carefully to prepare individual dough portions.
- Flatten Dough: Using your hands or a rolling pin, flatten each biscuit to about a 4-inch circle, creating enough surface to hold the cheese filling.
- Add Cheese Filling: Spoon a generous amount of the cheese mixture into the center of each flattened biscuit, making sure not to overfill.
- Seal Dough Balls: Carefully fold the edges of the dough around the cheese, pinching tightly to seal and form a ball-shaped dough pocket.
- Arrange on Baking Sheet: Place each sealed dough ball seam side down on the prepared baking sheet, spaced evenly apart.
- Brush with Butter: Brush the surface of each dough ball with the melted butter to encourage browning and add rich flavor.
- Bake: Bake in the preheated oven for 15-20 minutes, or until the dough balls are golden brown on the outside and the cheese inside is melted and gooey.
- Cool Slightly: Remove from the oven and let the cheesy garlic bombs cool for a few minutes to allow the filling to settle and prevent burns when eating.
- Serve and Enjoy: Serve warm as a delicious appetizer or snack and enjoy the cheesy, garlicky goodness!
Notes
- You can substitute the biscuit dough with homemade pizza dough for a fresher taste.
- To enhance the garlic flavor, you may brush the dough balls with garlic-infused melted butter.
- For a crispy crust, sprinkle some extra Parmesan on top before baking.
- Serve with marinara or ranch dipping sauce for added flavor.
- Store leftovers in an airtight container in the refrigerator and reheat in the oven for best results.


