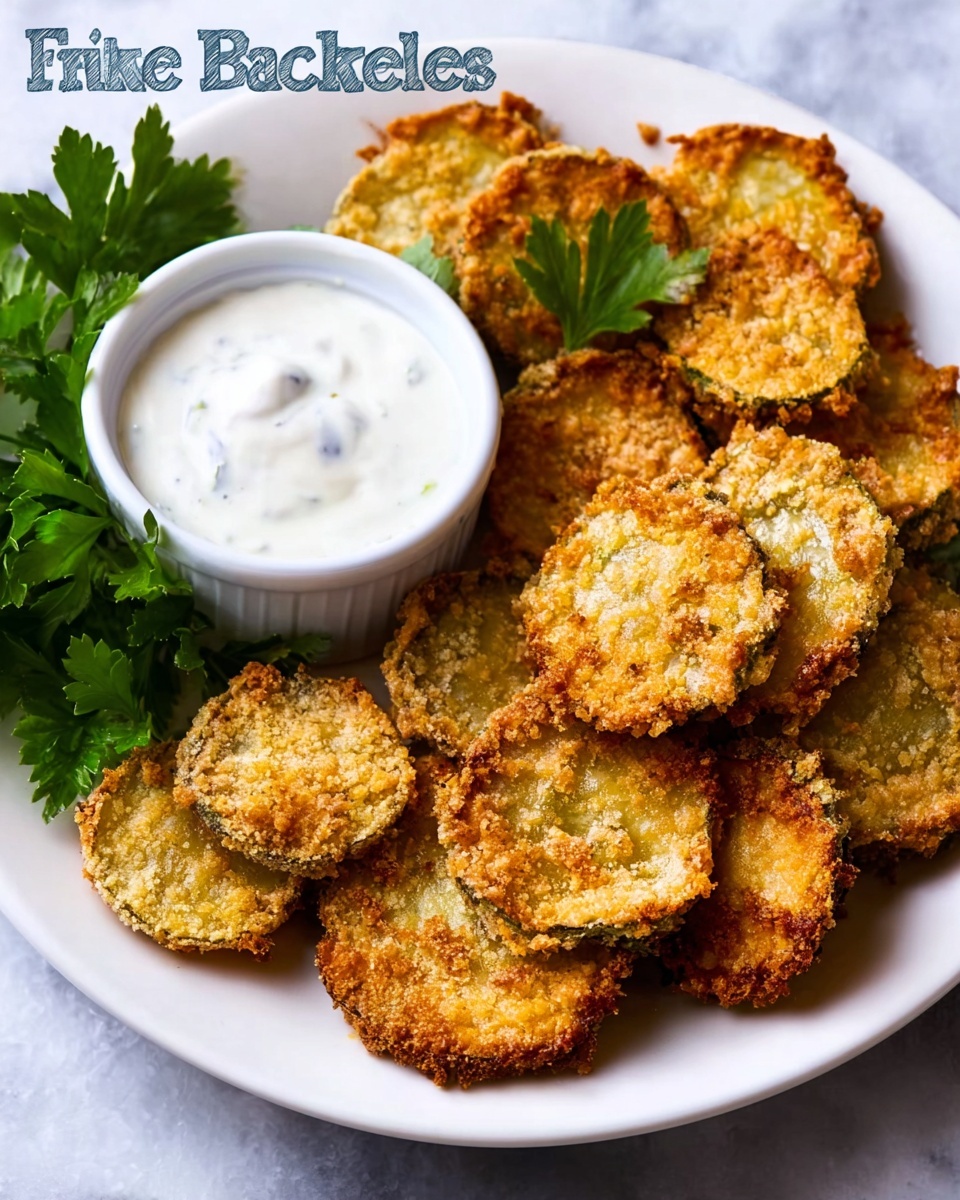
If you’re craving that irresistible crunch of fried pickles but want to skip the deep-frying mess, you’re going to adore this Baked “Fried” Pickles Recipe. It masterfully captures the crispy, golden coating with just the right tang from dill pickles, all baked to perfection in your oven. The best part is that it feels indulgent without the guilt, making it an ideal snack or appetizer that’s quick to whip up and impossible to resist.
Ingredients You’ll Need
Gathering these simple but essential ingredients is your first step toward crunchy, flavorful Baked “Fried” Pickles Recipe magic. Each one plays a special role — from creating the perfect crunchy coating to infusing that signature tang and savory warmth.
- 1 egg: Acts as the adhesive base, helping the coating stick to each pickle slice perfectly.
- 1 tsp Worcestershire sauce: Adds a subtle depth of flavor that makes your coating more complex and irresistible.
- 3-4 tablespoons of flour: Forms a paste that helps the seasoning and egg mixture cling to the pickles.
- 1 teaspoon seasoning salt (Lawry’s recommended): Brings a savory kick that enhances the overall flavor profile.
- ½ teaspoon dill: Mimics the pickle’s own herby notes, boosting that tangy freshness.
- 1½ cups Panko Japanese bread crumbs: Gives you that exceptionally crispy, light-textured crunch everyone loves.
- 2-3 dill pickles (thinly sliced): The star of the show — their briny tang and juicy crunch shine through.
How to Make Baked “Fried” Pickles Recipe
Step 1: Prepare the Egg Mixture
Start by cracking the egg into a shallow bowl and beating it with a fork until smooth. This mixture is not just about binding; it’s the start of that luscious coating that makes every bite delightful.
Step 2: Add Flour for the Perfect Paste
Pour in the flour and stir until the mixture reaches a paste-like texture. This helps the seasoning stick neatly to every nook and cranny of the pickle slices.
Step 3: Season it Up
Now it’s time to add the Worcestershire sauce, seasoning salt, and dill to the egg and flour paste. Mix everything well to distribute those savory notes evenly, building layers of flavor that will shine through after baking.
Step 4: Coat the Pickles
Drop your thin slices of dill pickles into the mixture and toss them gently so every slice is completely coated. This step seals in that tangy juiciness beneath the crispy exterior.
Step 5: Bread the Pickles in Panko
Spread your Panko crumbs out in a shallow bowl or plate. Pick up the coated pickle slices one at a time and roll them in the crumbs, ensuring each piece is evenly covered with a generous layer of crunch.
Step 6: Arrange for Baking
Lay the crumb-coated pickles carefully in a single layer on a wire rack set over a cookie sheet. This setup allows hot air to circulate around each slice, making sure they bake evenly and get crispy all over.
Step 7: Bake and Flip
Set your oven to broil at 500 degrees Fahrenheit. Bake the pickles for approximately 4-6 minutes until they begin to turn a beautiful golden color. Then, flip them carefully and return to the oven for another 3-4 minutes on the other side.
Step 8: Keep an Eye and Serve Warm
Stay attentive as you broil, since things can go from golden to burnt quickly. Once perfectly crisp on both sides, remove them from the oven and get ready to serve.
Step 9: Don’t Forget the Dip!
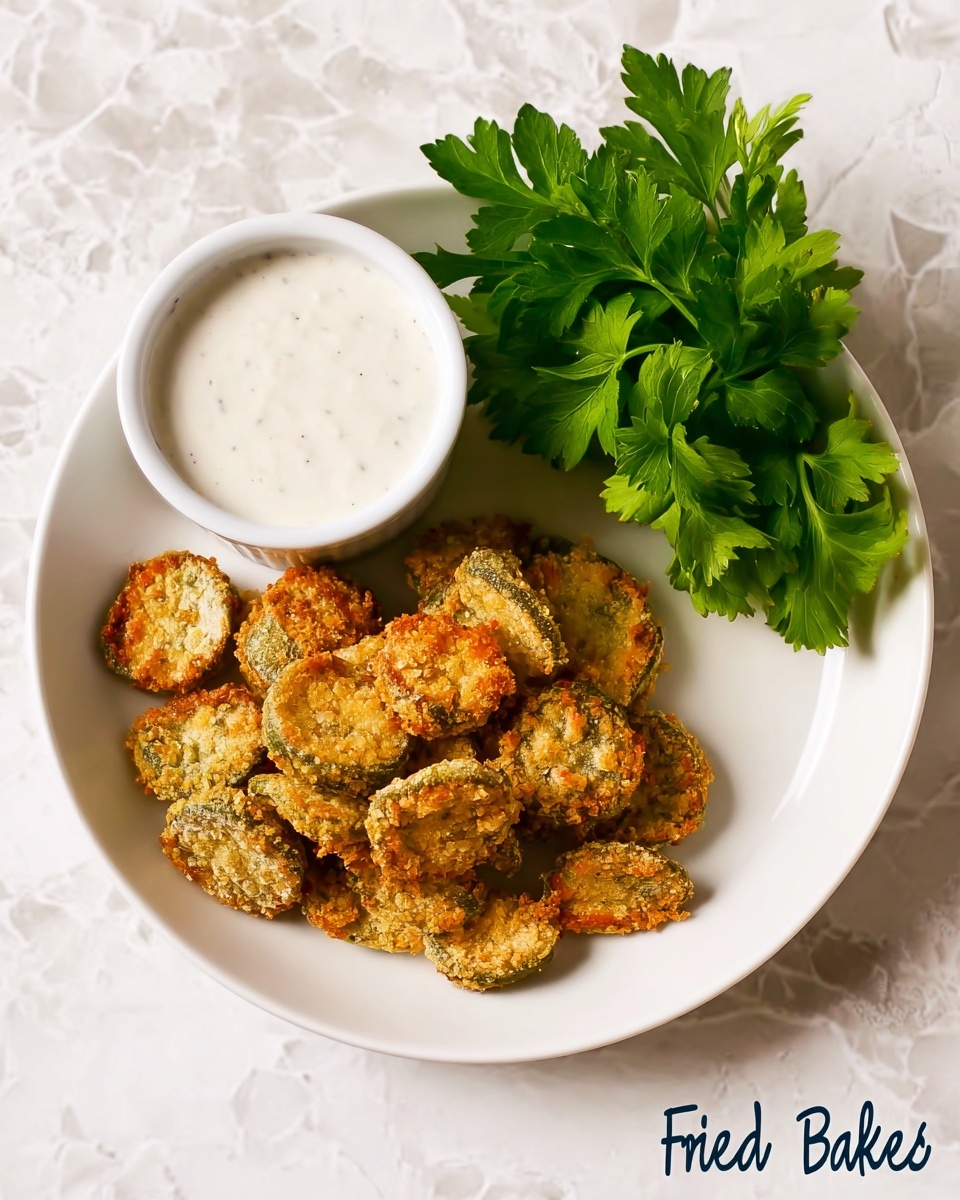
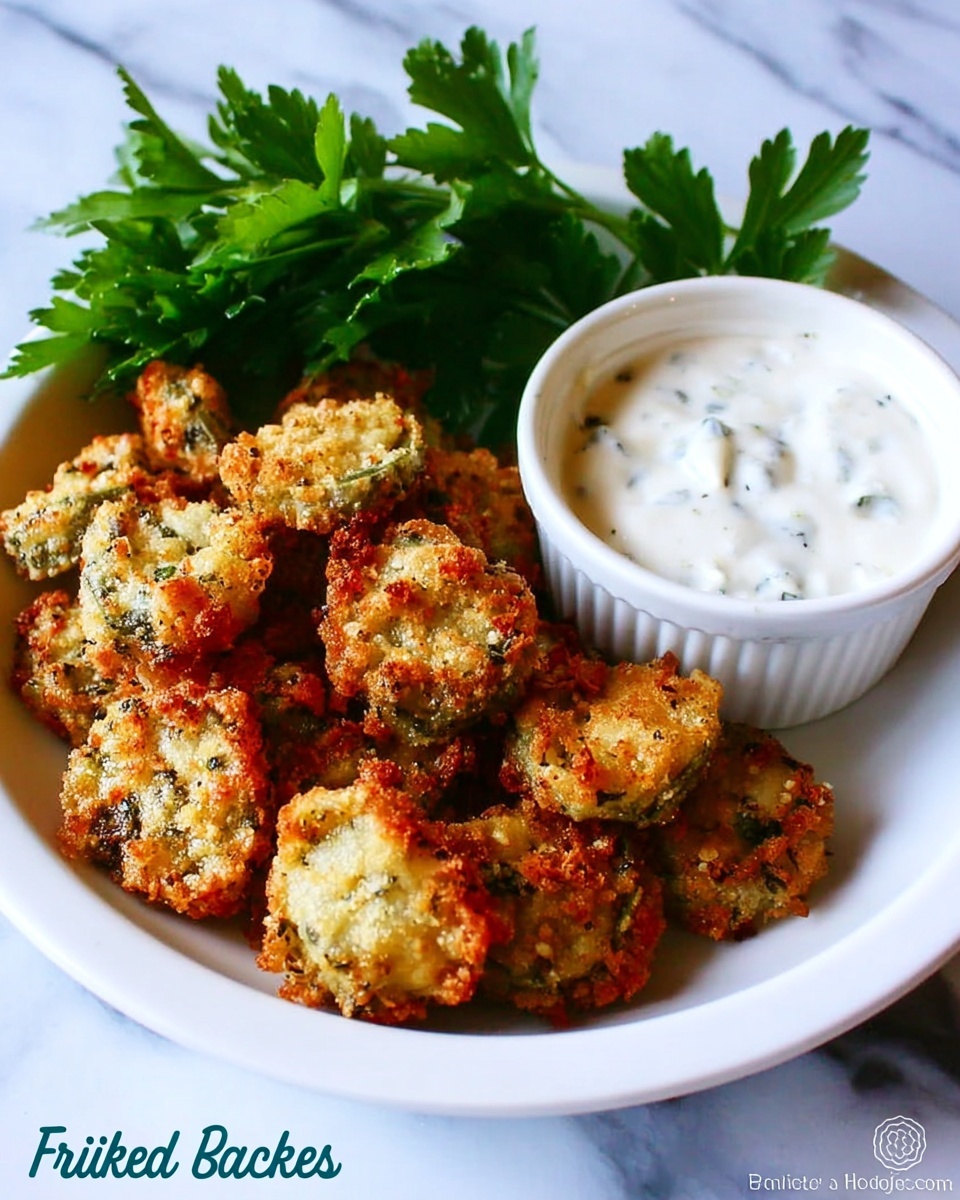
These Baked “Fried” Pickles Recipe gems are best enjoyed warm. Set out your favorite creamy dip like ranch to dunk and savor every crunchy, tangy bite.
How to Serve Baked “Fried” Pickles Recipe
Garnishes
Fresh herbs like chopped parsley or chives add a lovely burst of color and a subtle fresh note that contrasts beautifully with the crispy pickles. A light sprinkle of smoked paprika or a few red pepper flakes can also add a dash of warmth and visual appeal.
Side Dishes
Baked “Fried” Pickles Recipe pairs wonderfully with a variety of sides, such as a fresh green salad for balance or crispy sweet potato fries for extra indulgence. They also make a fantastic companion to burgers, sandwiches, or even a cozy bowl of soup.
Creative Ways to Present
For a fun twist, serve these pickles on a colorful platter layered with lettuce leaves and accompanied by small dipping bowls filled with ranch, spicy aioli, or honey mustard. You can also thread them onto skewers for a party-friendly finger food display that everyone will adore.
Make Ahead and Storage
Storing Leftovers
If you happen to have any leftovers, store them in an airtight container in the refrigerator. They’ll stay crisp enough for up to 2 days, making it easy to enjoy a quick snack later.
Freezing
Because these rely on their crispy texture, freezing baked pickles isn’t recommended — the coating can become soggy upon thawing. Instead, it’s best to make them fresh when you want to enjoy that perfect crunch.
Reheating
To reheat, pop the pickles back on a wire rack in a 375-degree oven for 5-7 minutes. This refreshes the crispiness while warming them through without drying them out.
FAQs
Can I use regular bread crumbs instead of Panko?
While regular bread crumbs will work in a pinch, Panko is preferred for its lighter, crunchier texture that really mimics that fried feel you’re aiming for. If you only have regular crumbs, try mixing in some crushed cornflakes for extra crunch.
Is Worcestershire sauce necessary in the recipe?
The Worcestershire sauce adds a subtle umami depth that enhances the overall flavor, but if you don’t have it, you can omit it or substitute with a splash of soy sauce or a dash of hot sauce for a twist.
Can I make this recipe gluten-free?
Absolutely! Use gluten-free all-purpose flour and gluten-free Panko bread crumbs to enjoy this snack without gluten, and it will still come out deliciously crispy and flavorful.
How thin should the pickle slices be?
Thin slices work best because they bake evenly and get nice and crunchy. Think about slicing them about ⅛ inch thick — any thicker and they risk becoming soggy.
What kind of dip pairs best with baked fried pickles?
Classic ranch never fails, but a garlic aioli, spicy sriracha mayo, or even a cooling tzatziki sauce can bring exciting variations. Pick a dip that complements the tanginess and crunch for maximum enjoyment.
Final Thoughts
I can’t recommend this Baked “Fried” Pickles Recipe enough for anyone who loves a crispy, flavorful snack without the hassle of frying. It’s quick, fun to make, and delivers that nostalgic crunch you yearn for every time. So, grab your ingredients and get baking — your taste buds are in for a treat!
Print
Baked “Fried” Pickles Recipe
- Prep Time: 15 minutes
- Cook Time: 15 minutes
- Total Time: 30 minutes
- Yield: 2 to 3 servings
- Category: Appetizer
- Method: Baking
- Cuisine: American
- Diet: Vegetarian
Description
Crispy and flavorful baked “fried” pickles that mimic the texture of traditional fried pickles without the extra oil. Coated in a seasoned egg and flour mixture, then coated with crunchy Panko breadcrumbs and baked to golden perfection. Perfect as a snack or appetizer served warm with your favorite creamy dip.
Ingredients
Pickle Coating
- 1 egg
- 1 tsp Worcestershire sauce
- 3–4 tablespoons flour
- 1 teaspoon seasoning salt (Lawry’s recommended)
- 1/2 teaspoon dill
Breading
- 1 1/2 cups Panko Japanese bread crumbs
- 2–3 dill pickles, thinly sliced
Instructions
- Prepare the egg mixture: In a shallow bowl, crack and beat 1 egg thoroughly using a fork until smooth.
- Add flour: Incorporate 3 to 4 tablespoons of flour into the beaten egg, mixing until you achieve a paste-like consistency.
- Season the mixture: Add 1 teaspoon seasoning salt, 1/2 teaspoon dill, and 1 teaspoon Worcestershire sauce to the paste. Mix well to combine all flavors evenly.
- Coat the pickles: Add thinly sliced dill pickles into the egg-flour mixture. Toss the pickles thoroughly to ensure they are evenly coated with the mixture.
- Prepare the breading: Pour 1 1/2 cups of Panko breadcrumbs into a separate shallow bowl.
- Bread the pickles: One by one, place coated pickles into the breadcrumbs and coat each slice thoroughly, pressing gently to adhere.
- Arrange for baking: Spread the breaded pickle slices on a wire rack placed over a baking sheet for air circulation and even cooking.
- Broil the pickles – first side: Place the baking sheet under the oven broiler preheated to 500°F (260°C). Broil for 4-6 minutes or until the pickles start to turn golden brown. Watch closely to prevent burning.
- Flip and broil second side: Remove from oven, carefully flip each pickle slice to the other side, and return to the broiler for an additional 3-4 minutes until golden and crispy.
- Serve: Once both sides are crispy and golden, remove from oven and serve the pickles warm with ranch dressing or your favorite creamy dipping sauce.
Notes
- Thinly slicing the pickles ensures faster, crispier baking.
- Using a wire rack allows heat circulation for evenly crispy pickles.
- Keep a close eye while broiling to avoid burning as broiler temperatures are high.
- Panko breadcrumbs are key to achieving a light, crunchy texture.
- Experiment with dipping sauces like ranch, blue cheese, or spicy mayo for different flavor profiles.

