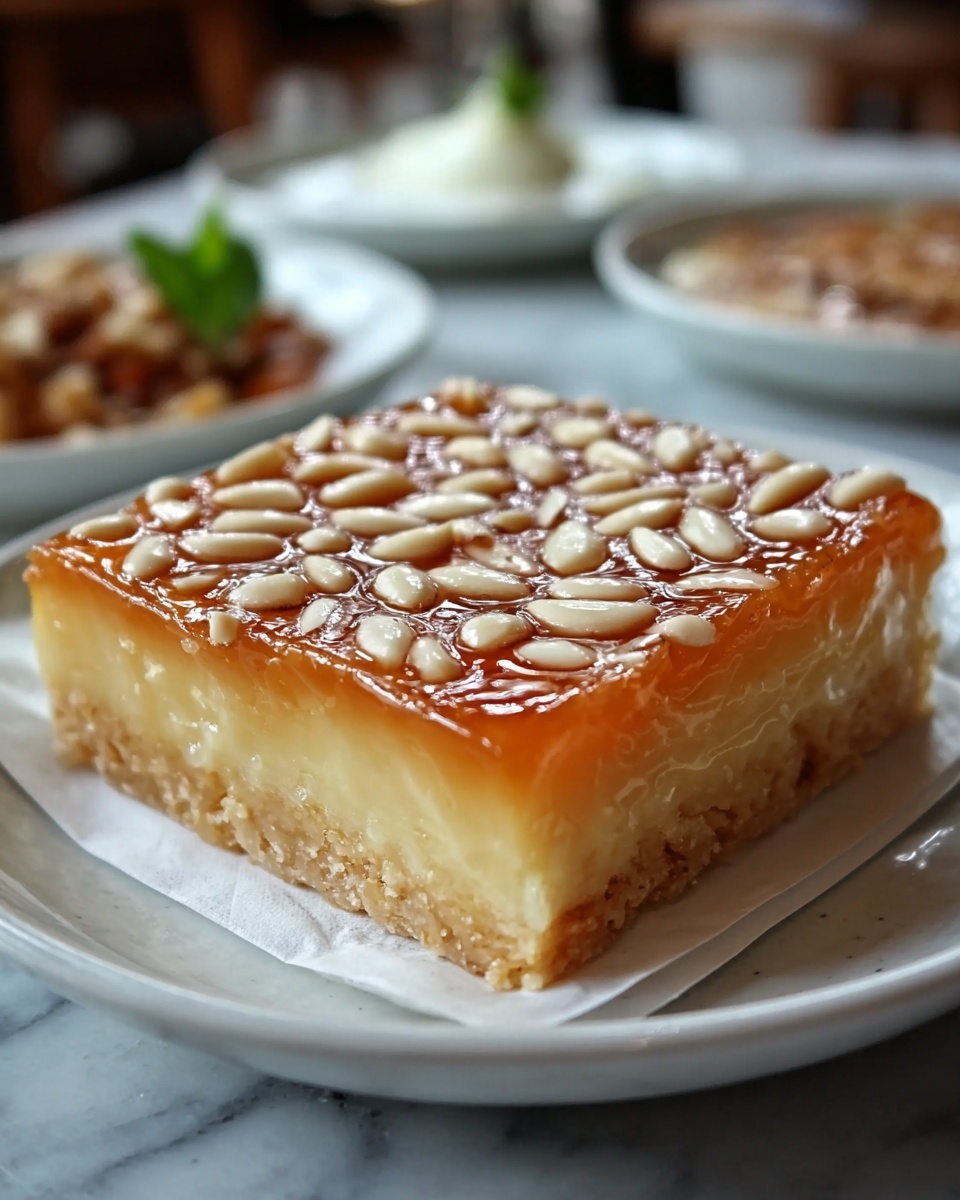
If you are searching for a luscious and comforting dessert that doesn’t require an oven but offers an unforgettable tropical flair, this No-Bake Creamy Cassava Cake Recipe is exactly what you need. Blending the rich creaminess of coconut and condensed milk with the unique texture of grated cassava, this cake sets in the fridge to achieve a custardy softness that melts in your mouth. It’s an easy, no-fuss treat that brings warmth and indulgence to any occasion, perfect for sharing with friends or savoring as your special sweet moment.
Ingredients You’ll Need
Keep it simple, keep it authentic. Each ingredient in this recipe plays an important role in creating the perfect balance of creamy, sweet, and slightly chewy textures. They also bring that golden hue and tropical aroma that make this cake irresistible.
- 2 cups grated cassava (fresh or frozen, thawed): The heart of the cake, cassava brings a subtly sweet and starchy base with a wonderful chewiness once set.
- 1 can (14 oz) coconut milk: Adds richness and a fragrant, tropical flavor essential to tie the cake together.
- 1 can (12 oz) condensed milk: Provides the perfect sweetness and creamy texture that makes this dessert decadent.
- 1/2 cup evaporated milk: Helps balance the milky flavors and creates a softer crumb in the cake.
- 1/2 cup sugar (adjust to taste): Sweetens the base just right, allowing you to tweak the sweetness level.
- 1/4 cup butter, melted: Adds a subtle richness and helps with the cake’s smooth texture.
- 1 tsp vanilla extract: Enhances all the flavors with warm, sweet notes.
- Pinch of salt: Balances sweetness and brings out the coconut’s natural depth.
- 1/2 cup coconut milk (for topping): Integral for that luscious coconut custard topping.
- 1/4 cup sugar (for topping): Sweetens the custard layer perfectly.
- 2 tbsp cornstarch: Thickens the topping into a creamy custard consistency.
- 1/4 tsp vanilla extract (for topping): Adds fragrant warmth to the custard finishing touch.
How to Make No-Bake Creamy Cassava Cake Recipe
Step 1: Prepare the Cake Base
Start by mixing your grated cassava with coconut milk, condensed milk, evaporated milk, sugar, melted butter, vanilla extract, and a pinch of salt in a large bowl. Stir until you have a smooth, well-incorporated batter. This mixture forms the luscious, slightly chewy cake base that will set beautifully in the fridge.
Step 2: Transfer to Baking Dish
Pour the cassava batter into a greased 9×9 or 8×8-inch baking dish or any heatproof container. The greased surface ensures the finished cake comes out easily once chilled.
Step 3: Chill the Cake
Now comes the magic of the No-Bake Creamy Cassava Cake Recipe—refrigerate the mixture for at least 4 hours. This chilling step allows the cassava to firm up and create a custardy, soft texture that is such a joy to bite into.
Step 4: Prepare the Topping
While waiting, make the topping by whisking coconut milk, sugar, and cornstarch in a saucepan. Cook this over medium heat, whisking continuously, until it thickens into a creamy custard. This step adds a silky layer of flavor that complements the cassava’s texture perfectly.
Step 5: Add Vanilla to the Topping
Remove the saucepan from heat and stir in the vanilla extract. This final touch deepens the aroma and sweetness, making the topping truly irresistible.
Step 6: Assemble the Cake
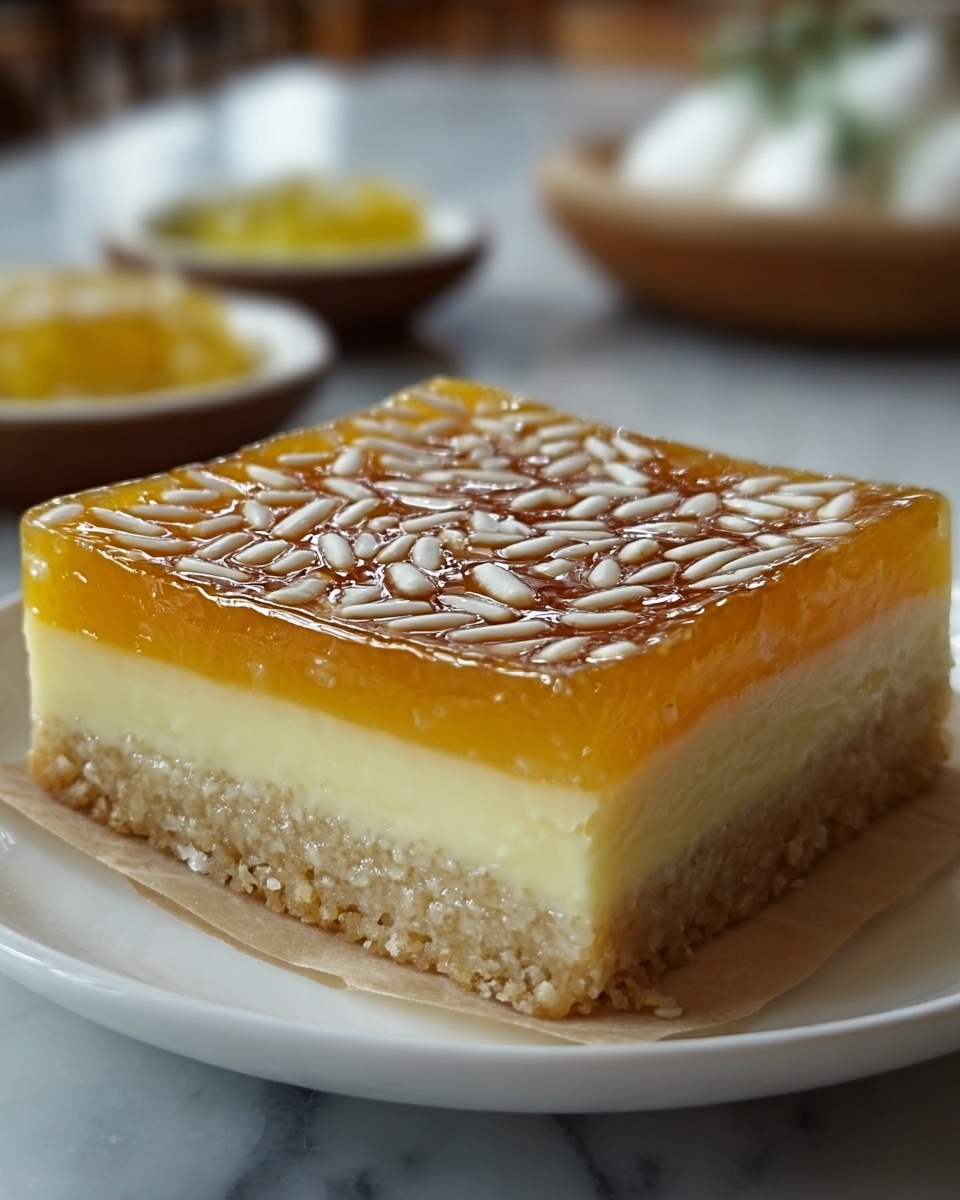
Pour the luscious coconut custard over the chilled cassava base, spreading it evenly. Then, return the cake to the fridge to chill for another 1 to 2 hours. This final chilling lets the topping set into a smooth, firm layer.
Step 7: Serve and Enjoy
Once fully chilled and set, slice into squares and serve cold. The result is a satisfying contrast between the creamy topping and the tender cassava base, offering a delightful experience with every bite.
How to Serve No-Bake Creamy Cassava Cake Recipe
Garnishes
Elevate your dessert presentation with toasted coconut flakes or a sprinkle of finely chopped nuts like pistachios or macadamias for a delightful crunch. A small drizzle of coconut cream or a few fresh mango slices can add bright notes and an exotic flair that enhances the tropical vibe of this cake.
Side Dishes
This creamy cassava cake pairs wonderfully with a scoop of vanilla bean ice cream or a light fruit salad. These sides add refreshing contrasts and make for a balanced dessert experience that’s perfect on warm days or after a hearty meal.
Creative Ways to Present
Try serving this dessert in individual mason jars with layered toppings or little dollops of whipped cream. You can also cut the cake into fun shapes with cookie cutters and arrange them on a colorful platter to impress guests or brighten up a festive table.
Make Ahead and Storage
Storing Leftovers
Keep any leftover cassava cake covered tightly with plastic wrap or in an airtight container in the refrigerator. It will stay fresh and creamy for up to 3 days, allowing you to enjoy its wonderful texture and flavor without compromise.
Freezing
The No-Bake Creamy Cassava Cake Recipe can be frozen, but note that the texture may change slightly. Wrap the cake tightly in plastic wrap and foil to prevent freezer burn and freeze for up to one month. Thaw overnight in the fridge before serving.
Reheating
This dessert is best enjoyed chilled and is not typically reheated. However, if you prefer it slightly warmer, let it sit at room temperature for about 30 minutes before serving, but avoid microwaving as it can alter the creamy texture.
FAQs
Can I use frozen grated cassava for this recipe?
Absolutely! Frozen grated cassava, once thawed properly, works just as well as fresh cassava. Just make sure to drain any excess water to keep your cake from becoming too wet.
Is this No-Bake Creamy Cassava Cake Recipe gluten-free?
Yes, cassava is naturally gluten-free, and this recipe uses only ingredients free of gluten, making it safe for those with gluten intolerance or celiac disease.
Can I substitute the condensed milk with a dairy-free alternative?
You can try using sweetened condensed coconut milk or another dairy-free condensed milk substitute, but keep in mind it may slightly alter the flavor and sweetness of the cake.
How long should I chill the cake before serving?
For the best texture, chill the cassava cake for at least 4 hours before adding the topping, and then an additional 1–2 hours after the topping is added. Patience really pays off here!
What if I want a firmer cake?
If you prefer a firmer texture, refrigerate the cake overnight. The extra time helps the cake and custard topping to set even more solidly without losing its creamy appeal.
Final Thoughts
Once you try this No-Bake Creamy Cassava Cake Recipe, it’s sure to become one of your treasured go-to desserts that’s as comforting as it is delicious. Easy to make, wonderfully creamy, and boasting tropical flavors that delight every bite—you really can’t go wrong. Invite friends over or treat yourself; either way, you’re in for a truly satisfying sweet treat that’s simply unforgettable.
Print
No-Bake Creamy Cassava Cake Recipe
- Prep Time: 15 minutes
- Cook Time: 10 minutes
- Total Time: 5 hours 25 minutes
- Yield: 9-12 servings
- Category: Dessert
- Method: No-Cook
- Cuisine: Filipino
- Diet: Gluten Free
Description
This No-Bake Cassava Cake is a creamy, custardy Filipino dessert made with grated cassava, coconut milk, and a luscious coconut custard topping. It’s simple to prepare, requires no baking, and is chilled until perfectly set, offering a soft, rich texture with a sweet, tropical flavor perfect for any occasion.
Ingredients
For the Cake Base
- 2 cups grated cassava (fresh or frozen, thawed)
- 1 can (14 oz) coconut milk
- 1 can (12 oz) condensed milk
- 1/2 cup evaporated milk
- 1/2 cup sugar (adjust to taste)
- 1/4 cup butter, melted
- 1 tsp vanilla extract
- Pinch of salt
For the Topping
- 1/2 cup coconut milk
- 1/4 cup sugar
- 2 tbsp cornstarch
- 1/4 tsp vanilla extract
Instructions
- Prepare the Cake Base: In a large mixing bowl, combine the grated cassava, coconut milk, condensed milk, evaporated milk, sugar, melted butter, vanilla extract, and a pinch of salt. Stir well until everything is fully combined and the mixture is smooth.
- Transfer to Dish: Pour the cassava mixture into a greased 9×9-inch or 8×8-inch baking dish or a heatproof container, spreading it evenly.
- Chill the Cake: Refrigerate the cassava mixture for at least 4 hours, or until it sets and firms up, forming the soft custardy cake base.
- Prepare the Topping: In a saucepan, whisk together the coconut milk, sugar, and cornstarch. Place over medium heat and cook, whisking constantly, until the mixture thickens into a creamy custard.
- Add Vanilla to Topping: Remove the thickened custard from heat and stir in the vanilla extract.
- Assemble the Cake: Pour the coconut custard topping evenly over the chilled cassava cake base.
- Chill to Set Topping: Return the assembled cake to the refrigerator and chill for an additional 1-2 hours to allow the topping to set firmly.
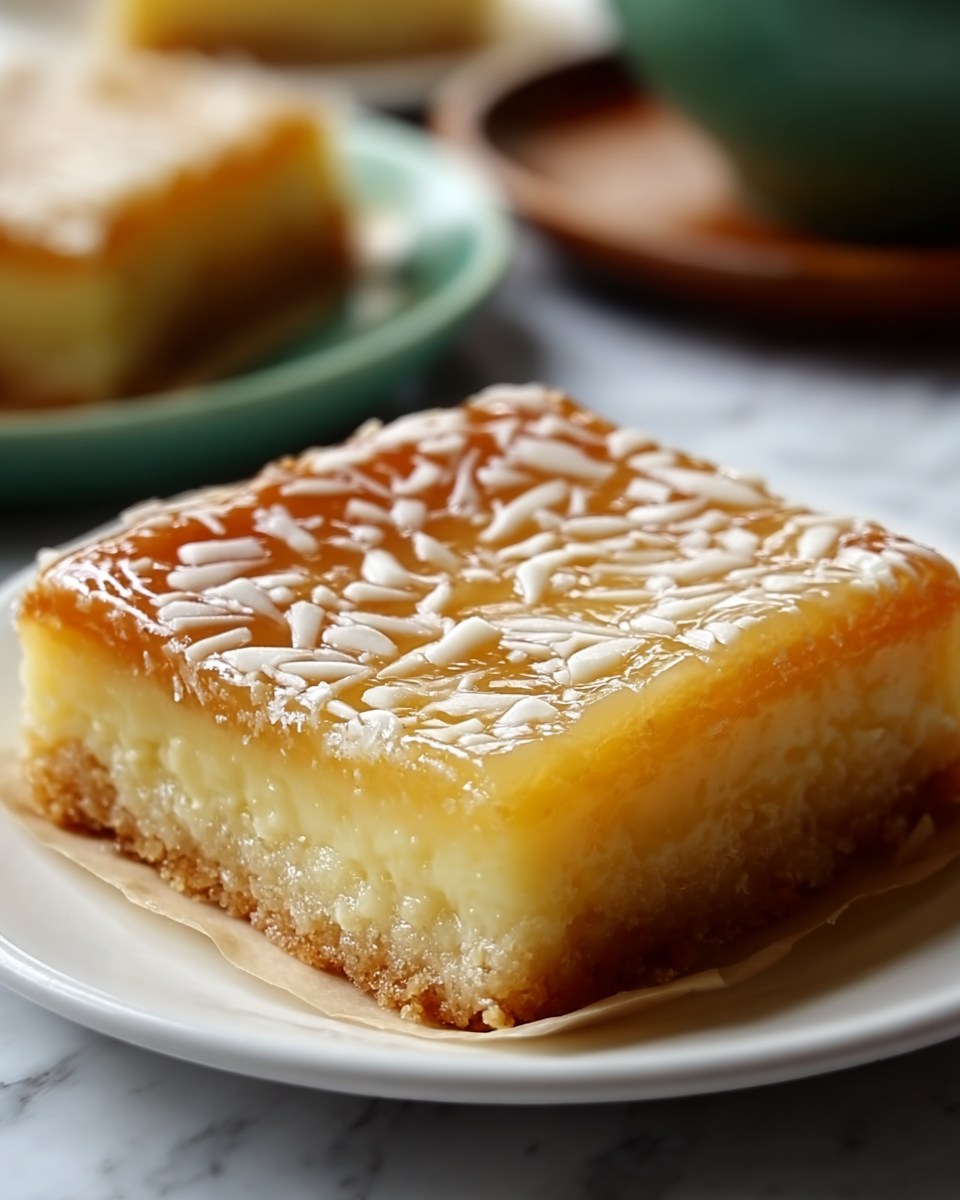
- Serve: Slice the fully chilled No-Bake Cassava Cake into squares and serve cold for a deliciously creamy, rich, and refreshing dessert.
Notes
- Adjust sugar according to your preferred sweetness.
- If fresh cassava is unavailable, frozen grated cassava thawed will work perfectly.
- The refrigeration time is crucial to achieve the right soft and creamy texture.
- Use a heatproof container or baking dish to ensure safety with hot custard topping.
- The topping must be stirred constantly to avoid lumps when cooking the custard.


