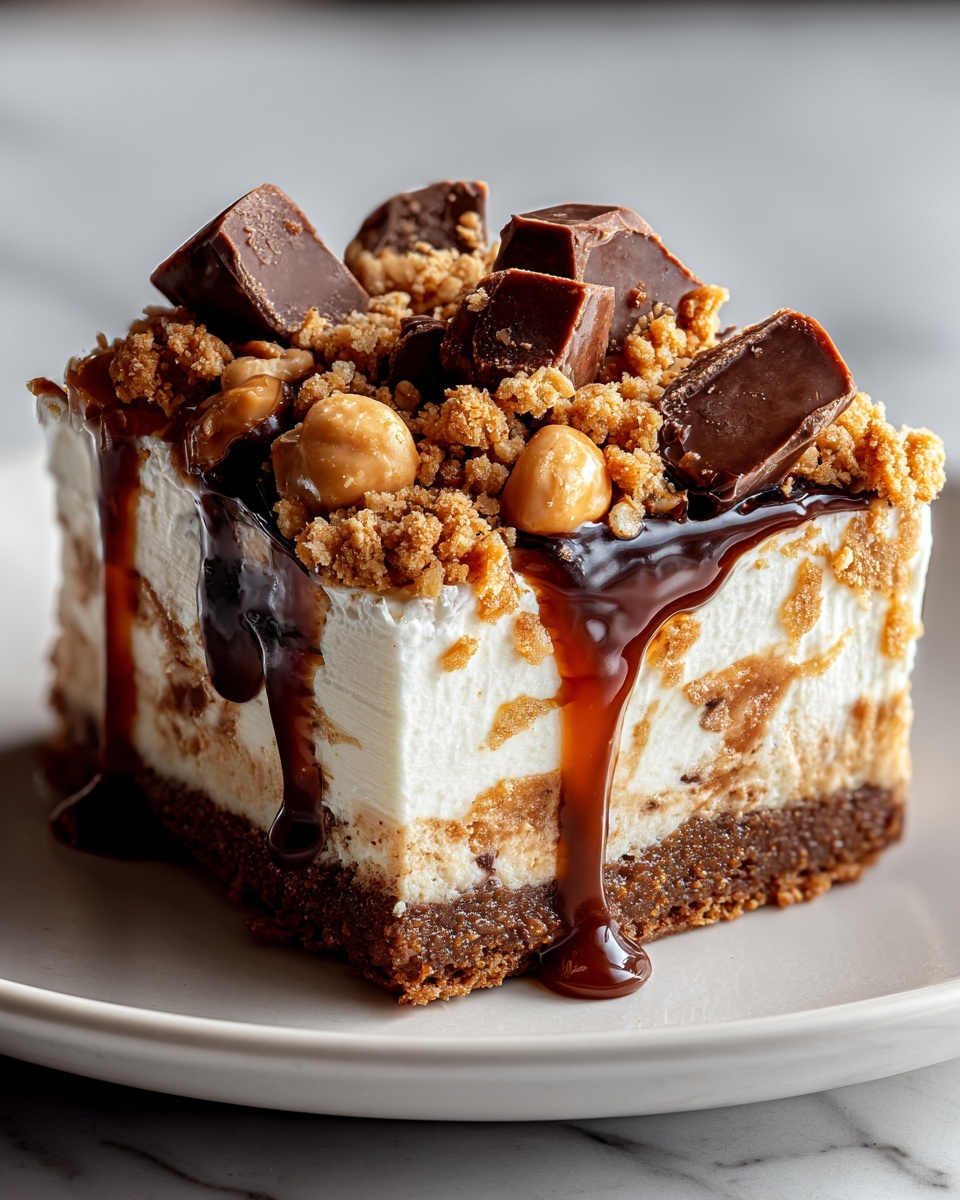
If you have a sweet tooth craving that calls for a nostalgic crunch and creamy indulgence, this Butterfinger Candy Bar Poke Cake Recipe is going to be your new best friend. Imagine a tender chocolate or vanilla cake that’s magically pierced and infused with a luscious pudding filling, then topped generously with the unmistakable crunchy, peanut-buttery goodness of Butterfinger candy bars. It’s the perfect dessert that blends classic comfort with a fun, textured twist—a true crowd-pleaser for birthdays, holidays, or anytime you want to treat yourself and loved ones to something extraordinary.
Ingredients You’ll Need
This recipe shines because of how straightforward the ingredients are, yet each one plays a vital role in building the lush texture, rich flavor, and delightful crunch that make this cake so irresistible.
- Boxed chocolate or vanilla cake mix: The base of the cake, providing structure and a familiar homemade cake flavor with minimal effort.
- Instant pudding mix (vanilla or chocolate): Adds rich creaminess and moisture to the cake’s inside, creating that signature “poke cake” effect.
- Cold milk: Necessary for whisking the pudding mix into a silky smooth filling.
- Sweetened condensed milk: Brings a sweet, velvety depth to the filling that perfectly balances the crunchy toppings.
- Whipped topping (Cool Whip), thawed: Keeps the filling light, airy, and easy to spread.
- Butterfinger candy bars, chopped: Infuse each bite with a satisfying crunch and peanut butter flavor signature to this dessert.
- Butter and sugar: Optional touches to enhance richness if you like a more decadent cake base or topping.
- Peanut butter and caramel sauce: Perfect for drizzling to add extra layers of flavor and an appealing finish.
How to Make Butterfinger Candy Bar Poke Cake Recipe
Step 1: Bake the Cake
Start by preparing your boxed cake mix exactly according to the instructions on the package—this keeps things easy without sacrificing flavor. Pour the batter into a greased 9×13-inch pan, then bake until just done. Let the cake cool slightly so it is warm but still manageable for the poking step.
Step 2: Poke the Cake
Grab a wooden spoon handle or a skewer and poke holes evenly all over the cake’s surface. These holes are crucial—they create little pockets for the pudding filling, ensuring every slice is moist, flavorful, and downright luscious.
Step 3: Prepare the Pudding Filling
Whisk your instant pudding mix with 2 cups of cold milk until it starts to thicken, then add the sweetened condensed milk and mix thoroughly. The condensed milk adds a beautiful sweetness and creaminess that sets this poke cake apart. Gently fold in the thawed whipped topping to keep things light and fluffy, so your filling isn’t too heavy or dense.
Step 4: Pour the Filling Over the Cake
Slowly pour or spoon the pudding mixture evenly over the entire cake, allowing it to seep into every single hole you poked earlier. This step is what really transforms the cake, making each bite a wonderful balance of soft cake and creamy filling.
Step 5: Chill and Add Butterfinger Topping
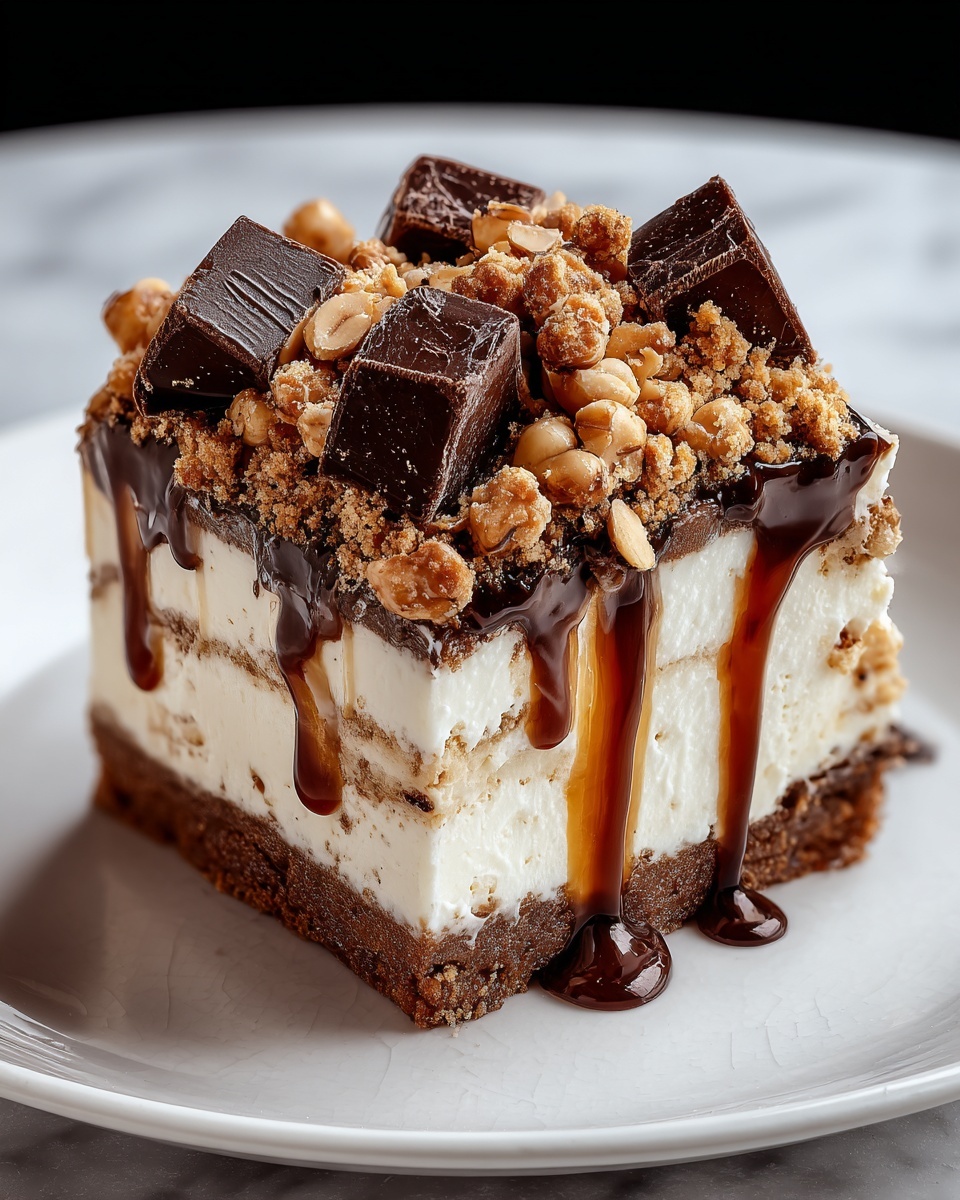
Cover the cake with plastic wrap and refrigerate for at least 2 hours to let the filling set and flavors meld together beautifully. Just before serving, sprinkle a generous layer of chopped Butterfinger candy bars on top. This final step adds the perfect crunch and unmistakable peanut butter chocolate flavor that defines the Butterfinger Candy Bar Poke Cake Recipe.
How to Serve Butterfinger Candy Bar Poke Cake Recipe
Garnishes
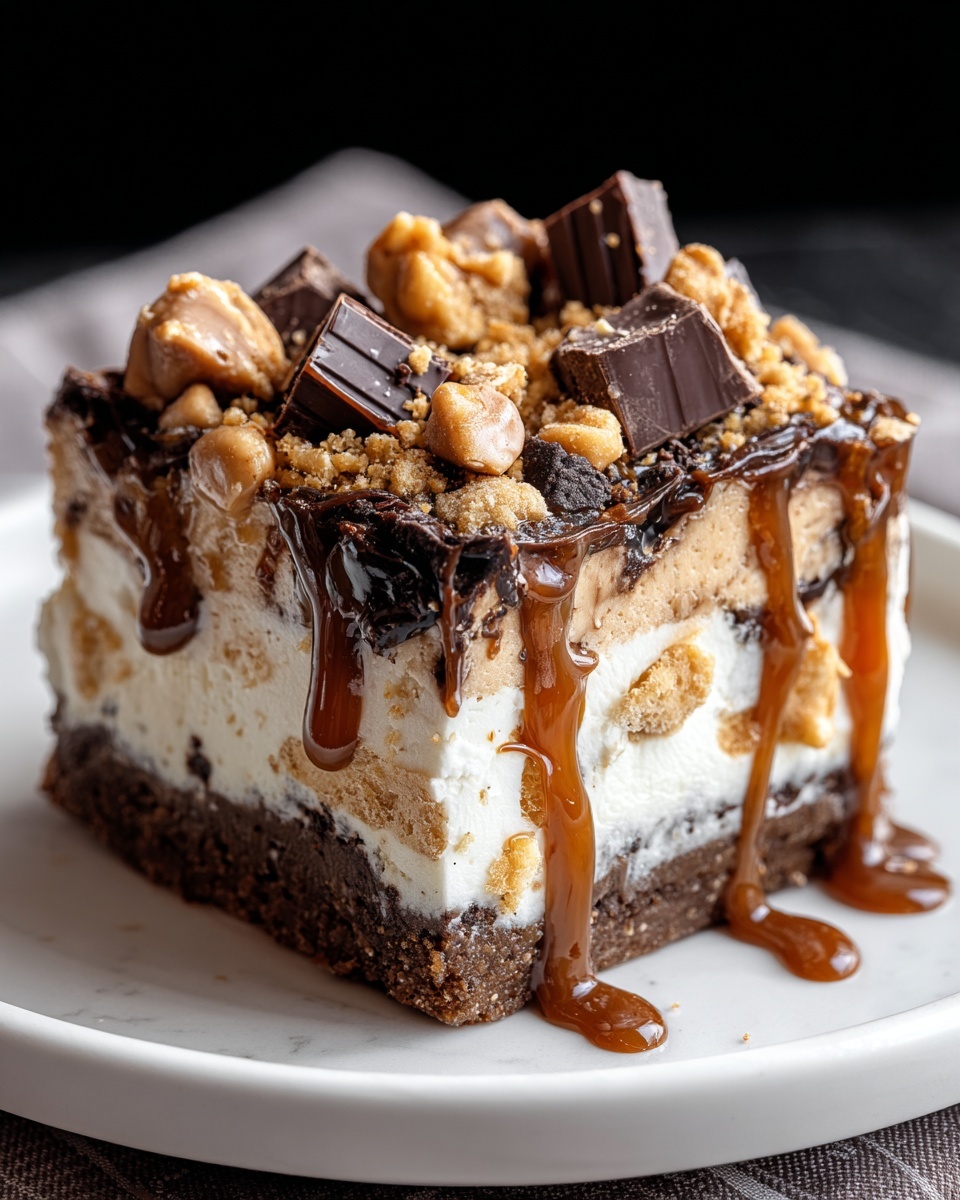
Top your cake slices with extra chopped Butterfinger pieces for added crunch. A drizzle of peanut butter or caramel sauce takes presentation and flavor up a notch, making each slice look as delectable as it tastes.
Side Dishes
This indulgent poke cake pairs beautifully with simple sides like fresh berries, a scoop of vanilla ice cream, or even a cup of rich coffee to balance the sweetness. These thoughtful accompaniments make your dessert experience even more enjoyable and well-rounded.
Creative Ways to Present
For a fun twist, try layering the poke cake in individual glass jars or clear cups, showing off all those luscious layers. You can also use cupcake liners to make portable poke cake bites topped with mini Butterfinger chunks, perfect for parties or on-the-go treats.
Make Ahead and Storage
Storing Leftovers
Keep any leftover Butterfinger Candy Bar Poke Cake Recipe covered tightly in the refrigerator. It will stay moist and tasty for up to 4 days, making it an easy dessert to enjoy across several days without losing any of its magic.
Freezing
If you want to save it longer, slice the cake individually, wrap pieces securely in plastic wrap, and place them in a freezer-safe container. The cake freezes wonderfully and can be kept frozen for up to 2 months. Thaw overnight in the fridge before serving.
Reheating
Since this poke cake is best served chilled, reheating isn’t necessary. However, if you prefer a slightly softer texture, let the cake sit at room temperature for 15-20 minutes before digging in. This allows the pudding to become less firm but still satisfyingly creamy.
FAQs
Can I use homemade cake instead of boxed mix?
Absolutely! Homemade chocolate or vanilla cake works beautifully and adds a personal touch, but the boxed mix keeps this recipe quick and foolproof.
What other candy bars can I use if I don’t have Butterfinger?
Snickers, Twix, or Heath bars are great substitutes—they all bring that delightful crunch and candy bar flavor that pairs well with the creamy filling.
Can I make this cake dairy-free?
With some ingredient swaps like dairy-free pudding mix and whipped topping alternatives, you can definitely adapt the recipe for dairy sensitivities.
How long should I poke the holes in the cake?
Make sure to poke holes about 1 inch apart across the entire cake surface; this spacing ensures every bite gets that creamy pudding goodness without making the cake fall apart.
Is the Butterfinger Candy Bar Poke Cake Recipe suitable for kids?
Yes! Its sweet, creamy texture and candy bar crunch make it especially popular with kids, though be mindful of portion sizes due to the sweetness.
Final Thoughts
This Butterfinger Candy Bar Poke Cake Recipe combines beloved simple ingredients with clever techniques to create something truly memorable. It’s a dessert that dazzles without demanding hours in the kitchen, perfect for those moments you want to impress or simply indulge. I can’t wait for you to try it and see how a humble poke cake can become a star of any celebration or cozy night in.
Print
Butterfinger Candy Bar Poke Cake Recipe
- Prep Time: 20 minutes
- Cook Time: 35 minutes
- Total Time: 2 hours 55 minutes
- Yield: 12 servings
- Category: Dessert
- Method: Baking
- Cuisine: American
Description
This Butterfinger Candy Bar Poke Cake is a decadent and moist dessert made from a classic boxed cake mix that is baked, poked to create holes, and filled with a rich pudding and sweetened condensed milk mixture. It is then topped with whipped topping and chopped Butterfinger candy bars for a delightful crunch. Finished with peanut butter and caramel drizzle, this no-fuss treat is perfect for any occasion and serves 12.
Ingredients
Cake Base
- 1 box chocolate or vanilla cake mix (plus ingredients needed according to box instructions)
- Butter and sugar (for extra richness in cake base or topping, optional)
Filling
- 1 package instant pudding mix (vanilla or chocolate)
- 2 cups cold milk
- 1 can (14 oz) sweetened condensed milk
- 1 tub (8 oz) whipped topping (Cool Whip), thawed
Topping
- 4–5 Butterfinger candy bars, chopped
- Peanut butter (for drizzle, amount as desired)
- Caramel sauce (for drizzling, amount as desired)
Instructions
- Prepare the Cake: Prepare your boxed cake mix according to the package instructions by combining the mix with the required ingredients. Pour the batter into a greased 9×13-inch baking pan. Optionally, add a bit of butter and sprinkle sugar on top before baking to enhance richness. Bake as directed on the box. Once baked, allow the cake to cool slightly until it is warm but manageable.
- Poke Holes in the Cake: Using the handle of a wooden spoon or a skewer, poke holes evenly spaced across the entire surface of the warm cake. This technique allows the filling to seep into the cake, ensuring every bite is moist and flavorful.
- Make the Filling: In a mixing bowl, whisk the instant pudding mix with 2 cups of cold milk until the mixture thickens. Stir in the sweetened condensed milk thoroughly. Then gently fold in the thawed whipped topping, being careful to maintain a light and fluffy consistency for a creamy texture.
- Fill the Cake: Slowly pour or spoon the pudding and whipped topping mixture evenly over the poked cake. Make sure the mixture seeps into all the holes and covers the cake surface completely for maximum flavor absorption.
- Chill and Finish: Cover the cake tightly with plastic wrap and refrigerate it for at least 2 hours to allow the filling to set and the flavors to meld together. Before serving, sprinkle the chopped Butterfinger candy bars generously over the top. For extra indulgence, drizzle peanut butter and caramel sauce over the cake as desired.
Notes
- Using a warm cake for poking helps the filling penetrate better.
- The choice between chocolate or vanilla cake mix allows for flexibility depending on your taste preference.
- The addition of butter and sugar on the cake base before baking is optional but adds extra richness and texture.
- Make sure the pudding mixture is thickened to avoid a runny filling.
- Refrigerate the cake to allow the filling to set completely for the best texture and flavor.
- Store leftovers covered in the refrigerator for up to 3 days.


