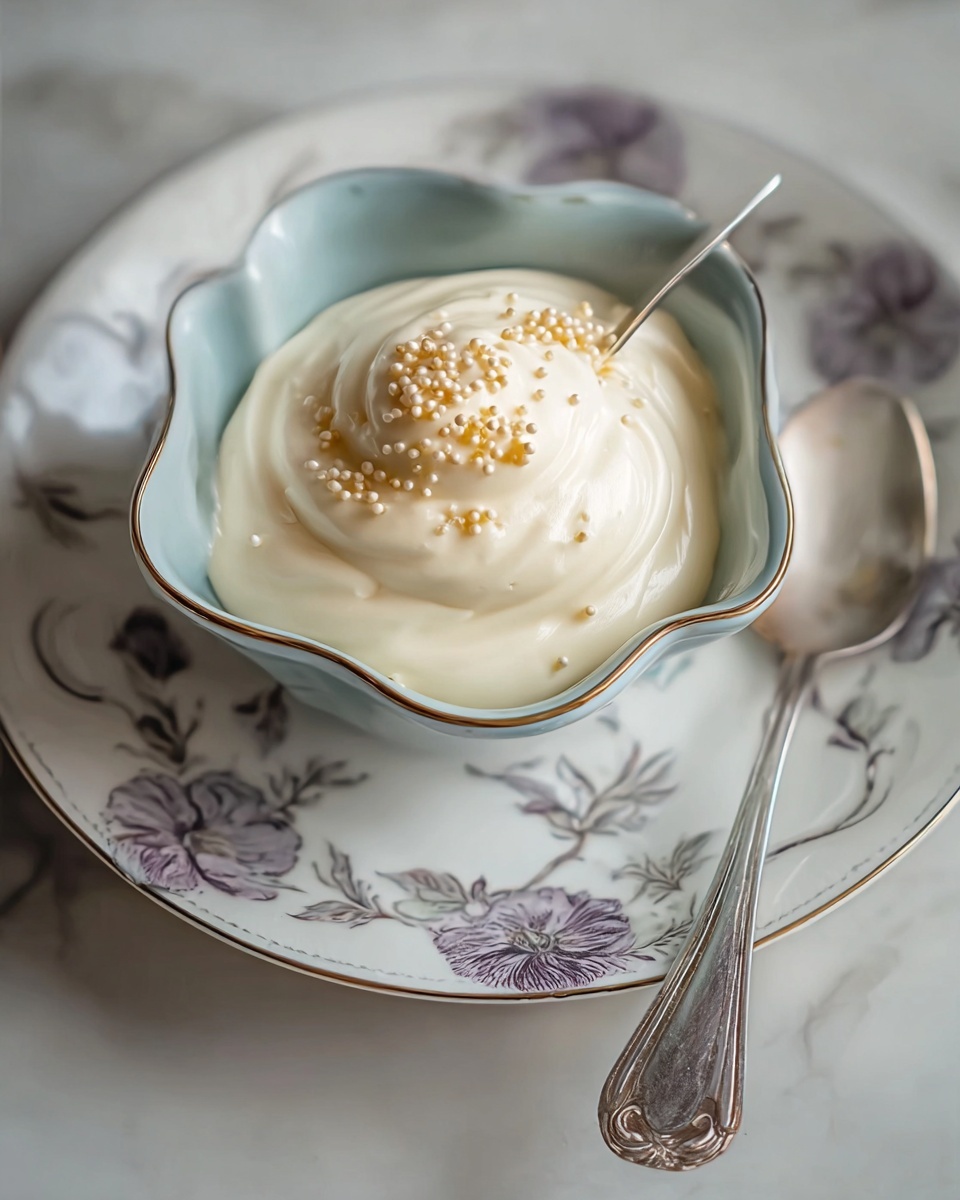
If you have ever craved a dessert that feels like a cozy hug in a bowl, this Vanilla Pudding Recipe is the answer to your sweet dreams. Creamy, luscious, and wonderfully silky, this homemade pudding is comfort food at its finest. What makes this Vanilla Pudding Recipe particularly special is its perfect balance of rich, velvety texture and gentle vanilla sweetness, all made from simple pantry staples. Whether you’re a dessert novice or a seasoned cook, this recipe is a delightful treat that’s both easy to master and sure to impress.
Ingredients You’ll Need
Gathering the right ingredients is key to nailing this Vanilla Pudding Recipe. Each component plays a unique role—from creating that creamy body to delivering depth in flavor and the right consistency.
- Whole milk: Provides the rich, creamy base essential for smooth pudding texture.
- Granulated sugar: Sweetens the pudding just enough to highlight the vanilla’s natural warmth.
- Cornstarch: This magical thickener gives the pudding its signature silky firmness without any gumminess.
- Salt: A pinch enhances all the sweet flavors and balances the vanilla’s aroma.
- Egg yolks: Add richness and help create that custard-like creaminess everyone loves.
- Unsalted butter: Melted in at the end, it boosts the pudding’s smoothness and adds a subtle, indulgent finish.
- Pure vanilla extract: The star flavor that turns simple pudding into an irresistible dessert.
How to Make Vanilla Pudding Recipe
Step 1: Heat the milk
Begin by warming 2 cups of whole milk in a medium saucepan over medium heat until it’s steaming but not boiling. This gentle warming prepares the milk to blend seamlessly with the other ingredients, setting the stage for a velvety pudding.
Step 2: Mix dry ingredients
While the milk warms, whisk together the sugar, cornstarch, and salt in a bowl. These dry ingredients will give your pudding structure and sweetness. Then add the remaining ¾ cup cold milk and whisk until the mixture is perfectly smooth with no lumps in sight.
Step 3: Temper the eggs
Whisk the egg yolks into the cornstarch mixture to combine. To keep your pudding silky and avoid any scrambled eggs, slowly pour in the warm milk from the saucepan while whisking constantly; this gradual blending is what we call tempering, and it’s crucial for a smooth pudding.
Step 4: Cook the pudding
Return the entire mixture to the saucepan and cook over medium heat. Keep whisking nonstop as the pudding thickens and starts to bubble — typically around 4 to 6 minutes. This constant motion is what prevents lumps and creates that creamy texture that makes this recipe so beloved.
Step 5: Finish the pudding
Once thickened, remove the pan from heat and stir in the unsalted butter and pure vanilla extract. These final touches infuse richness and an unmistakable vanilla aroma that truly defines this Vanilla Pudding Recipe.
Step 6: Chill
Pour the pudding into individual serving cups. To prevent a skin from forming on top, cover the surface directly with plastic wrap. Refrigerate for at least 2 hours until completely set and chilled – this step lets all the flavors meld beautifully.
How to Serve Vanilla Pudding Recipe
Garnishes
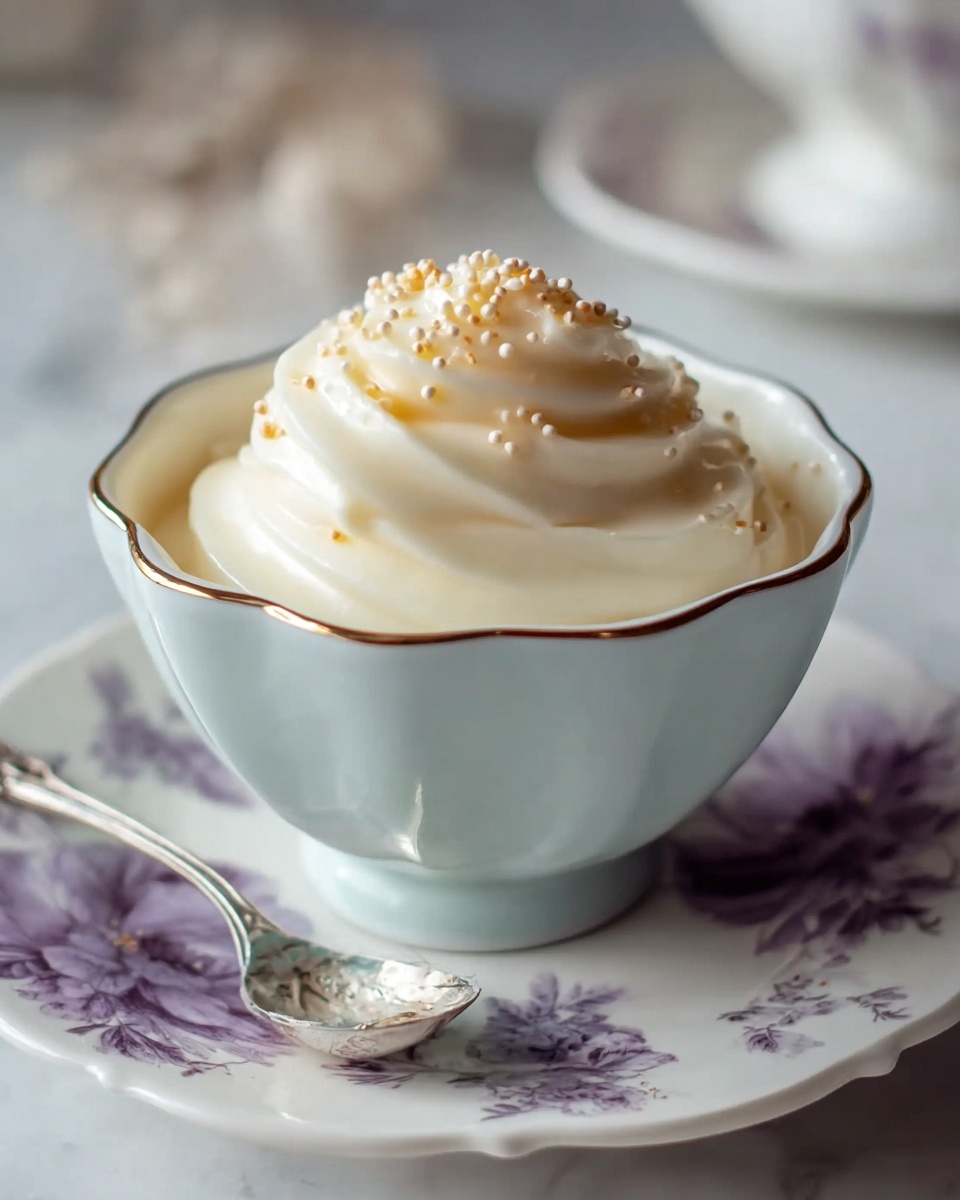
Simple garnishes can elevate your vanilla pudding from wonderful to unforgettable. Consider fresh berries for a pop of color and tartness, a sprinkle of cinnamon or nutmeg for warmth, or even a dollop of whipped cream for extra creaminess. Each garnish adds its own personality to the dish.
Side Dishes
While this pudding shines on its own, pairing it with crisp shortbread cookies or buttery graham crackers adds a delightful crunch that contrasts with the smooth pudding. Alternatively, a drizzle of caramel or chocolate sauce makes it feel extra indulgent.
Creative Ways to Present
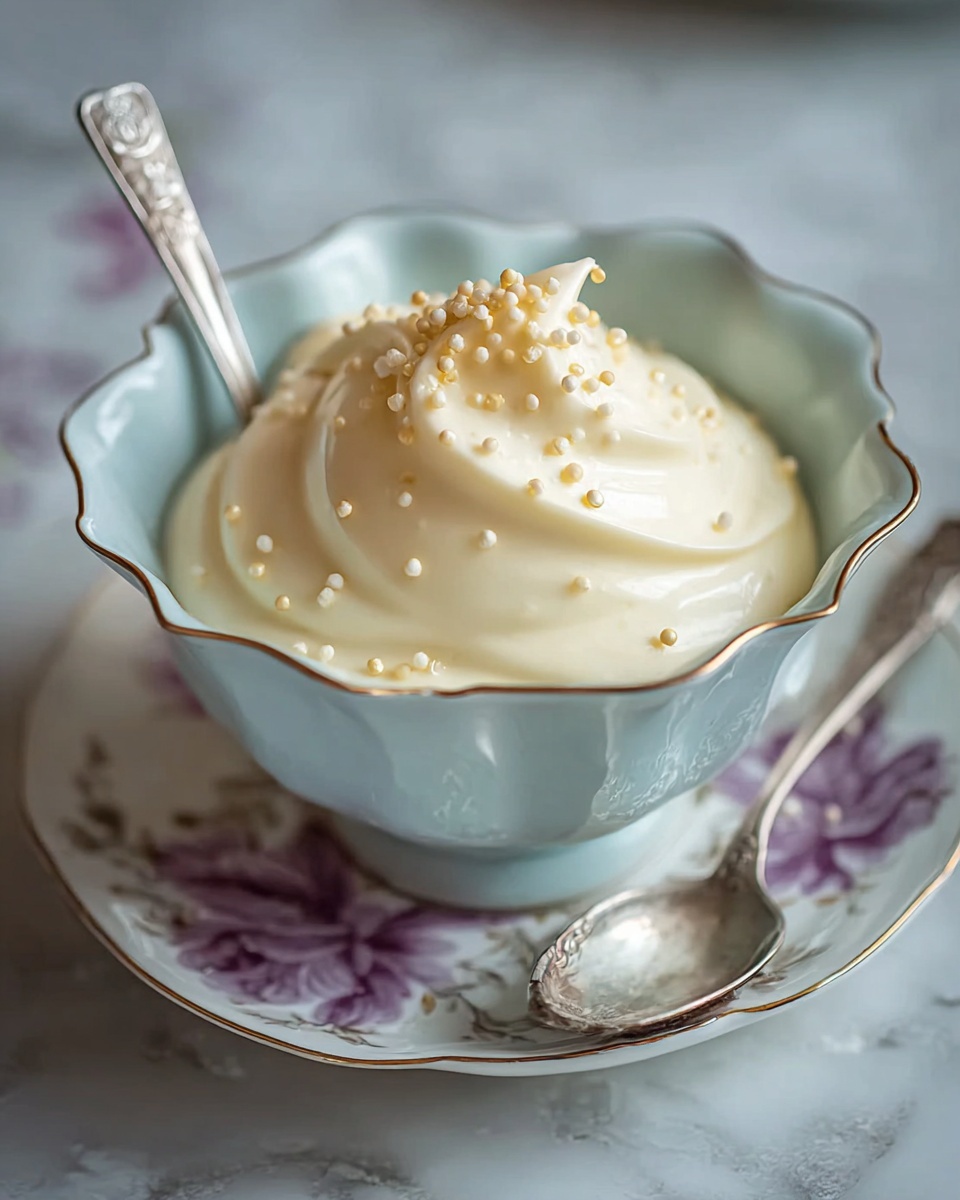
For a charming presentation, serve your vanilla pudding in vintage teacups or mason jars. Layer it with crushed cookies and fresh fruits in parfait glasses to create a layered dessert. The creamy layers and vibrant toppings make it as beautiful to look at as it is to eat.
Make Ahead and Storage
Storing Leftovers
Vanilla pudding keeps beautifully in the fridge when stored in airtight containers. It can last up to three days, making it an ideal make-ahead dessert for gatherings or weeknight treats.
Freezing
Although freezing pudding is possible, the texture might change slightly upon thawing, becoming a bit grainy. For best results, enjoy this Vanilla Pudding Recipe fresh or refrigerated rather than frozen.
Reheating
If you prefer your pudding warm, gently reheat it in a saucepan over low heat, stirring constantly to prevent scorching. Adding a splash of milk can help restore creaminess lost during chilling.
FAQs
Can I use milk alternatives in this Vanilla Pudding Recipe?
Yes, you can substitute whole milk with almond, soy, or oat milk, but keep in mind the flavor and texture might differ slightly. Whole milk lends the creamiest result.
What can I do if my pudding is too thick or too thin?
If it’s too thick, whisk in a little more milk while reheating. If too thin, cook it a bit longer, stirring constantly until it thickens up to your liking.
Is it necessary to temper the eggs?
Tempering the eggs by slowly whisking in warm milk prevents them from scrambling and ensures a smooth, silky pudding without lumps.
Can I make this pudding vegan?
This recipe relies heavily on dairy and eggs for its classic texture, but you can experiment with plant-based milks and cornstarch as a thickener; vegan custard recipes might have slight variations for best results.
Why do I need to cover the pudding with plastic wrap directly on the surface?
Covering the pudding surface with plastic wrap prevents a skin from forming as it cools, keeping the texture perfectly smooth and creamy.
Final Thoughts
This Vanilla Pudding Recipe is one of those timeless treats that feels both nostalgic and special. It’s simple enough for a weekday dessert but elegant enough to serve guests without any fuss. Whip up a batch today and indulge in the creamy comfort that only homemade vanilla pudding can bring.
Print
Vanilla Pudding Recipe
- Prep Time: 5 minutes
- Cook Time: 10 minutes
- Total Time: 2 hours 15 minutes
- Yield: 4 servings
- Category: Dessert
- Method: Stovetop
- Cuisine: American
Description
This classic Vanilla Pudding recipe is a creamy and smooth dessert that is easy to make at home. Made with whole milk, sugar, cornstarch, egg yolks, butter, and real vanilla extract, it delivers a rich vanilla flavor with a velvety texture. Perfect for a comforting treat, this pudding requires minimal ingredients and just 10 minutes of cooking time before chilling.
Ingredients
Milk Mixture
- 2¾ cups whole milk (divided: 2 cups warm, ¾ cup cold)
Dry Ingredients
- ½ cup granulated sugar
- ¼ cup cornstarch
- ¼ tsp salt
Others
- 3 large egg yolks
- 2 tbsp unsalted butter
- 1 tbsp pure vanilla extract
Instructions
- Heat the milk: In a medium saucepan, warm 2 cups of milk over medium heat until steaming but not boiling, to prepare for mixing with the dry ingredients.
- Mix dry ingredients: In a bowl, whisk together the sugar, cornstarch, and salt. Add the remaining ¾ cup of cold milk and whisk until the mixture is smooth and free of lumps.
- Temper the eggs: Whisk the egg yolks into the cornstarch mixture thoroughly. Slowly pour the warm milk into this mixture, whisking constantly to prevent the eggs from curdling and ensuring a smooth blend.
- Cook the pudding: Pour the combined mixture back into the saucepan and cook over medium heat, whisking continuously until the pudding thickens and begins to bubble, which should take about 4 to 6 minutes.
- Finish the pudding: Remove the saucepan from heat and stir in the unsalted butter and pure vanilla extract until the pudding is silky and fully blended.
- Chill: Transfer the pudding into serving cups, cover the surface directly with plastic wrap to prevent a skin from forming, and refrigerate for at least 2 hours until chilled and set.
Notes
- Use whole milk for the creamiest texture; you can substitute with 2% milk if desired but the pudding will be less rich.
- Tempering the eggs is crucial to avoid curdling; add the warm milk slowly while whisking vigorously.
- Covering the pudding surface with plastic wrap prevents a skin from forming during chilling.
- The pudding will thicken further as it chills, so do not overcook during the stovetop step.
- For a dairy-free version, use a plant-based milk and vegan butter substitute, though texture and flavor will vary.

