
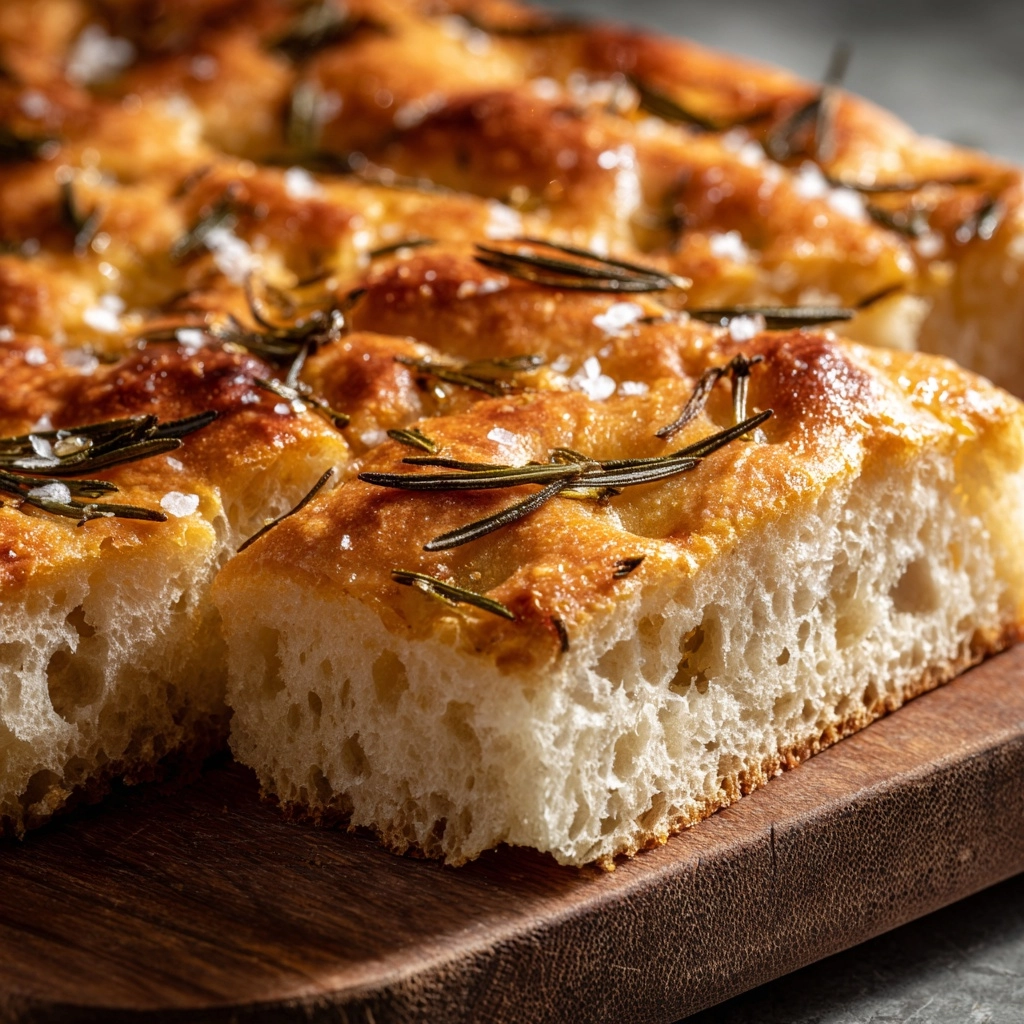
If you’ve ever dreamed of pulling a warm, fragrant loaf of bread fresh from your oven without breaking a sweat, then this Rustic No-Knead Rosemary Garlic Bread Recipe is your new best friend. It’s the perfect marriage of simplicity and flavor, combining fresh rosemary and garlic in a crusty, artisan-style loaf that’s deliciously chewy inside with a golden, crisp crust on the outside. This bread feels fancy yet is ridiculously easy to make—in fact, it requires almost no effort beyond mixing and waiting. Once you try this recipe, baking bread at home will never feel intimidating again.
Ingredients You’ll Need
The beauty of this Rustic No-Knead Rosemary Garlic Bread Recipe is how straightforward the ingredient list is. Each component plays a vital role, from the flour that forms the structure to the fragrant rosemary and garlic that give this bread its irresistible aroma.
- 3 cups all-purpose flour: The foundation of your loaf, providing the structure and chewy texture we love.
- 1 ½ teaspoons salt: Enhances flavor and helps control yeast activity for perfect rise.
- ½ teaspoon instant yeast: The gentle leavening agent that does all the rising magic without kneading.
- 1 ½ cups warm water: Activates yeast and hydrates the flour for a tender crumb.
- 1 tablespoon fresh rosemary (chopped): Brings a woody, aromatic note that’s classic and comforting.
- 3 cloves garlic (minced): Adds a punch of savory depth that’s both bright and mellow when baked.
- 1 tablespoon olive oil: Provides moisture and subtle richness—plus helps with crust color.
- Additional flour for dusting: Keeps the dough from sticking when shaping without toughening crust.
- Cornmeal for dusting (optional): Adds crunch and visual appeal when used on the baking surface.
How to Make Rustic No-Knead Rosemary Garlic Bread Recipe
Step 1: Mix the Dry Ingredients
Start by whisking together the flour, salt, and instant yeast in a large bowl. This even distribution ensures your bread rises evenly and that every bite is perfectly seasoned. Then add in your chopped rosemary and minced garlic. These fresh ingredients will infuse your bread with incredible aroma and flavor.
Step 2: Add the Wet Ingredients and Form the Dough
Pour the warm water and olive oil into the dry mix. Stir everything together until a shaggy dough forms. Don’t worry about making it perfectly smooth—that rustic texture is what you want. Cover the bowl tightly with plastic wrap and let the dough rest at room temperature for between 12 and 18 hours. Patience here is key, as the dough will bubble and nearly double in size, developing those wonderful air pockets.
Step 3: Shape and Rest the Dough
Lightly flour your workspace and hands, then gently turn the dough out. It will be loose and sticky—that’s a good thing. Shape it carefully into a ball without overworking it, and then let it rest for another 30 minutes. Cover it loosely with a clean towel to prevent drying out.
Step 4: Heat the Dutch Oven
While the dough is resting, preheat your oven to 450°F. Place your Dutch oven (with the lid) inside to heat up for at least 30 minutes. This step is crucial because it mimics the intense heat of a professional bakery oven and helps create that signature crispy crust.
Step 5: Bake Your Rustic No-Knead Rosemary Garlic Bread Recipe
Carefully remove the hot Dutch oven, sprinkle the bottom with cornmeal or a little flour, and gently transfer your dough ball inside. Cover and bake for 30 minutes, then remove the lid and bake for an additional 15 to 20 minutes until the crust turns a rich golden brown. When it’s done, transfer the bread to a wire rack and let it cool completely before slicing. The wait is absolutely worth it.
How to Serve Rustic No-Knead Rosemary Garlic Bread Recipe

Garnishes
Sprinkle your bread with a pinch of flaky sea salt right after baking to add a delightful savory crunch. For extra flair, brush the crust lightly with olive oil or melted butter and fresh rosemary leaves for a shiny, fragrant finish that will make your guests swoon.
Side Dishes
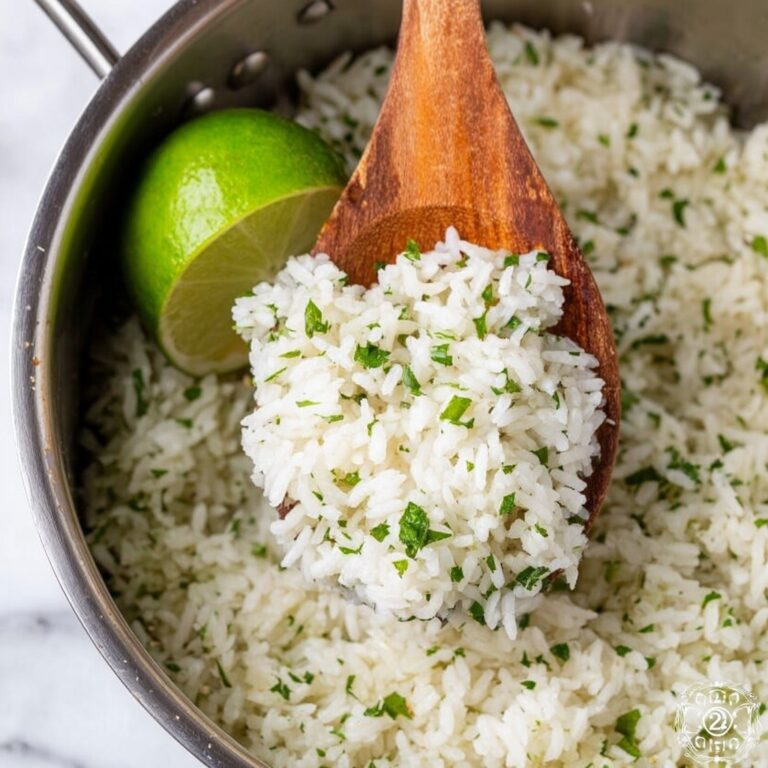
This bread is a dream partner for soups and salads. Imagine dipping crunchy slices into a creamy tomato basil soup or serving alongside a fresh arugula and Parmesan salad. It’s also divine with olive tapenade or your favorite soft cheese spread.
Creative Ways to Present
Slice the loaf thick for a rustic sandwich featuring roasted vegetables and melted mozzarella or thinly slice and toast for bruschetta topped with tomatoes and basil. You can even cut it into cubes for croutons to elevate a simple salad.
Make Ahead and Storage
Storing Leftovers
Once fully cooled, store your leftover bread in an airtight container or wrapped loosely in a clean kitchen towel at room temperature. It stays fresh for up to three days, maintaining that lovely chewy texture without becoming soggy.
Freezing
If you need to keep your bread longer, wrap it tightly in plastic wrap and then place it in a freezer-safe bag or container. Frozen bread lasts for several weeks and retains most of its freshness and flavor when properly thawed.
Reheating
To bring leftover bread back to life, heat it in a preheated 350°F oven for 10 to 15 minutes. For an extra crispy crust, sprinkle a little water on the surface before warming. You’ll get that fresh-baked taste every time.
FAQs
Can I use dried rosemary instead of fresh in this recipe?
Yes, dried rosemary works fine, but since it’s more concentrated, reduce the amount to about one teaspoon so it doesn’t overpower the bread.
Why doesn’t this recipe require kneading?
The long resting time allows gluten to develop naturally, eliminating the need to knead. This technique creates an airy texture with minimal effort.
Can I roast the garlic beforehand for a different flavor?
Absolutely! Roasting garlic creates a sweeter, milder flavor that adds depth—feel free to swap raw minced garlic for roasted if you prefer a gentler garlic taste.
Do I need a Dutch oven for this bread?
The Dutch oven traps steam during baking, which is essential for a crusty exterior. If you don’t have one, you can bake on a preheated baking stone and place a pan of water in the oven to create steam.
How do I know when the bread is fully baked?
The crust should be golden brown and firm to the touch. You can also tap the bottom of the loaf; it should sound hollow, indicating it’s cooked through.
Final Thoughts
Baking bread at home doesn’t have to be complicated or intimidating, and this Rustic No-Knead Rosemary Garlic Bread Recipe proves it beautifully. With just a handful of simple ingredients and a bit of patience, you’ll be rewarded with a warm, aromatic loaf that transforms any meal. So go ahead, try it out, and enjoy the wonderful experience of homemade bread that tastes as charming as it looks.
Print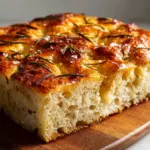
Rustic No-Knead Rosemary Garlic Bread Recipe
- Prep Time: 10 minutes (plus 12–18 hours resting time)
- Cook Time: 45 minutes
- Total Time: 13 to 19 hours (including resting and baking time)
- Yield: 1 loaf (about 8 slices)
- Category: Bread
- Method: Baking
- Cuisine: American
- Diet: Vegetarian
Description
This Rustic No-Knead Rosemary Garlic Bread is a simple yet flavorful artisan loaf that combines fresh rosemary and garlic with a crisp crust and tender crumb. Made without kneading, it relies on a long resting period to develop the perfect texture, then baked in a hot Dutch oven for a golden, rustic finish.
Ingredients
Dry Ingredients
- 3 cups all-purpose flour
- 1 ½ teaspoons salt
- ½ teaspoon instant yeast
- 1 tablespoon fresh rosemary, chopped
Wet Ingredients
- 1 ½ cups warm water
- 1 tablespoon olive oil
- 3 cloves garlic, minced
For Baking
- Additional flour for dusting
- Cornmeal for dusting (optional)
Instructions
- Mix Dry Ingredients: In a large bowl, whisk together the flour, salt, and instant yeast to evenly distribute the dry components. Add the chopped fresh rosemary and minced garlic, stirring well to combine all flavors.
- Add Wet Ingredients: Pour in the warm water and olive oil to the dry ingredients. Mix together until a shaggy dough forms, ensuring all flour is incorporated and the mixture is sticky.
- First Rest: Cover the bowl tightly with plastic wrap and let it rest at room temperature for 12 to 18 hours. During this time, the dough will develop bubbles and roughly double in size, indicating fermentation and gluten development.
- Shape the Dough: Lightly flour a work surface and your hands, then turn the dough out onto the surface. Shape it gently into a rough ball, being careful to preserve the air bubbles inside.
- Second Rest: Let the shaped dough rest for 30 minutes, loosely covered with a clean towel, allowing it to relax and rise slightly before baking.
- Preheat Oven and Dutch Oven: Meanwhile, preheat your oven to 450°F (230°C). Place a Dutch oven with its lid inside the oven to heat for at least 30 minutes, ensuring it is thoroughly hot for baking the bread.
- Prepare for Baking: Carefully remove the hot Dutch oven from the oven. Sprinkle the bottom with cornmeal or flour to prevent sticking. Gently transfer the dough into the Dutch oven.
- Bake Covered: Cover the Dutch oven with its lid and bake the bread for 30 minutes. The covered bake traps steam, helping develop a crusty exterior.
- Bake Uncovered: Remove the lid and continue baking for an additional 15 to 20 minutes, or until the crust turns a deep golden brown and the loaf sounds hollow when tapped.
- Cool: Remove the bread from the oven and transfer it to a wire rack. Let it cool completely before slicing to ensure the crumb sets properly.
Notes
- For a stronger garlic flavor, roast the garlic before adding it to the dough.
- Dried rosemary can be used instead of fresh; reduce the amount to 1 teaspoon to avoid overpowering.
- This bread is best enjoyed fresh but can be stored in an airtight container for up to 3 days or frozen for longer storage.


