
“`html
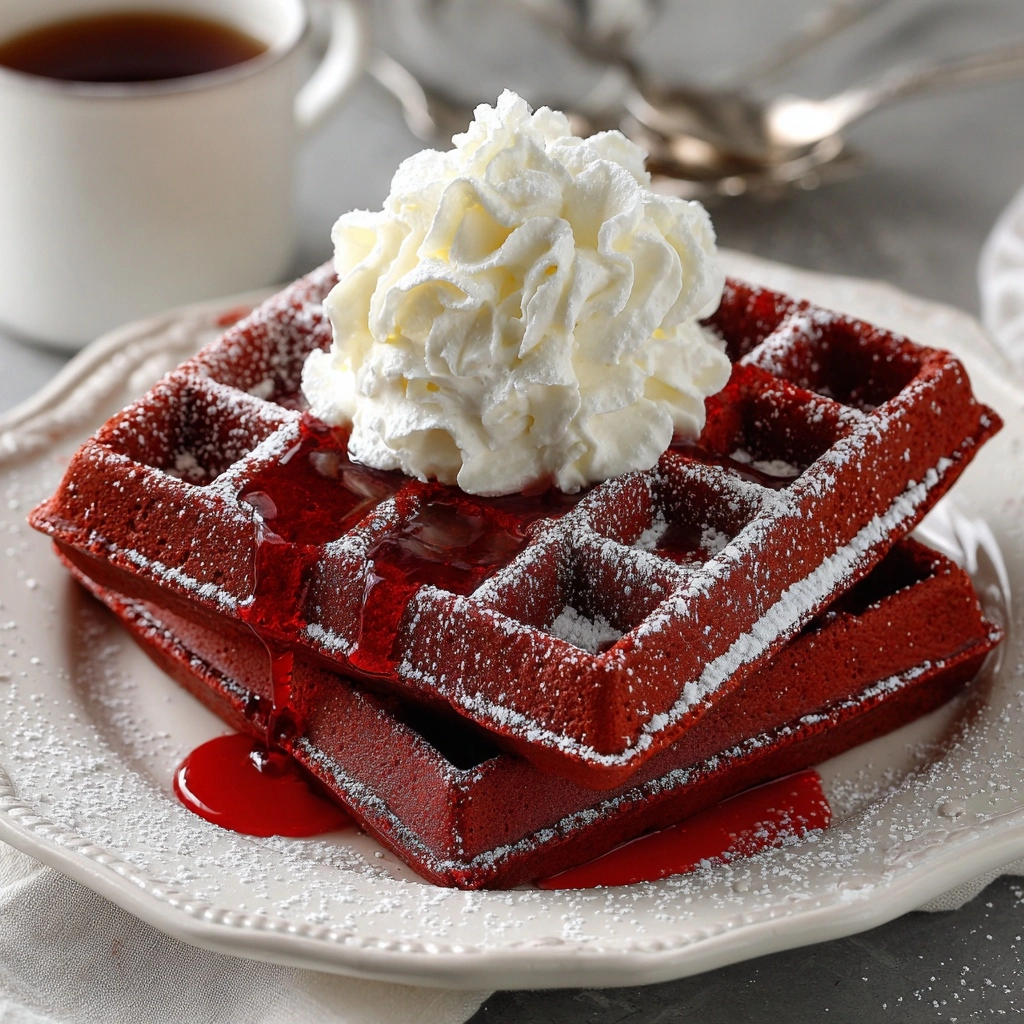
There is something truly magical about waking up to a stack of warm, fluffy waffles that not only taste incredible but also bring a pop of vibrant color to your breakfast plate. This Delicious Red Velvet Waffles Recipe combines the classic charm of red velvet cake with the crisp, golden texture of waffles, creating a treat that’s perfect for weekend brunches, special occasions, or simply a fun twist on your morning routine. Trust me, once you try this recipe, it will become your go-to for waffle mornings filled with sweetness, color, and that irresistible cream cheese glaze.
Ingredients You’ll Need
The magic of this recipe lies in the simplicity and balance of its ingredients. Each one plays a crucial role in creating that perfect tender crumb, subtle cocoa note, and beautiful red hue that defines these red velvet waffles.
- 2 cups all-purpose flour: The foundation for your waffles, providing structure and lightness.
- 1/4 cup granulated sugar: Adds just the right touch of sweetness to enhance the flavor.
- 1 tablespoon unsweetened cocoa powder: Gives a subtle chocolate undertone essential to red velvet.
- 1 tablespoon baking powder: Helps the waffles rise and become perfectly fluffy.
- 1/2 teaspoon baking soda: Works with the buttermilk to tenderize and lighten the batter.
- 1/2 teaspoon salt: Balances sweetness and deepens overall flavor.
- 1 3/4 cups buttermilk: Adds tanginess and moisture, keeping waffles tender inside.
- 2 large eggs: Bind the ingredients together and contribute to fluffiness.
- 1/3 cup vegetable oil or melted butter: Offers richness and helps create a crispy exterior.
- 1 teaspoon vanilla extract: Enhances the sweet, comforting aroma and flavor.
- 1 tablespoon red food coloring: Delivers the signature bright, inviting red color of this recipe.
- Optional cream cheese glaze or whipped cream: Perfect for topping, adding creamy sweetness and decadence.
How to Make Delicious Red Velvet Waffles Recipe
Step 1: Prepare Your Waffle Iron
Begin by preheating your waffle iron according to the manufacturer’s instructions. This ensures the waffle iron is hot and ready to create those crisp edges and tender insides that make these waffles irresistible.
Step 2: Mix the Dry Ingredients
In a large bowl, whisk together the all-purpose flour, granulated sugar, unsweetened cocoa powder, baking powder, baking soda, and salt. This step evenly distributes the leavening agents and cocoa, setting the stage for perfectly balanced waffles.
Step 3: Combine the Wet Ingredients
In a separate bowl, whisk the buttermilk, eggs, vegetable oil or melted butter, vanilla extract, and red food coloring until smooth and vibrant. The buttermilk will tenderize the batter, while the red food coloring gives the waffles their stunning signature color.
Step 4: Mix Wet and Dry
Pour the wet ingredients into the dry ingredients and stir gently just until combined. Avoid overmixing; a few lumps are okay and will ensure the waffles stay tender rather than tough.
Step 5: Cook the Waffles
Lightly grease your preheated waffle iron with nonstick spray or a bit of oil. Pour the batter onto the waffle iron using enough to fill the waffle grid without overflow. Close the lid and cook for about 3 to 5 minutes, or until the waffles are cooked through and lightly crisp on the outside. The aroma at this point is utterly mouthwatering!
Step 6: Serve Warm
Once cooked, carefully remove the waffles and serve immediately. These waffles are best enjoyed hot when the outside is crisp and the inside remains soft and fluffy.
How to Serve Delicious Red Velvet Waffles Recipe
Garnishes
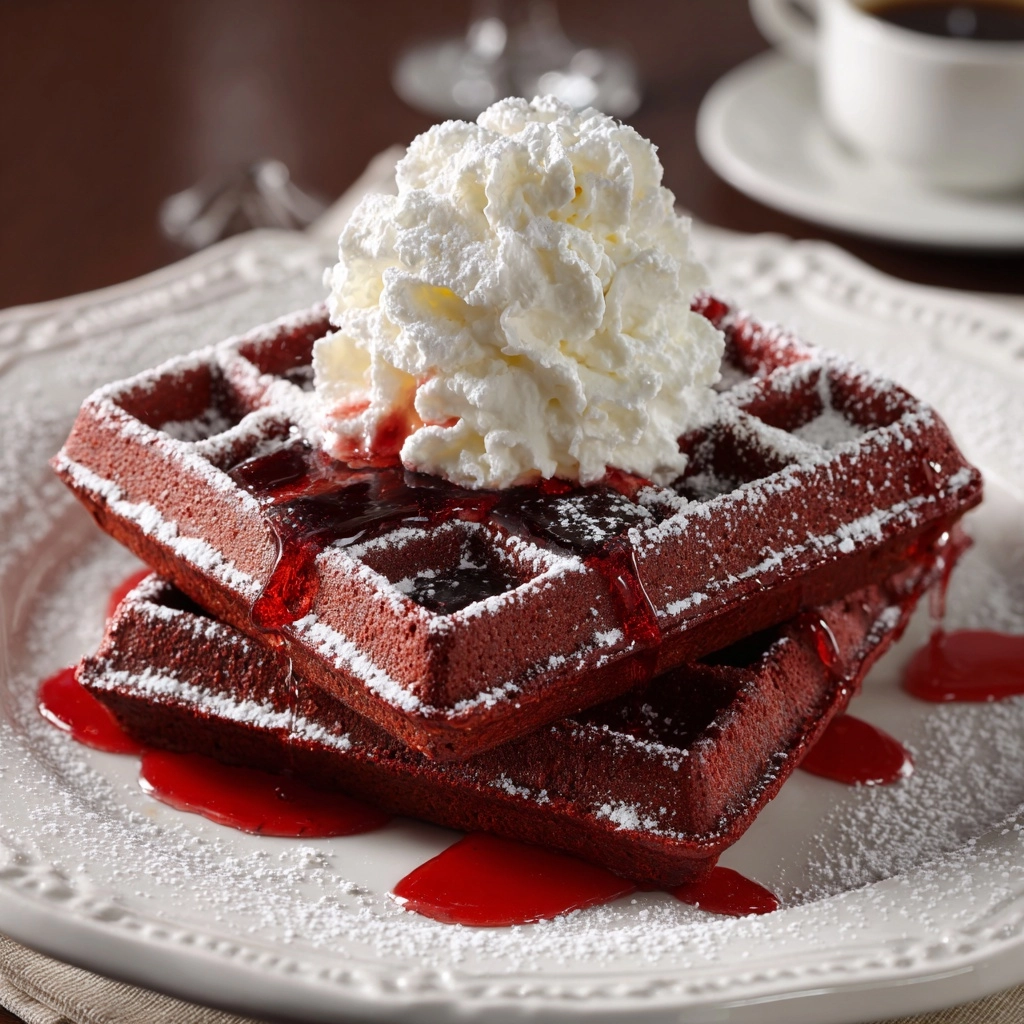
Nothing completes these waffles quite like a silky cream cheese glaze that pairs perfectly with the cocoa undertone. Alternatively, dollops of freshly whipped cream or a dusting of powdered sugar add delightful sweetness and elegance. Fresh berries such as strawberries or raspberries bring a burst of freshness and contrast both visually and flavor-wise.
Side Dishes
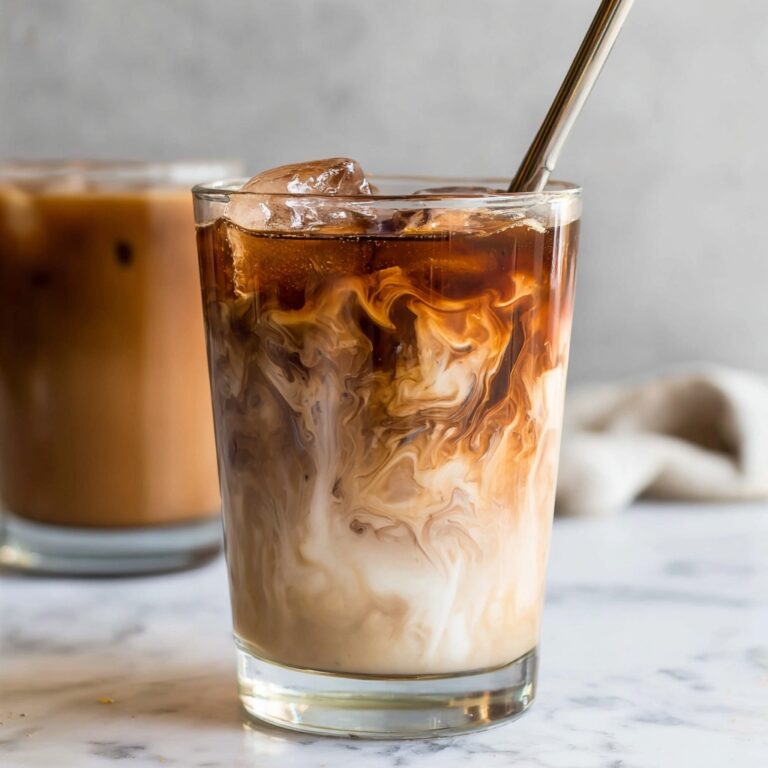
Complement your red velvet waffles with classic breakfast sides like crispy bacon or sausage for a salty-sweet balance. A simple mixed green salad can lighten the meal for a brunch setting. Also, a glass of freshly squeezed orange juice or a cup of rich coffee elevates your breakfast experience entirely.
Creative Ways to Present
For special occasions, stack the waffles high and drizzle generously with cream cheese glaze, then sprinkle edible flowers or colored sprinkles for eye-catching appeal. You can also create a waffle parfait by layering broken waffle pieces with yogurt, berries, and nuts in a glass for an elegant twist.
Make Ahead and Storage
Storing Leftovers
If you happen to have leftovers, store them in an airtight container in the refrigerator for up to 2 days. Keeping them tightly sealed prevents the waffles from drying out, ensuring they stay fresh for your next meal.
Freezing
Red velvet waffles freeze wonderfully. Arrange cooled waffles in a single layer on a baking sheet and freeze until solid, then transfer to a resealable freezer bag. This method keeps them from sticking together and makes it easy to pull out just the amount you need.
Reheating
When ready to enjoy again, reheat frozen or refrigerated waffles in a toaster or toaster oven to bring back their crispiness. Microwaving works in a pinch but may result in soggier waffles. Toasting is definitely the best way to revive the delightful texture.
FAQs
Can I use regular milk instead of buttermilk?
Regular milk can be used, but it won’t provide the same tangy flavor and tender texture that buttermilk contributes. To mimic buttermilk, you can add a tablespoon of vinegar or lemon juice to a cup of milk and let it sit for 5 minutes before using.
Is red food coloring necessary?
The red food coloring is what gives these waffles their iconic, vibrant red color. If you prefer, you can skip it, but your waffles will look more like chocolate waffles rather than classic red velvet.
Can I make the cream cheese glaze ahead of time?
Absolutely! The cream cheese glaze can be prepared a day in advance and stored in the refrigerator. Just give it a good stir before drizzling over your warm waffles for that perfect finish.
How do I prevent the waffles from sticking to the iron?
Make sure to lightly grease your waffle iron before cooking each batch. Using nonstick spray or brushing with oil works well. Also, avoid opening the waffle iron too early while cooking, as this can cause sticking.
Can I make these waffles vegan?
To veganize this recipe, substitute buttermilk with a plant-based milk mixed with an acid like vinegar, use flaxseed eggs instead of regular eggs, and swap butter/oil for a vegan alternative. Keep in mind this may alter the texture slightly, but the waffles will still be delicious!
Final Thoughts
The Delicious Red Velvet Waffles Recipe is a true delight that brings a splash of color and joyous flavor to any breakfast table. With minimal ingredients and straightforward steps, you have the perfect recipe to impress family or friends while enjoying a cozy, sweet start to your day. Give it a try and watch how these vibrant waffles quickly become a beloved staple in your recipe collection!
“`
Print
Delicious Red Velvet Waffles Recipe
- Prep Time: 10 minutes
- Cook Time: 15 minutes
- Total Time: 25 minutes
- Yield: 4 waffles
- Category: Breakfast, Brunch
- Method: Waffle Iron
- Cuisine: American
- Diet: Vegetarian
Description
Delicious Red Velvet Waffles are a perfect blend of rich cocoa flavor and vibrant red color, creating a visually stunning and tasty breakfast or brunch option. These waffles are fluffy on the inside and slightly crisp on the outside, made with simple ingredients including buttermilk, cocoa powder, and red food coloring. Serve them warm with optional cream cheese glaze or whipped cream for an indulgent treat.
Ingredients
Dry Ingredients
- 2 cups all-purpose flour
- 1/4 cup granulated sugar
- 1 tablespoon unsweetened cocoa powder
- 1 tablespoon baking powder
- 1/2 teaspoon baking soda
- 1/2 teaspoon salt
Wet Ingredients
- 1 3/4 cups buttermilk
- 2 large eggs
- 1/3 cup vegetable oil or melted butter
- 1 teaspoon vanilla extract
- 1 tablespoon red food coloring
Optional Toppings
- Cream cheese glaze or whipped cream for serving
Instructions
- Preheat Waffle Iron: Preheat your waffle iron according to the manufacturer’s instructions to ensure even cooking and a crisp texture.
- Mix Dry Ingredients: In a large bowl, whisk together the flour, sugar, cocoa powder, baking powder, baking soda, and salt until well combined. This ensures even distribution of the leavening agents and cocoa flavor.
- Mix Wet Ingredients: In a separate bowl, whisk together the buttermilk, eggs, vegetable oil or melted butter, vanilla extract, and red food coloring until smooth and uniform in color.
- Combine Batter: Pour the wet ingredients into the dry ingredients and stir gently just until combined. Avoid overmixing to keep the waffles light and fluffy.
- Prepare Waffle Iron: Lightly grease the waffle iron with nonstick spray or a small amount of oil to prevent sticking.
- Cook Waffles: Pour an appropriate amount of batter into the waffle iron (depending on its size), close the lid, and cook for 3–5 minutes or until the waffles are cooked through and lightly crisp on the outside.
- Serve: Serve the waffles warm topped with cream cheese glaze, powdered sugar, whipped cream, or fresh berries for an extra special treat.
Notes
- To make cream cheese glaze: mix 4 oz softened cream cheese, 1/2 cup powdered sugar, 2–3 tablespoons milk, and 1/2 teaspoon vanilla extract until smooth.
- These waffles freeze well. Store leftovers in an airtight container and reheat them by toasting for best texture.


