
If you love the bold and tangy flavors of Korean cuisine but want something fast and fuss-free, this Quick Radish Kimchi Recipe is going to become your new best friend in the kitchen. Bursting with crunchy, spicy, and savory notes, this vibrant side dish captures the essence of traditional kimchi but comes together in a snap, without the long fermentation times usually required. Whether you’re new to making kimchi or just need a speedy fix, this recipe delivers big flavor and satisfying textures that complement any meal.
Ingredients You’ll Need
Gathering these simple yet powerful ingredients is all it takes to create a dish packed with exciting flavors and amazing texture contrasts. Each item plays a crucial role from enhancing taste to adding vibrant color, ensuring every bite is irresistibly delicious.
- Radishes: The star of the show, providing a crisp and refreshing crunch that balances the spiciness.
- Salt: Essential for drawing moisture out of the radishes and kickstarting the kimchi’s natural fermentation.
- Sugar: Just a touch to mellow the heat and help with fermentation development.
- Scallions: Adding fresh, mild onion flavor and more texture complexity.
- Gochugaru (chili flakes): This Korean chili powder delivers smoky heat without overpowering the other ingredients.
- Garlic: Provides a sharp, aromatic punch that’s classic in kimchi recipes.
- Ponzu or fish sauce: A savory umami boost that deepens flavor and gives authentic character.
- Ginger: Adds a subtle zing and warmth that brightens the entire dish.
How to Make Quick Radish Kimchi Recipe
Step 1: Salt and Sugar the Radishes
Start by tossing the cut radishes with salt and sugar in a large bowl. The salt pulls water from the radishes, making them wonderfully crisp, while sugar balances the flavors. Let them rest for at least one hour, or up to three if you have the time. This step is key to creating that signature crunchy texture that defines great kimchi.
Step 2: Mix in Your Flavorful Add-ins
Once your radishes have softened slightly and released their natural juices, add the scallions, gochugaru, minced garlic, ponzu (or fish sauce), and finely chopped ginger. Stir everything together well so the spicy, tangy, and savory elements coat every piece thoroughly. This is where the magic happens, turning simple ingredients into an explosion of authentic Korean flavor.
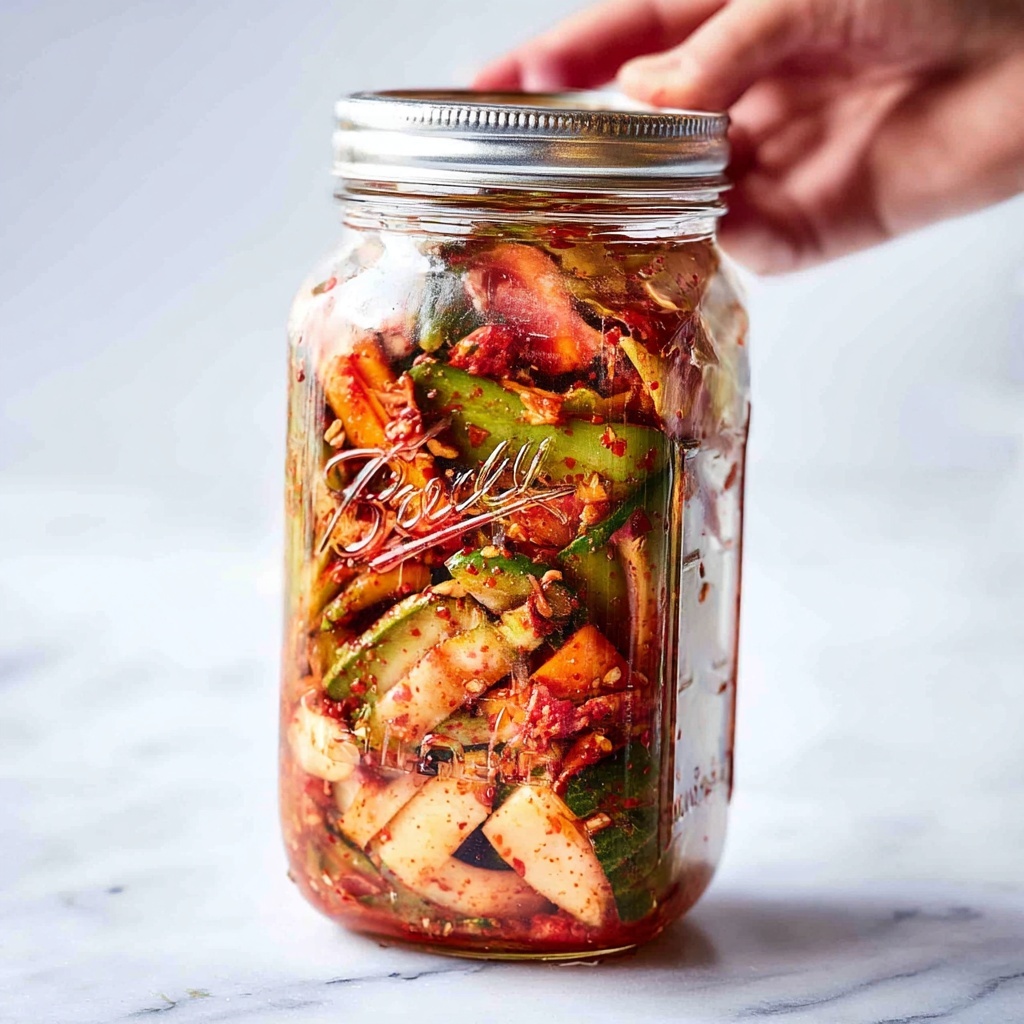
Step 3: Pack into Glass Jars
Transfer your vibrant mixture into clean glass jars, pressing it down gently to pack the radish pieces in but still leaving a bit of room for air. Using glass allows you to easily watch the fermentation process unfold and helps keep your kimchi tasting fresh longer.
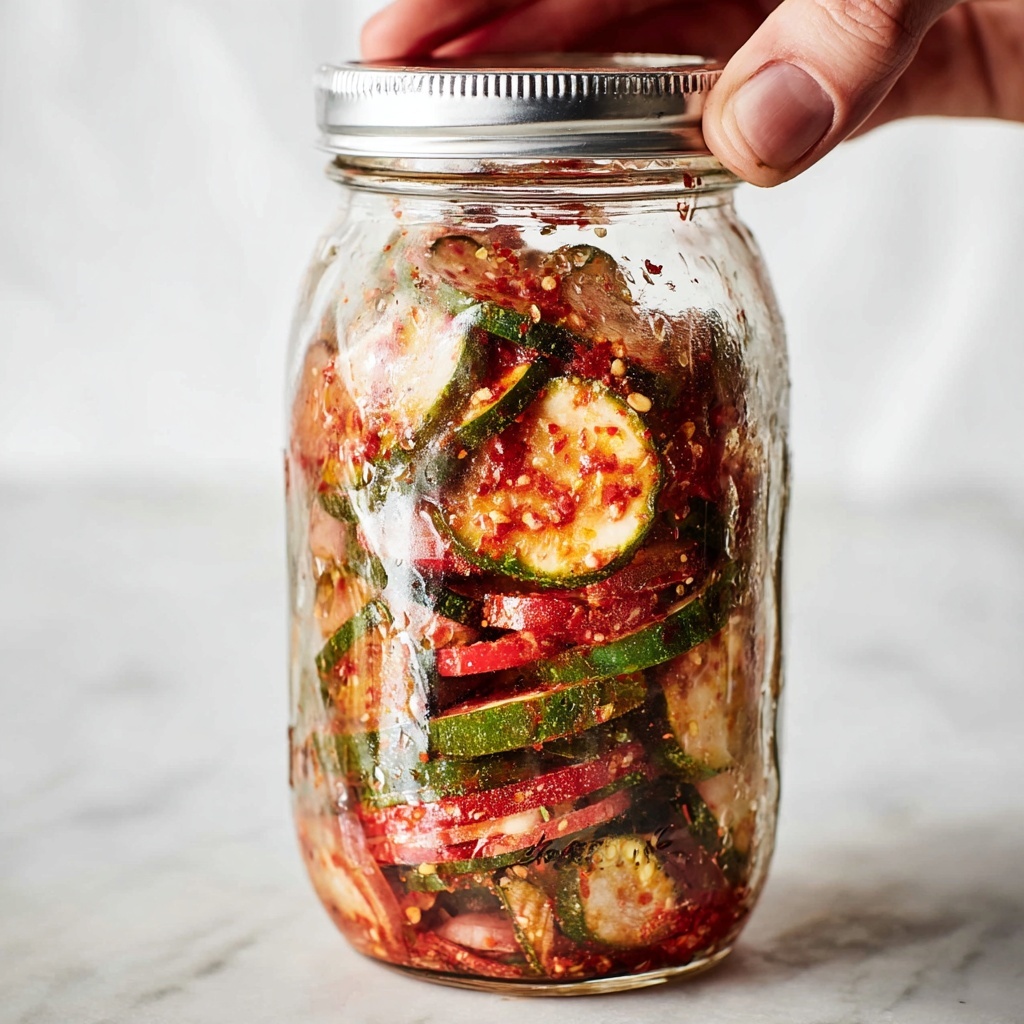
Step 4: Decide When to Enjoy
You can enjoy this radish kimchi immediately to savor that crisp and fresh flavor, or let it sit on your kitchen counter for a couple of days to develop a deeper, tangier fermentation. The choice is yours depending on how bold and complex you want the flavors to get.
Step 5: Refrigerate for Longer Storage
Once it has reached your preferred fermentation level, move the kimchi to the fridge. It will keep beautifully for up to two months, allowing you to enjoy this deliciously fermented side at your convenience.
How to Serve Quick Radish Kimchi Recipe
Garnishes
Sprinkle toasted sesame seeds or thinly sliced fresh chilies on top for an added pop of flavor and visual appeal. A drizzle of toasted sesame oil intensifies the aroma and lends a nutty richness that works beautifully with the spicy kimchi.
Side Dishes
This Quick Radish Kimchi Recipe pairs especially well with classic Korean dishes like bibimbap or Korean BBQ. It also adds a zesty crunch alongside grilled meats, steamed rice, or simple noodles, making it a versatile condiment that elevates any meal.
Creative Ways to Present
For a fun twist, try serving the kimchi as a topping on tacos or burgers to add a tangy kick. You can also mix it into fried rice, or use it as a flavorful layer inside sandwiches and wraps to surprise your taste buds with every bite.
Make Ahead and Storage
Storing Leftovers
Keep leftover kimchi tightly sealed in its glass jars inside the refrigerator. This helps preserve freshness and flavor, while the ongoing slow fermentation deepens its complexity over time. Make sure to always use a clean utensil to avoid contamination.
Freezing
Although kimchi is best enjoyed fresh or fermented in the fridge, it can be frozen if needed. Keep it in an airtight freezer-safe container. Note that freezing may slightly affect the crunchy texture but the delicious spicy flavor will remain intact.
Reheating
Kimchi is typically eaten cold or at room temperature, but if you prefer it warm, heat it gently on the stove or microwave. This softens the radish slightly and brings out a mellow warmth, especially when stirred into soups or stews.
FAQs
How spicy is this Quick Radish Kimchi Recipe?
The spice level mainly depends on the amount of gochugaru you add. If you prefer milder kimchi, reduce the chili flakes, or increase for a more fiery kick. It’s easy to adjust to your personal taste!
Can I use regular chili flakes instead of gochugaru?
While regular chili flakes can be used in a pinch, gochugaru provides a unique smoky sweetness that is traditional in Korean kimchi. Using gochugaru yields the best authentic flavor for this recipe.
How long can I ferment the kimchi?
This quick recipe can ferment from 1 to 3 days at room temperature, but it will continue to develop flavors in the fridge for several weeks. Taste as you go to find your perfect balance of tang and spice.
Is this recipe vegan-friendly?
To keep the recipe vegan, substitute ponzu sauce or fish sauce with soy sauce or a vegan fish sauce alternative. The radish kimchi will still be bursting with delicious umami flavor.
What’s the best way to eat radish kimchi?
Radish kimchi is wonderfully versatile — enjoy it as a condiment, mix it into rice dishes, or serve alongside grilled meats and vegetables to brighten any meal with its lively zest and crunch.
Final Thoughts
I can’t recommend this Quick Radish Kimchi Recipe enough if you’re craving something vibrant, spicy, and effortless to whip up. It’s the perfect pantry hero that adds depth and excitement to everyday dishes. Give it a try and watch how simple ingredients turn into an irresistible Korean classic you’ll want to make again and again.
Print
Quick Radish Kimchi Recipe
- Prep Time: 10 minutes
- Cook Time: 0 minutes
- Total Time: 10 minutes prep plus optional 2 days fermentation
- Yield: 10 servings
- Category: Side Dish
- Method: No-Cook
- Cuisine: Korean
- Diet: Gluten Free
Description
Quick Radish Kimchi is a vibrant, spicy Korean side dish made with crisp radishes, scallions, and a flavorful blend of chili flakes, garlic, and ginger. This easy-to-make kimchi can be enjoyed immediately or fermented for enhanced tang and depth of flavor. Perfect as a condiment or accompaniment to meals, this recipe yields 10 servings and requires minimal prep time.
Ingredients
Vegetables
- 2 pounds radishes, cut in half or quarters
- 10 scallions, cut into 1-inch pieces
- 1-inch piece ginger, finely chopped
Seasonings
- 2 tablespoons salt
- 1 tablespoon sugar
- 1/3 cup Gochugaru (Korean chili flakes)
- 3 tablespoons chopped garlic
- 2 tablespoons ponzu or fish sauce
Instructions
- Salt and Sugar Radishes: Combine the radishes with salt and sugar in a large bowl, then let them sit uncovered for at least 1 hour and up to 3 hours. This step draws out moisture from the radishes, softening them and beginning the fermentation process.
- Add Flavorings: After the radishes have rested, add the scallions, gochugaru, chopped garlic, ponzu or fish sauce, and finely chopped ginger. Mix everything thoroughly to evenly coat the radishes with the spicy and savory seasonings.
- Jar the Kimchi: Transfer the seasoned radish mixture into clean glass jars, dividing evenly. Press the contents down slightly to remove air pockets and ensure proper fermentation.
- Ferment or Serve: You can eat the kimchi immediately for a fresh, crisp taste, or leave it out at room temperature on the counter for two days to ferment, which will develop deeper flavors and tanginess.
- Store Properly: After fermentation, keep the kimchi refrigerated. It can be stored for up to two months, continuing to develop flavor over time.
Notes
- Adjust the amount of gochugaru to control the spice level according to your taste.
- If you prefer a vegetarian version, use soy sauce instead of fish sauce or ponzu.
- Ensure the jars are clean and airtight to prevent unwanted bacteria during fermentation.
- The kimchi’s flavor deepens and mellows as it ferments in the fridge over time.


