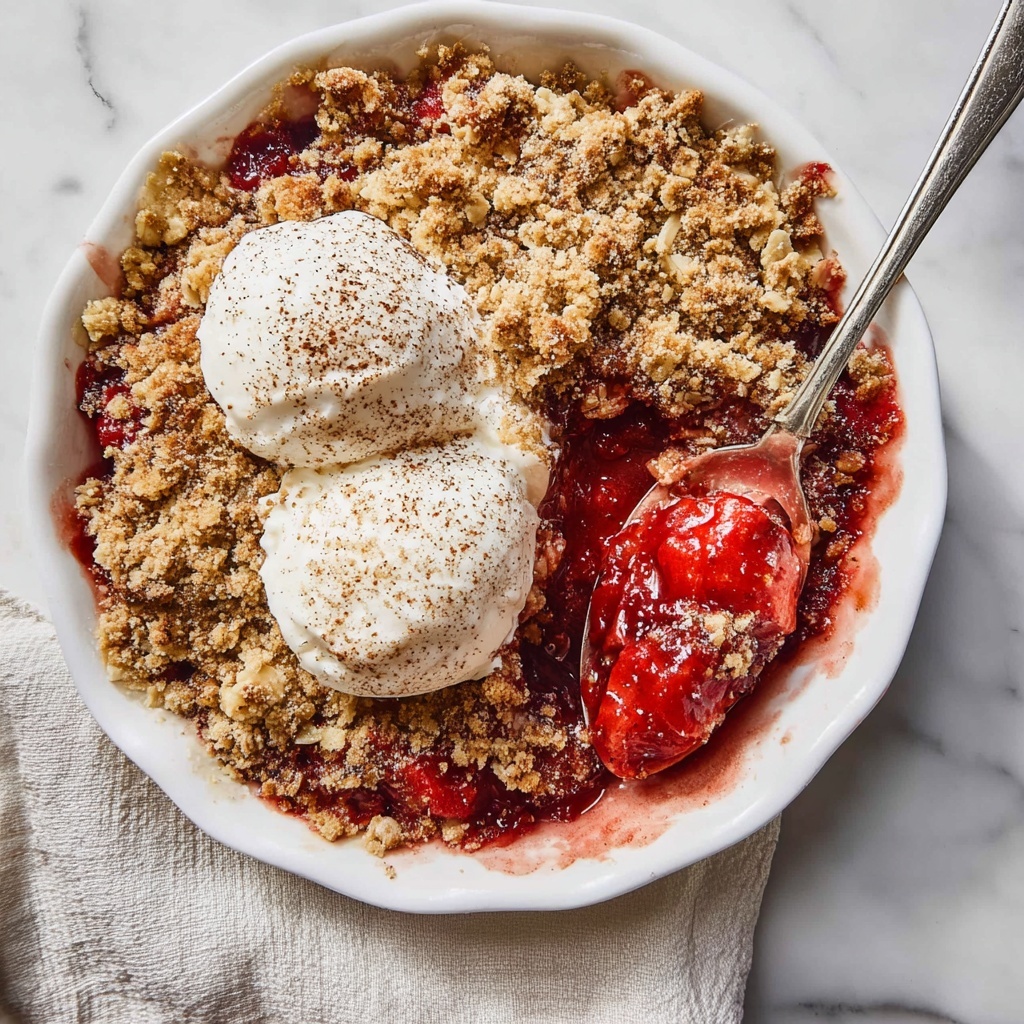
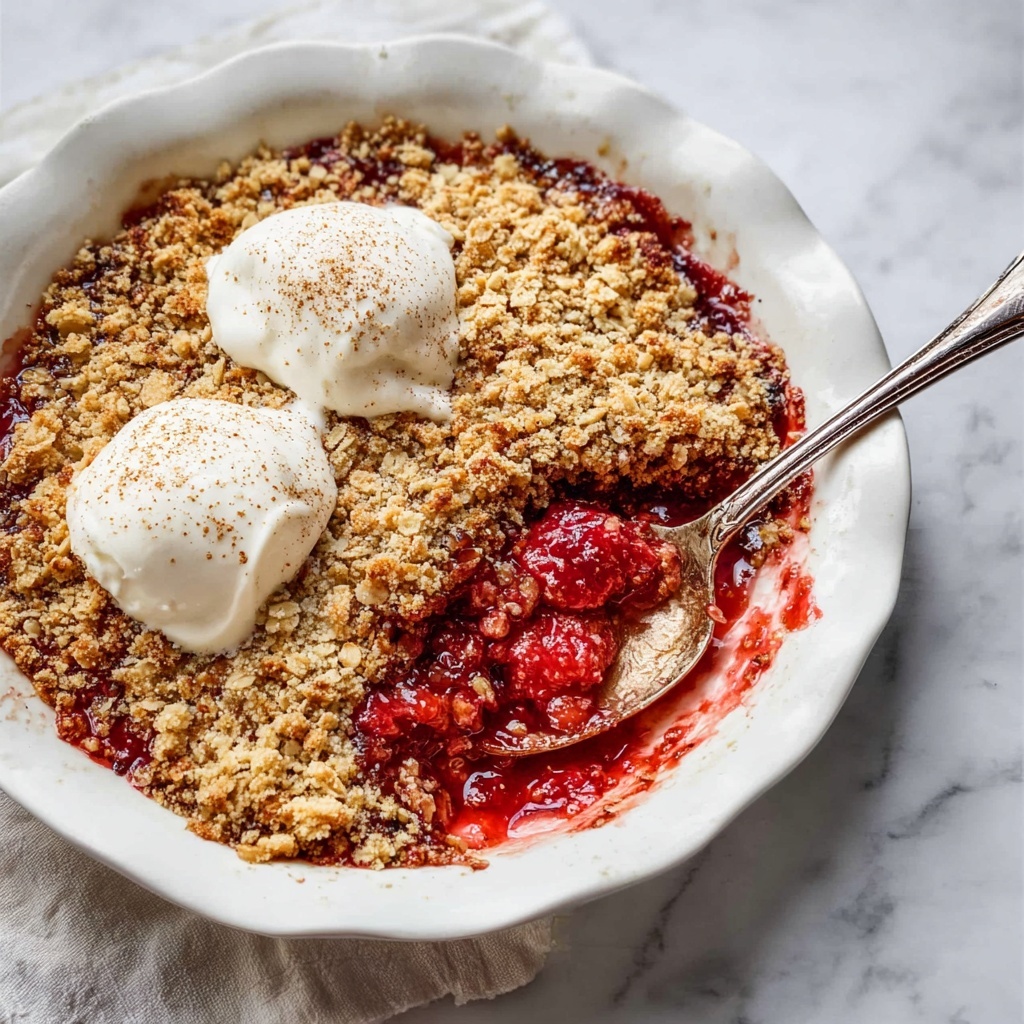
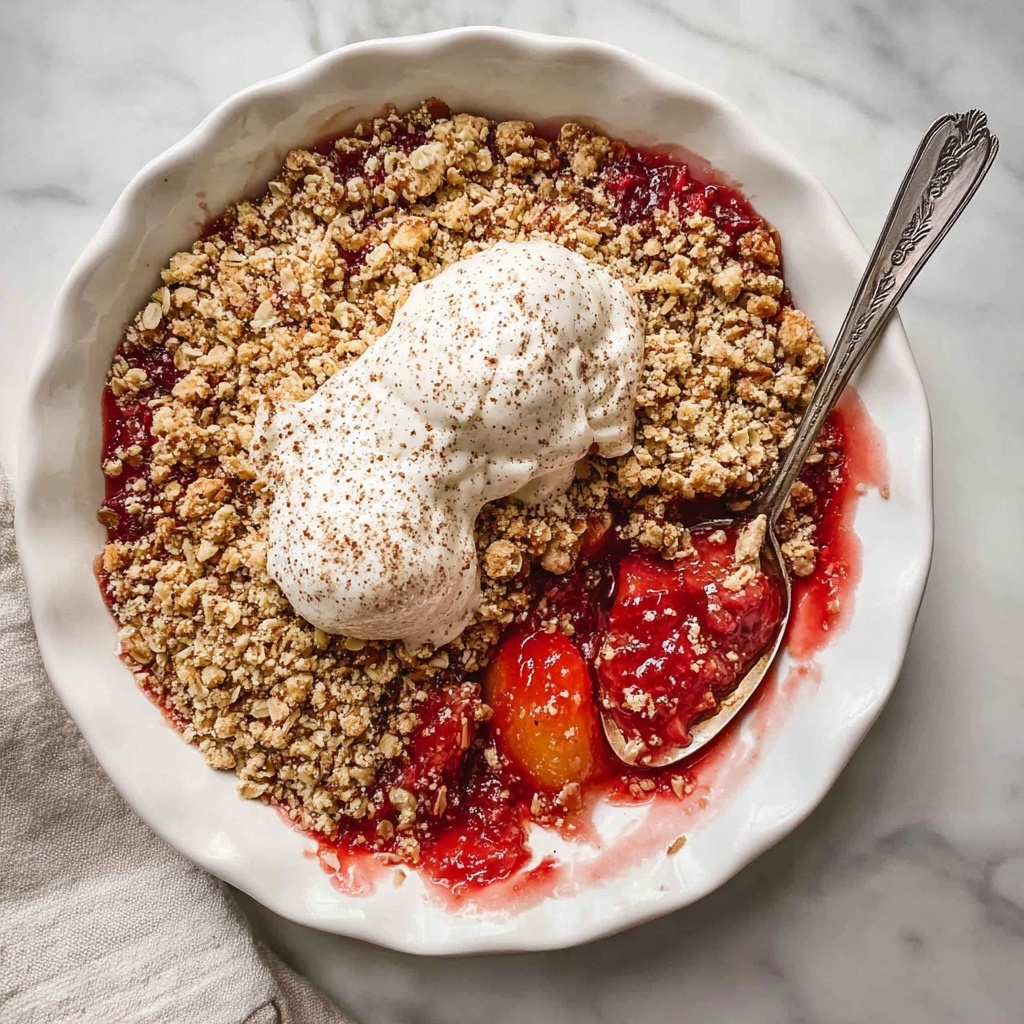
If you are on the hunt for a dessert that perfectly balances tangy and sweet, then this Sour Cherry Crisp Recipe will quickly become your new favorite. Bright, juicy sour cherries baked with a warmly spiced, buttery oat topping create a dish that feels like a comforting hug on a plate. Whether you’re serving friends at a casual dinner or looking to spoil yourself with something truly special, this crisp delivers an irresistible combination of textures and flavors that’s easy to make and utterly satisfying.
Ingredients You’ll Need
Gathering simple, wholesome ingredients is the first step to a fantastic Sour Cherry Crisp Recipe. Each element plays a vital role, from the vibrant tartness of the cherries to the crunchy warmth imparted by walnuts and oats.
- 1 pound pitted sour cherries: Fresh or frozen, these cherries bring the signature tangy kick that defines the dish.
- 5 tablespoons packed brown sugar: Adds sweetness with a hint of molasses that complements the cherries perfectly.
- 1/4 cup all-purpose flour: Acts as a thickener for the cherry filling, ensuring it’s luscious and not runny.
- 1/2 teaspoon ground cinnamon: Infuses the filling with warm spice for layered flavor depth.
- 1/4 cup water: Helps the filling come together with the perfect consistency.
- 2/3 cup old fashioned rolled oats: Provides a hearty texture in the crispy topping.
- 3 tablespoons butter, diced: The secret to a rich, golden crumble that melts in your mouth.
- 1/3 cup chopped walnuts: Adds a delightful crunch and nutty aroma that ties everything together.
How to Make Sour Cherry Crisp Recipe
Step 1: Preheat Your Oven
Set your oven to 375 degrees Fahrenheit to get it ready for baking. This temperature ensures the topping crisps up beautifully while the cherries soften and bubble just right.
Step 2: Prepare the Cherry Filling
In a mixing bowl, combine the pitted sour cherries with the brown sugar, flour, and cinnamon. Stir everything together so those flavors start mingling. Pour in the water and mix again, creating a balanced filling that’s both juicy and pleasantly spiced.
Step 3: Transfer Filling to Baking Dish
Pour your cherry mixture into an 8×8 inch baking dish. The fruit will bubble and release its natural juices during baking, making the base of this crisp absolutely delicious.
Step 4: Make the Crumble Topping
In a separate bowl, mix the oats, diced butter, and chopped walnuts. Use a pastry cutter or your fingers to combine until you get a crumbly texture. This crumbly topping is the star of the show, giving you that perfect golden crunch.
Step 5: Sprinkle the Topping
Generously scatter the oat and walnut crumble over the cherry filling. Make sure to cover the entire surface so every bite has that satisfying crunch and nutty goodness.
Step 6: Bake Until Golden
Pop your dish in the oven for 40 to 50 minutes. Watch for that beautiful golden-brown crumble on top and the exciting bubbling action of the cherry filling beneath it—it’s a sign it’s ready to come out and be devoured.
Step 7: Cool Before Serving
Once baked, let your Sour Cherry Crisp rest for 5 minutes. This cool-down lets the filling settle so it won’t run everywhere when you dig in.
Step 8: Serve and Enjoy!
Serve it warm with a scoop of vanilla ice cream or a dollop of whipped cream to amp up the indulgence. Trust me, the luscious temperature contrast and creamy additions take this simple crisp to the next level.
How to Serve Sour Cherry Crisp Recipe
Garnishes
Adding a garnish can elevate your Sour Cherry Crisp Recipe beautifully. A sprinkle of powdered sugar, a few fresh mint leaves, or lightly toasted walnut halves make the presentation pop with freshness and elegance.
Side Dishes
This crisp pairs wonderfully with light, refreshing sides like a crisp green salad or an herbal iced tea. The brightness of the cherries balances savory elements perfectly if you want a complete meal feel.
Creative Ways to Present
For a fun twist, try serving the cherry crisp in individual ramekins for a personalized touch. You could also layer it over Greek yogurt or even transform it into parfaits for an impressive brunch dish. The possibilities with this versatile Sour Cherry Crisp Recipe are as delightful as they are delicious.
Make Ahead and Storage
Storing Leftovers
After enjoying your crisp, let any leftovers cool completely then cover tightly and refrigerate. It will stay fresh and flavorful for up to 3 days, making it a perfect treat to savor later.
Freezing
If you want to make this dessert ahead of time, it freezes beautifully. Bake the crisp fully, cool it, then wrap it well before freezing. When ready, thaw overnight in the fridge and reheat for a freshly baked feel.
Reheating
Reheat your leftover or thawed Sour Cherry Crisp Recipe in the oven at 350 degrees Fahrenheit for about 15 minutes. This helps maintain that delightful crisp topping texture, better than microwaving which can make it soggy.
FAQs
Can I use frozen cherries instead of fresh?
Absolutely! Frozen sour cherries work wonderfully in this recipe. Just be sure to thaw and drain any excess liquid before mixing to avoid a watery filling.
Is it possible to make this crisp gluten-free?
Yes, swap the all-purpose flour for a gluten-free alternative and use gluten-free oats. This way, everyone can enjoy the bright flavors without worry.
How tart is the final dish?
The sour cherries bring a natural tartness that’s nicely balanced by the brown sugar and cinnamon, creating a delicious harmony rather than an overwhelming sour note.
Can I substitute walnuts for other nuts?
Definitely! Pecans, almonds, or even hazelnuts can add their own unique crunch and flavor. Just keep them chopped and toasted if possible for the best result.
What’s the best way to serve this dessert?
Serving warm is key to enjoying the full depth of flavors and textures. Pairing it with vanilla ice cream or whipped cream adds creaminess that contrasts perfectly with the crisp topping.
Final Thoughts
There is something so deeply satisfying about warm fruit and a crunchy topping coming together in this Sour Cherry Crisp Recipe. It’s easy enough for a weekday treat but special enough for guests, making it a versatile staple in your dessert repertoire. I can’t wait for you to try it out, share it with people you love, and maybe even create your own variations along the way. Here’s to many happy moments around this delicious, heartwarming dessert!
Print
Sour Cherry Crisp Recipe
- Prep Time: 15 minutes
- Cook Time: 45 minutes
- Total Time: 1 hour
- Yield: 6 servings
- Category: Dessert
- Method: Baking
- Cuisine: American
- Diet: Vegetarian
Description
This Sour Cherry Crisp is a delightful dessert featuring tart pitted sour cherries baked under a golden, crumbly oat and walnut topping. Sweetened with brown sugar and subtly spiced with cinnamon, this crisp offers a perfect balance of flavors and textures, making it an ideal seasonal treat served warm, especially when paired with whipped cream or vanilla ice cream.
Ingredients
Fruit Filling
- 1 pound pitted sour cherries
- 5 tablespoons packed brown sugar
- 1/4 cup all-purpose flour
- 1/2 teaspoon ground cinnamon
- 1/4 cup water
Crumble Topping
- 2/3 cup old fashioned rolled oats
- 3 tablespoons butter, diced into small pieces
- 1/3 cup chopped walnuts
Instructions
- Preheat the oven: Preheat your oven to 375 degrees Fahrenheit to ensure it’s at the right temperature for baking the crisp evenly.
- Mix the fruit filling: In a mixing bowl, combine the pitted sour cherries, packed brown sugar, all-purpose flour, and ground cinnamon. Stir well to evenly coat the cherries. Next, add the water and stir again to integrate all ingredients thoroughly.
- Prepare the baking dish: Transfer the cherry mixture into an 8×8 inch (2-quart) baking or pie dish, spreading it out evenly to form the base of your crisp.
- Make the crumble topping: In a separate bowl, combine the rolled oats, diced butter, and chopped walnuts. Using a pastry cutter or your fingers, blend the ingredients together until the mixture forms a crumbly texture.
- Assemble the crisp: Evenly sprinkle the crumbly oat and walnut topping over the cherry filling, covering it completely.
- Bake the dessert: Place the dish in the preheated oven and bake for 40 to 50 minutes, or until the topping turns golden brown and you see the cherry filling bubbling at the edges.
- Cool slightly: Remove the crisp from the oven and let it cool for about 5 minutes to set mildly and make it easier to serve.
- Serve: Enjoy the sour cherry crisp warm, optionally topped with whipped cream or a scoop of vanilla ice cream for added indulgence.
Notes
- For a nuttier flavor, you can substitute walnuts with pecans or almonds.
- If fresh sour cherries are unavailable, frozen pitted sour cherries can be used; just make sure to thaw and drain excess liquid before using.
- You may adjust the sweetness by adding more or less brown sugar depending on your preference and the tartness of your cherries.
- To make the topping dairy-free, replace butter with coconut oil or a vegan butter substitute.
- Make sure to use old fashioned rolled oats for the best texture in the topping; instant oats may become mushy when baked.


